How to Fix Necklace Clasp Mechanisms: DIY Repair Guide
Learn how to fix necklace clasp issues at home. This expert troubleshooting guide covers lobster, spring ring, and magnetic clasp repairs.

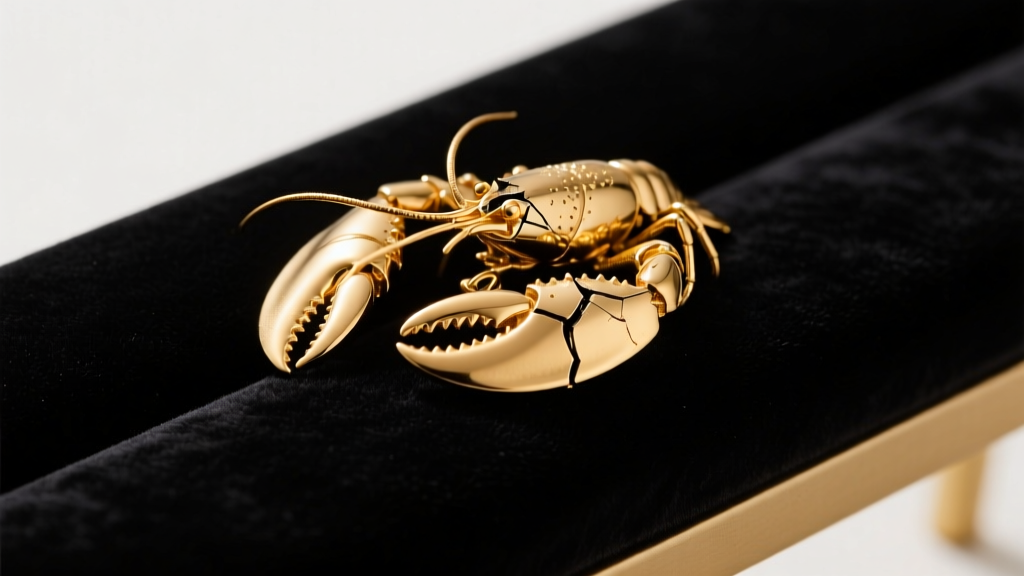
Understanding Necklace Clasp Anatomy and Failure Modes
A necklace is only as secure as its weakest link, and statistically, that weak point is almost always the clasp assembly. Whether you are dealing with a vintage 14k gold piece or a modern sterling silver chain, understanding the mechanical failure modes of different clasp types is the first step in learning how to fix necklace clasp mechanisms effectively. Clasps fail due to metal fatigue, work-hardening, adhesive degradation, or simple mechanical misalignment. Before attempting any repair, it is crucial to identify the exact clasp type and the specific point of failure to avoid causing irreversible damage to the chain or the clasp housing.
According to bench jewelers and industry standards outlined by Jewelers of America, attempting to force a bent clasp lever back into place without the proper tools can lead to micro-fractures in the metal, especially in alloys like white gold or platinum that are prone to brittleness when work-hardened. This guide provides a deep-dive troubleshooting framework for the most common necklace clasps, equipping you with the material science knowledge and tool specifications needed for safe, at-home repairs.
Essential Tools for Safe Clasp Repair
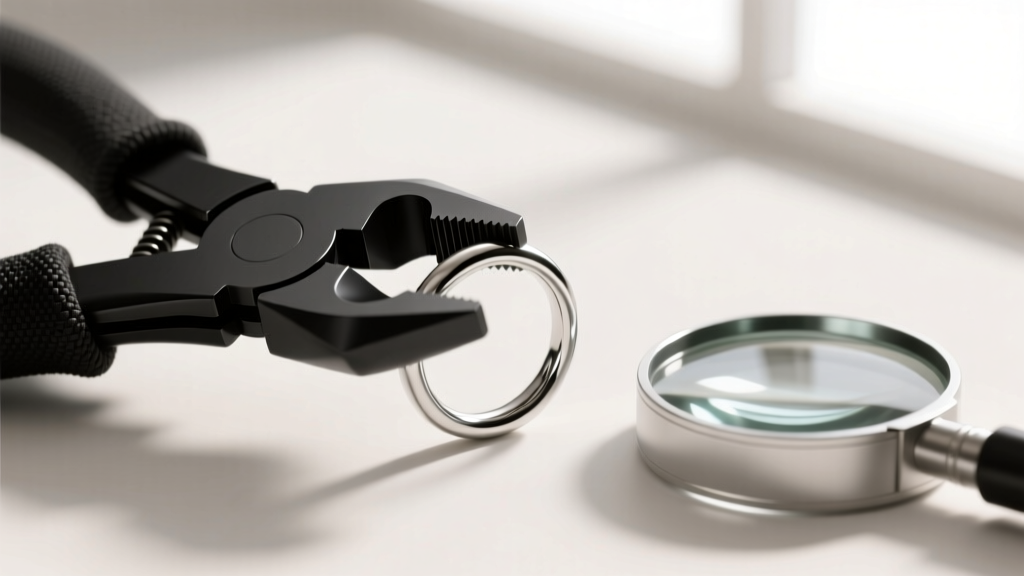
Never use standard household pliers on fine jewelry. The serrated teeth of hardware-store pliers will permanently mar soft precious metals like 18k gold and sterling silver. To properly troubleshoot and repair necklace clasps, you need a specialized, non-marring toolkit.
- Nylon Jaw Pliers: Essential for gripping and bending levers without scratching the metal. Brands like Eurotool or Lindstrom offer precision nylon-jaw models.
- Flush Cutters: For cleanly snipping damaged jump rings without leaving sharp, protruding wire ends.
- 10x Triplet Loupe: Necessary for inspecting the internal spring mechanism and checking the integrity of solder joints on jump rings.
- Precision Tweezers: Non-magnetic, fine-point tweezers for handling 4mm to 6mm jump rings.
- Replacement Jump Rings: Stock 20-gauge and 22-gauge rings in matching metals (e.g., 925 sterling silver or 14k gold-filled). Always measure the outer diameter (OD) of your existing ring before ordering replacements.
Troubleshooting Specific Clasp Types
Lobster Claw Clasps: Lever and Jump Ring Issues
The lobster claw is the industry standard for medium-to-heavy chains. The most common failure is the lever becoming depressed and stuck, or the tiny jump ring connecting the clasp to the chain pulling open. If the lever is stuck, do not pry it with a knife. Instead, use your nylon jaw pliers to gently squeeze the sides of the clasp housing. Often, the housing has been slightly compressed, causing the internal lever to bind against the casing. A gentle squeeze can realign the housing and free the lever.
If the jump ring has pulled open, this is a structural failure. Many commercial necklaces use unsoldered split jump rings to save manufacturing costs. To fix this, replace the split ring with a 20-gauge soldered jump ring. If you cannot solder at home, use a heavy-duty split ring (like a miniature keyring) or a 22-gauge closed jump ring, ensuring the gap is completely flush. According to tool suppliers like Rio Grande, using a properly sized mandrel to close jump rings ensures a perfectly flush seam that won't catch on the chain links.
Spring Ring Clasps: The Tension Problem
Spring rings are common on lightweight, delicate chains. They feature a tiny internal coil spring that pushes the closure mechanism open. If a spring ring fails to snap shut or feels 'mushy,' the internal spring has either lost its tension or broken entirely. Do not attempt to open the spring ring housing to fix the spring. The housing is typically crimped or laser-welded shut at the factory. Prying it open will destroy the clasp. The only viable DIY fix for a broken spring ring is to use flush cutters to snip the jump ring attaching it to the chain, and replace the entire spring ring unit with a new one of the exact same millimeter diameter (usually 5mm, 6mm, or 7mm).
Magnetic and Barrel Clasps: Adhesive and Thread Failures
Magnetic clasps are popular for their ease of use, but they frequently fail because the neodymium magnet detaches from the metal housing. This happens when the factory adhesive degrades due to exposure to skin oils, lotions, and temperature changes. To fix this, clean both the magnet and the metal cup with isopropyl alcohol. Apply a microscopic drop of two-part jeweler's epoxy (avoid cyanoacrylate/Super Glue, as it becomes brittle and leaves a white residue). Seat the magnet firmly and let it cure for 24 hours.
Barrel or screw clasps fail when the internal threads strip. If the clasp unscrews too easily, wrap a single, microscopic layer of PTFE (plumber's) tape around the male threads before screwing it back together. This adds just enough friction to hold the barrel secure without requiring a complete replacement.

Clasp Repair Decision Matrix
Use the following table to quickly diagnose your clasp issue and determine the appropriate repair pathway, required tools, and estimated cost if you opt for professional bench jeweler services.
| Clasp Type | Common Failure Mode | DIY Fixability | Primary Tool Required | Pro Repair Cost (Est.) |
|---|---|---|---|---|
| Lobster Claw | Stuck or binding lever | High | Nylon Jaw Pliers | $15 - $25 |
| Lobster Claw | Pulled-open jump ring | High | Flush Cutters, 20g Ring | $20 - $35 (Soldering) |
| Spring Ring | Mushy trigger / broken spring | Medium (Replacement only) | Flush Cutters | $15 - $20 |
| Magnetic | Magnet falls out of housing | High | Two-part Epoxy, Alcohol | $25 - $40 |
| Barrel / Screw | Stripped internal threads | Medium (PTFE trick) | PTFE Tape, Tweezers | $30 - $50 (Replacement) |
| Toggle | Bar slips through ring | Low (Requires resizing) | Wire wrap or solder | $35 - $60 |
When to Abandon DIY and Visit a Bench Jeweler
While learning how to fix necklace clasp mechanisms can save you time and money, certain scenarios strictly require professional intervention. If your necklace chain is made of platinum or high-karat gold (22k+), the metals are highly susceptible to work-hardening and scratching. Furthermore, if the clasp itself is stamped with a hallmark that you wish to preserve, or if the chain is a complex weave (like a Byzantine or Omega chain) that requires laser welding to attach a new jump ring, DIY attempts will likely result in catastrophic damage.
Additionally, if the actual body of a lobster claw or spring ring is cracked, a professional jeweler will not attempt to solder the crack. The heat from the torch will melt the internal steel spring, ruining the tension mechanism. A bench jeweler will simply snip off the broken clasp and solder on a brand-new, high-quality cast clasp, ensuring the structural integrity of your jewelry. The Gemological Institute of America (GIA) consistently advises consumers to seek professional bench jewelers for any repair involving direct heat or structural soldering on precious metal chains.
Preventative Maintenance for Clasp Longevity
The best way to fix a necklace clasp is to prevent it from breaking in the first place. Implement these three maintenance habits to extend the life of your jewelry findings:
- Regular Jump Ring Inspections: Once a month, use your 10x loupe to inspect the jump ring connecting the clasp to the chain. Look for a visible gap or a 'pull' in the metal. Catching a slightly opened jump ring before it snaps prevents the loss of the entire necklace.
- Avoid Chemical Exposure: Chlorine in swimming pools and hot tubs is highly corrosive to the alloy metals used in spring mechanisms (which are often made of steel or base metals, even inside a 14k gold clasp). Always remove your necklaces before swimming.
- Proper Storage: Never toss necklaces loosely into a jewelry box where the heavy clasp of one chain can crush the delicate links or lever of another. Store necklaces individually in soft pouches or hang them on a padded jewelry stand to eliminate mechanical stress on the findings.
Expert Insight: When purchasing replacement clasps, always opt for 'cast' lobster claws rather than 'stamped' or 'folded' metal versions. Cast clasps are solid, heavier, and far less likely to deform under the tension of a heavy pendant, providing vastly superior longevity for your favorite pieces.


