How to Separate Necklaces Tangled Together Without Breaking
Learn how to safely separate necklaces tangled together using our expert step-by-step guide, friction-reducing tools, and prevention tips.

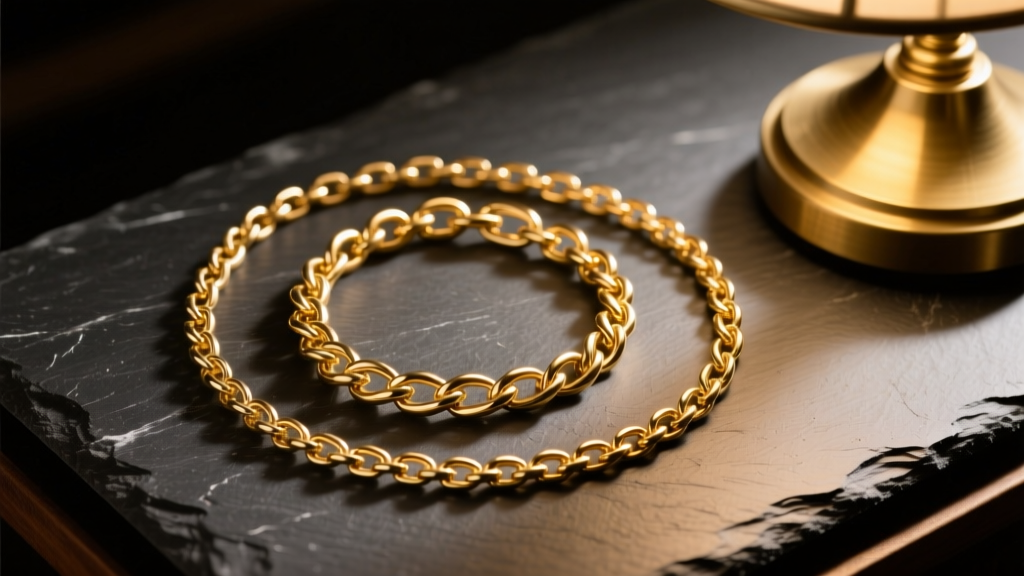
The Physics of Spontaneous Knotting
Finding your favorite necklaces tangled together in a tight, seemingly impossible bird's nest is a universal frustration. However, this is not merely a result of careless storage; it is a documented physical phenomenon. According to a comprehensive study published in the Proceedings of the National Academy of Sciences (PNAS), spontaneous knotting occurs when a flexible string is agitated in a confined space. The study found that chains between 1.5 and 3 feet in length (the exact measurement of most 18-inch to 36-inch necklaces) have the highest probability of forming complex mathematical knots within seconds of tumbling. When you combine this physical law with the microscopic friction of interlocking metal links, you get a knot that tightens under its own weight.
Chain Link Geometry: Which Profiles Interlock?
Not all chains tangle equally. The geometric profile of the chain link dictates its friction coefficient and its tendency to catch on adjacent chains. Understanding your chain type is the first step in both untangling and preventing future knots.
| Chain Profile | Geometry & Surface | Tangling Risk | Untangling Difficulty |
|---|---|---|---|
| Snake Chain | Tightly joined wavy rings; smooth but high surface area | Extreme | High (knots pull very tight) |
| Box Chain | Square links with sharp 90-degree exterior edges | High | Medium (edges catch on other links) |
| Herringbone | Flat, flush-mounted links; highly flexible in one plane | Medium | High (prone to permanent kinking) |
| Cable Chain | Uniform oval links; minimal surface contact | Low | Low (knots remain relatively loose) |
| Figaro Chain | Alternating long and short links; rigid structure | Very Low | Very Low (structural rigidity prevents tight knots) |
The Professional Untangling Toolkit
Before attempting to separate necklaces tangled together, discard the instinct to use your fingers. Finger pads are too wide to penetrate the core of a micro-knot, and the natural oils and moisture on your skin actually increase metal-to-metal friction. Instead, assemble a professional toolkit:
- Friction Reducer: Cornstarch or talc-free baby powder. (Avoid liquid oils like WD-40 or baby oil, which will degrade porous gemstones like pearls or opals and require harsh chemical degreasing later).
- Straight Pins (Size 17 or 18): These have a shaft diameter of exactly 1.0mm to 1.1mm, making them rigid enough to push metal links apart without bending, yet thin enough to slip into a 0.8mm chain knot.
- Needle-Nose Tweezers: For stabilizing the outer loops of the knot while you work on the core.
- Jeweler's Loupe (10x Magnification): Essential for identifying the 'load-bearing' link that is holding the tension of the knot.
Step-by-Step Guide to Separating Necklaces Tangled Together
Follow this exact sequence to safely dismantle the knot without causing micro-fractures or work-hardening the metal to the point of snapping.
- Prepare the Workspace: Lay a piece of dark, non-reflective material (like a slate tile or dark felt) on a flat desk. Position a bright, cool-toned LED desk lamp directly overhead to eliminate shadows.
- Apply the Friction Reducer: Generously dust the entire knot with cornstarch. Gently tap the table to vibrate the powder into the microscopic gaps between the metal links. This dry lubricant will reduce the friction coefficient by up to 40%.
- Locate the Core Tension Point: Using your 10x loupe, find the exact center of the knot. Do not pull on the ends of the chains; pulling tightens the outer loops around the core.
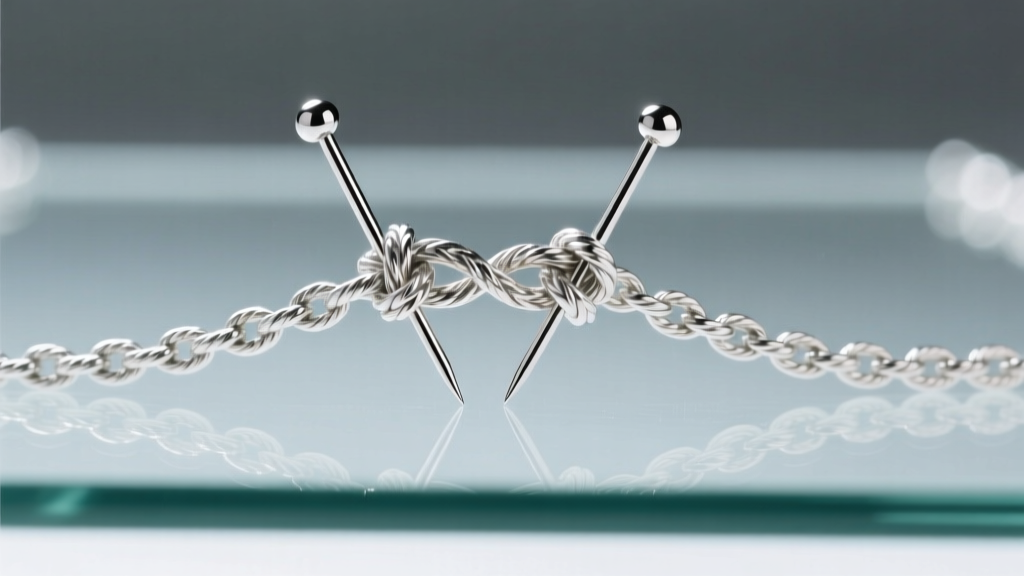
- Insert and Wiggle: Take two Size 17 straight pins. Insert them into the centermost link from opposite directions. Gently wiggle them in a 'scissoring' motion to create a millimeter of slack.
- Push, Never Pull: Use the pins to push the outer loops toward the center. This counter-intuitive movement relieves the tension on the load-bearing links.
- Extract the Chains One by One: Once the core is loosened, use your tweezers to lift the thinnest or most delicate chain out of the matrix first, leaving the heavier chains for last.
Post-Knot Stress Testing and Cleaning
Once your necklaces are separated, the process is not entirely complete. The mechanical stress of a tight knot, combined with the force used to untangle it, can compromise the structural integrity of delicate metals.
According to Blue Nile's jewelry care guidelines, precious metals like 14k gold and sterling silver are susceptible to work hardening. When a link is bent sharply inside a knot, its crystalline structure becomes brittle. Run your fingers gently down the length of the chain, feeling for any stiff spots, sharp angles, or micro-fractures in the solder points of the jump rings. If you find a kinked link in a snake or herringbone chain, lay it flat on a steel block and gently tap it with a rawhide mallet to flatten the link back into its original plane.
Expert Warning: Never use a metal hammer or pliers to flatten a kinked chain. Steel tools will mar the finish and can easily crush the delicate solder joints, leading to immediate chain failure.
To remove the cornstarch, use a soft-bristled makeup brush to sweep away the dry powder. If necessary, wash the chain in a lukewarm bath of distilled water and a single drop of mild, phosphate-free dish soap, then dry immediately with a microfiber cloth to prevent water spots or silver oxidation.
Prevention Protocols for Layered Necklaces
The most common cause of necklaces tangled together is improper layering and storage. If you wear multiple chains simultaneously, they will naturally migrate toward one another due to the pendulum effect of walking and body movement. To prevent this, you must engineer your layering strategy using strict length and weight differentials.
The 2-Inch Layering Rule
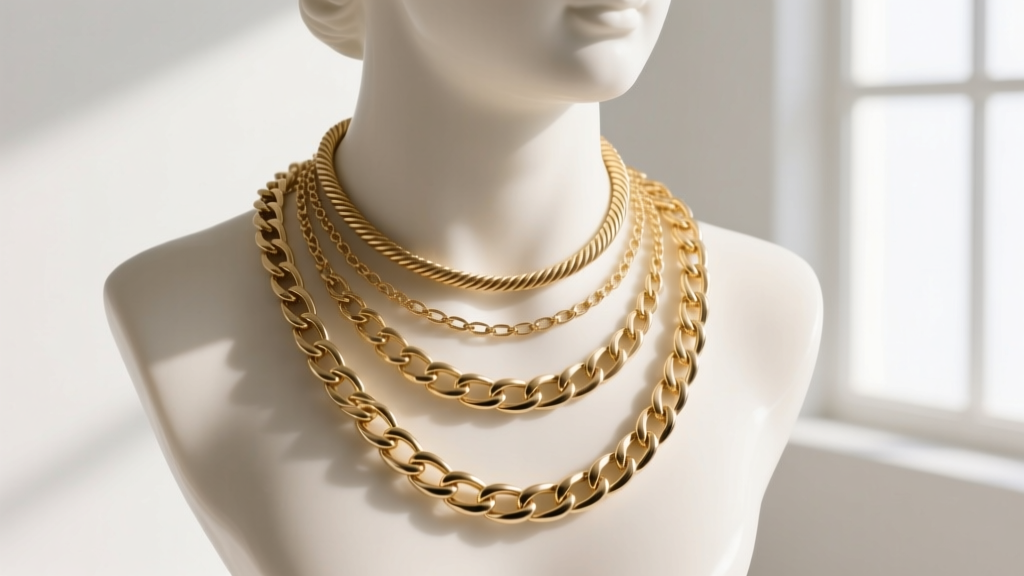
When layering, the distance between the clasp drop of each necklace must be a minimum of 2 inches. An 16-inch choker, an 18-inch princess length, and a 20-inch matinee length will glide over one another without intersecting. If the gap is less than 1.5 inches, the chains will inevitably cross paths, twist, and knot at the nape of the neck.
Weight Distribution and Clasp Security
Heavier chains and pendants should always be placed on the longest chain in the stack. A heavy pendant anchors the lower chain, preventing it from riding up and wrapping around the lighter, shorter chains above it. Furthermore, ensure all jump rings are soldered closed or use locking clasps; open jump rings act as tiny hooks that will aggressively catch and pull the links of adjacent chains.
Storage Solutions for Travel and Home
To prevent spontaneous knotting in your jewelry box or suitcase, abandon the communal drawer approach. Utilize individual polyethylene zip bags (the plastic acts as an anti-static barrier, reducing the static cling that draws chains together). Alternatively, thread one end of the necklace through a plastic drinking straw before clasping it; this rigid tube makes it physically impossible for the chain to curl back on itself and form a knot. For comprehensive advice on preserving metal finishes during storage, refer to the Gemological Institute of America (GIA) care protocols, which emphasize keeping pieces separated to avoid abrasive scratching and tangling.


