How to Get a Necklace Untangled: Expert Guide for Layered Chains
Learn how to get a necklace untangled safely. Expert tips on removing stubborn knots from delicate paperclip, snake, and layered chains.

The Physics of the Tangle: Why Modern Chain Trends Knot
Layering remains the defining jewelry trend of the decade, but the reality of wearing three or four delicate chains is the inevitable 'rat's nest.' To understand how to get a necklace untangled without causing permanent structural damage, we must first look at the metallurgy and geometry of modern chain weaves. According to chain manufacturing data from Rio Grande, a leading jewelry supplier, the physical structure of a chain dictates its tangling propensity.
Paperclip Chains: The Hook Effect
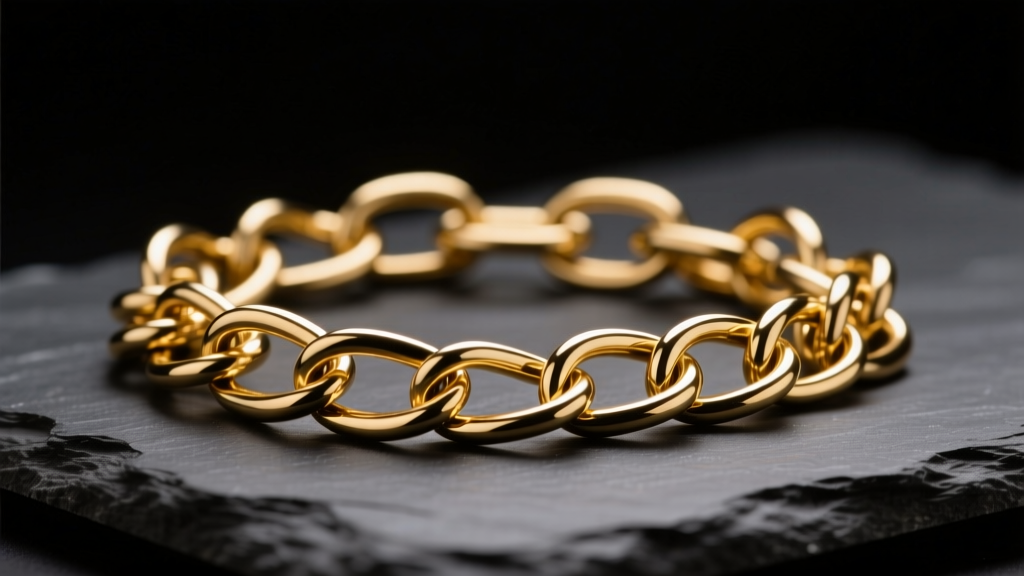
Paperclip chains feature elongated, rectangular links. While visually striking, these elongated loops act as microscopic hooks. When layered with other chains, the open ends of the links easily catch on adjacent jump rings or the porous settings of pendants. Because many trendy paperclip chains are hollow to reduce gold weight, applying pulling pressure to a knot will crush the hollow barrel, ruining the link.
Snake Chains: The Fluid Slipknot
Snake chains are constructed from tightly interlocking metal plates that form a smooth, continuous tube. They lack the open gaps of cable chains, but their fluid nature allows them to fold in on themselves. When a snake chain folds past a 45-degree angle, it creates a micro-kink. This kink acts as an anchor point, causing the chain to weave through itself and create a dense, seemingly impenetrable slipknot.
Box Chains: The Corner Lock
Box chains consist of square, interlocking links. They are highly durable, but when tangled, the sharp 90-degree corners of the links wedge into one another. Pulling a tangled box chain causes the corners to lock together via friction, often requiring a mechanical intervention to separate.
The Untangling Toolkit: What Actually Works
Before you attempt to rescue your jewelry, discard the safety pin. Blunt-tipped pins push metal out of the way rather than slipping between links, which stretches and weakens the alloy. Assemble a proper toolkit based on the principles of tribology (the study of friction).
- Needles: Use size 9 or 10 'sharps' sewing needles, or fine beading needles. Their diameter (approximately 0.45mm) is thin enough to slip between micro-links (1.0mm - 1.5mm) without forcing the metal apart.
- Dry Lubricants: Talcum powder, baby powder, or cornstarch. These reduce surface friction without leaving a sticky residue that attracts dust.
- Wet Lubricants: Food-grade mineral oil. Avoid botanical oils (like olive or coconut oil) as they oxidize, turn rancid over time, and can permanently stain porous gemstones like turquoise, opal, or malachite.
- Work Surface: A smooth, non-porous white ceramic tile or a glass countertop. This provides a hard, flat surface and high contrast to see the knot's architecture.
Lubricants Ranked by Metal and Gemstone Safety
| Lubricant Type | Best For Chain Type | Gemstone Safety | Cleanup Required |
|---|---|---|---|
| Talcum Powder | Snake, Box, Herringbone | 100% Safe | Soft brush wipe |
| Mineral Oil | Paperclip, Cable, Rolo | Safe (Avoid on Opals/Pearls) | Dish soap wash |
| Graphite (Pencil) | Stubborn Clasps Only | Safe but messy | Polishing cloth |
| WD-40 / Solvents | NEVER USE | Degrades treatments & pearls | N/A |
Step-by-Step: How to Get a Necklace Untangled (The Pin Method)
When dealing with a severe knot, human instinct is to pull the ends to find the loop. This is a critical error. Pulling increases the tension and capillary friction between the metal links, effectively tightening the slipknot. Follow this expert methodology to safely dismantle the knot.
Step 1: Unclasp and Isolate
Always unclasp the necklace before beginning. If you are untangling a layered set, remove all other necklaces from the workspace to prevent cross-contamination of the knot. Lay the chain flat on your ceramic tile.
Step 2: Apply the Friction Reducer
For tight, dense knots (common in snake chains), sprinkle a generous amount of talcum powder directly over the center of the tangle. Gently tap the tile so the powder settles into the microscopic gaps between the links. For looser, multi-wrap knots (common in paperclip chains), apply a single drop of mineral oil using a toothpick.
Step 3: The 'Push, Don't Pull' Rule
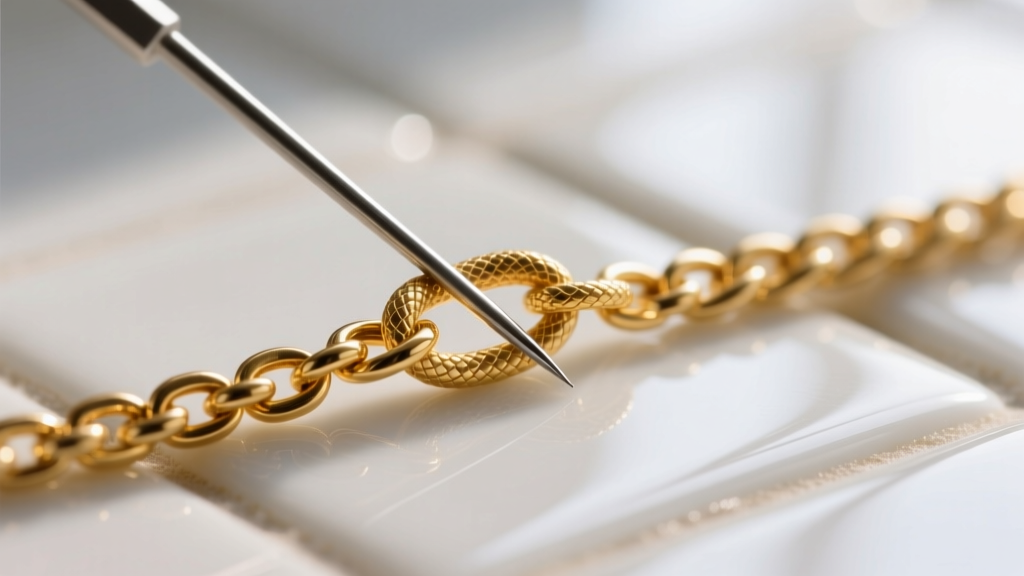
Take your two fine needles. Insert the tip of the first needle into the exact center of the knot—the eye of the storm. Instead of pulling the chain outward, gently push the links inward toward the center. This creates slack. Once slack is introduced, use the second needle to hook the outermost loop and gently lift it upward.
Step 4: Work the Periphery
Never attack the tightest part of the knot first. Loosen the outer loops, feeding them back into the center to create more slack. As the knot expands, the center will naturally loosen. According to jewelry care guidelines from the Gemological Institute of America (GIA), gentle mechanical manipulation is always preferred over chemical solvents or brute force, which can compromise the structural integrity of soldered joints.
Advanced Rescue: Dealing with Deadlocks and Gemstones
Sometimes, a knot becomes a 'deadlock,' where the metal has been pulled so tightly that the links are physically wedged. If your necklace features micro-pave diamonds or delicate gemstone bezels, the stakes are significantly higher.
Expert Warning: Never place a tangled necklace into an ultrasonic cleaner. The high-frequency vibrations will not shake the knot loose; instead, they will cause the links to vibrate against one another, tightening the knot further and potentially shaking loose the pave-set diamonds or fracturing included gemstones like emeralds.
If a knot is completely immobilized, apply a microscopic drop of mineral oil and let it sit for 15 minutes to penetrate the metal-on-metal friction points. Use the needles to gently 'roll' the wedged links rather than pulling them. If the chain is gold-plated over brass or silver, be aware that aggressive needle work will scratch through the plating layer (which is often only 0.5 to 1.0 microns thick on trendy fashion jewelry). For plated pieces, use bamboo skewers filed to a fine point instead of steel needles to prevent scratching the finish.
Once the chain is freed, you must clean it. If you used mineral oil, wash the chain in a bowl of warm water with a few drops of mild dish soap (like Dawn). Use a baby-soft toothbrush to gently sweep away the oil and powder. Rinse with distilled water to prevent hard water spots, and lay flat on a microfiber cloth to dry. For comprehensive jewelry making and repair techniques, the Fire Mountain Gems Encyclopedia offers excellent visual guides on chain link structures and repair limitations.
Prevention: Storage and Layering Hacks
Understanding how to get a necklace untangled is vital, but preventing the tangle is the hallmark of a true jewelry collector. The friction that causes tangles in your jewelry box is generated by movement and static electricity.
The Straw Threading Method
For travel or long-term storage, unclasp the necklace and thread one end through a standard plastic drinking straw. Clasp the necklace back together. The rigid plastic prevents the chain from folding in on itself, making it physically impossible for a snake or box chain to form a slipknot.
The Extender Anchor
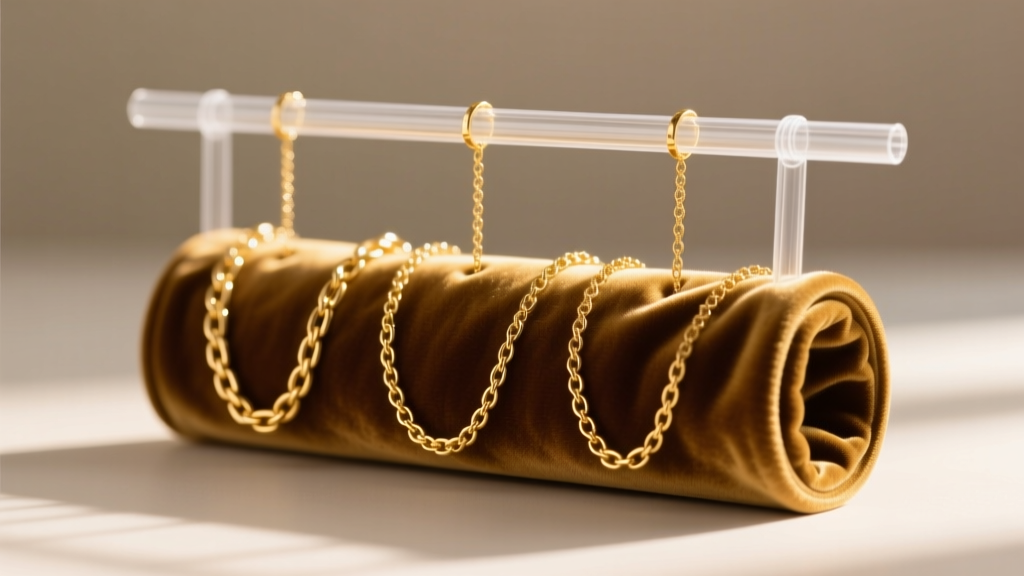
When storing layered chains on a jewelry tree or stand, do not leave them unclasped. Clasp the chain, and if it has an extender chain, hook the main clasp onto the last ring of the extender. This keeps the chain under slight, even tension, preventing it from slipping and bunching up at the bottom of the display.
Anti-Static Interventions
In dry winter months, static electricity causes lightweight micro-chains (under 1.2mm) to cling to one another, initiating the tangling process. Lightly misting a tissue with an anti-static spray (like Static Guard) and gently wiping down the exterior of your jewelry box or travel pouch can neutralize the charge, allowing the chains to lay flat and separate.
By respecting the geometry of your chain weaves and utilizing the correct tribological lubricants, you can preserve the pristine condition of your layered necklaces, ensuring they remain a staple of your style arsenal rather than a source of frustration.


