How to Layer, Clean, and Restring a Cowrie Necklace
Learn how to expertly layer, clean, and restring a cowrie necklace. Discover cord materials, knotting techniques, and shell care tips.

The Enduring Appeal of the Cowrie Necklace
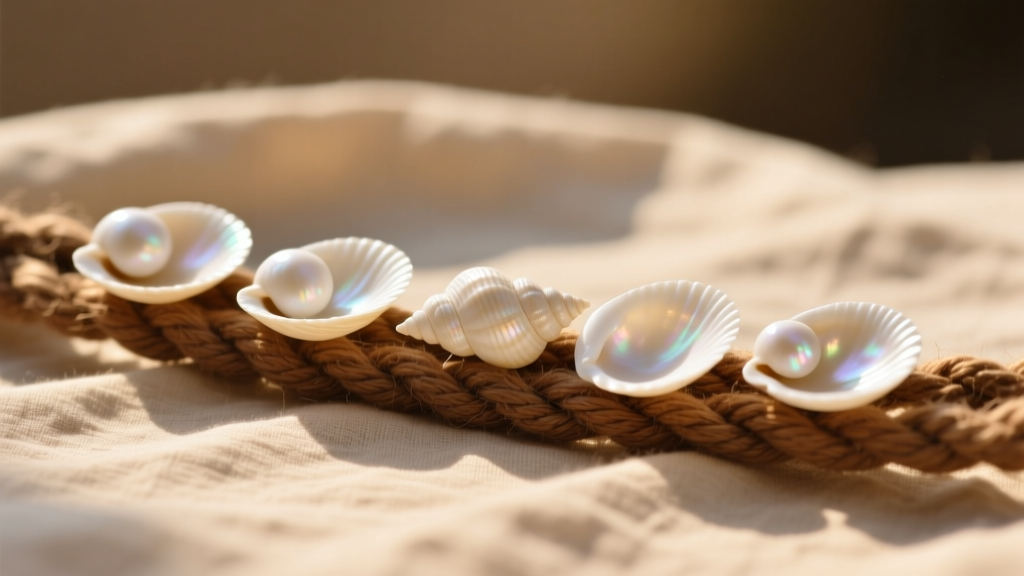
The cowrie shell (Monetaria moneta) has been a symbol of wealth, spirituality, and adornment for millennia. As noted by Britannica, these glossy, egg-shaped shells were historically used as currency across Africa and Asia before transitioning into highly sought-after jewelry components. Today, the cowrie necklace remains a staple in bohemian, coastal, and contemporary minimalist wardrobes. However, because organic materials require specialized care and structural considerations, many owners struggle with fraying cords, dull finishes, and awkward layering. This comprehensive guide will walk you through the exact steps to restring, style, and preserve your cowrie shell jewelry with professional precision.
Step 1: Selecting the Right Cord and Hardware
The most common point of failure in a cowrie necklace is the cord. Shells have slightly abrasive drilled edges that can saw through weak fibers over time. Furthermore, the drill holes on standard cowrie shells typically range from 2.5mm to 4.0mm, meaning you need a cord that is thick enough to prevent excessive friction but thin enough to pass through the hole twice if you are using a loop-and-knot technique.
Cord Material Comparison Chart
| Material | Diameter | Water Resistance | Tensile Strength | Best Use Case |
|---|---|---|---|---|
| Waxed Cotton | 1.0mm | Moderate | High | Everyday wear, boho styles, knotting between shells |
| Braided Nylon | 0.8mm | Excellent | Very High | Surf/swim jewelry, high-friction environments |
| Silk Thread | 1.5mm | Poor | Low | High-end vintage pieces, delicate draping |
| Hemp | 1.2mm | Low | Moderate | Rustic aesthetics, temporary festival wear |
For a durable, everyday cowrie necklace, 1.0mm waxed cotton or 0.8mm braided nylon are the industry standards. The wax coating on cotton fills the microscopic gaps in the fiber, protecting it from the abrasive edges of the shell's calcium carbonate structure.
Step 2: The Restringing Process (Step-by-Step)
Restringing a cowrie necklace requires more than just sliding shells onto a wire. To ensure the necklace drapes beautifully and the shells do not clump together, you must incorporate spacing and secure knotting.
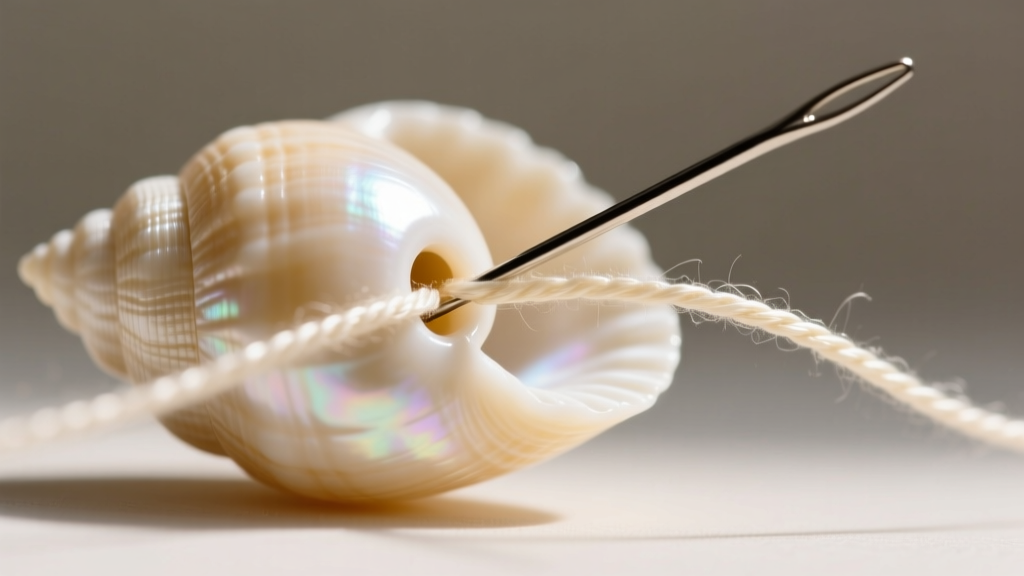
- Prepare Your Materials: Cut a length of 1.0mm waxed cotton cord approximately 40 inches long (for a standard 18-inch princess length necklace, allowing ample room for knotting). You will also need a size 10 or 12 flexible beading needle and two 2mm gold-filled or sterling silver crimp beads.
- Secure the First End: Thread the cord through your chosen clasp (a 10mm lobster clasp works best). Fold the cord back 3 inches and tie a double surgeon’s knot. Apply a microscopic drop of cyanoacrylate (jewelry glue) to the knot and trim the tail.
- String and Space: Thread the needle and begin adding your cowrie shells. To prevent the shells from grinding against each other and chipping their delicate dorsal ridges, string a single 2mm or 3mm seed bead (or a small metallic spacer) between each cowrie shell.
- Check the Drape: Before finishing, wrap the necklace around a jewelry bust or your neck. Ensure the shells are facing outward uniformly. If a shell flips inward, you may need to adjust the tension of the adjacent spacer bead.
- Finish the Clasp: Thread the cord through the jump ring of the opposite clasp side. Thread a crimp bead over both the main cord and the tail. Pull tight to remove all slack, flatten the crimp bead with chain-nose pliers, and tie a final square knot flush against the crimp. Trim and seal with glue.
Step 3: Mastering the Layering Technique
A single cowrie necklace is beautiful, but layering transforms it into a curated, dimensional look. The key to layering organic shells with metals and gemstones is adhering to the 2-Inch Rule and balancing visual weight.
The 2-Inch Rule for Necklines
To prevent tangling and visual clutter, each subsequent layer must be at least 2 inches longer than the previous one.
- Layer 1 (16 inches): A delicate cowrie choker on a thin gold chain or thin waxed cord. This sits at the base of the neck and frames the collarbone.
- Layer 2 (18 inches): A 14k gold vermeil or sterling silver herringbone chain. The metallic reflection complements the matte or glossy finish of the shells.
- Layer 3 (22 inches): A heavier pendant necklace featuring a complementary organic stone, such as turquoise, lapis lazuli, or mother-of-pearl.
When wearing a cowrie necklace with a V-neck top, allow the 22-inch layer to rest exactly one inch below the apex of the V-neck. For crew necks or turtlenecks, stick to a single, bold 24-inch opera-length cowrie strand to elongate the torso.

Step 4: Cleaning and Preserving the Nacre
Cowrie shells are composed primarily of calcium carbonate and feature a natural enameled surface called nacre. On the Mohs scale of hardness, cowrie shells rank between 2.5 and 3.0, making them roughly as soft as pearls and coral. According to the GIA Gem Encyclopedia, organic gems are highly susceptible to damage from acids, heat, and harsh chemicals.
Safe Cleaning Protocol
- Mix a solution of lukewarm water and a few drops of pH-neutral dish soap (avoid soaps with citrus extracts or added moisturizers).
- Dip a soft-bristled baby toothbrush or a microfiber cloth into the solution.
- Gently wipe the dorsal (top) and ventral (bottom) sides of each shell. Do not scrub aggressively, as this can wear down the natural polish over time.
- Rinse the shells quickly under a gentle stream of distilled water to prevent hard water mineral deposits.
- Pat dry immediately with a lint-free cloth. Never let a cowrie necklace air dry on a towel, as cotton fibers can snag on the serrated edges of the shell's aperture.
Expert Warning: The Jewelers of America strictly advises against using ultrasonic cleaners or steamers on any organic jewelry. The high-frequency vibrations can cause micro-fractures in the calcium carbonate structure, leading to catastrophic shell failure.
Troubleshooting Common Cowrie Necklace Issues
Even with meticulous care, you may encounter specific issues with shell jewelry. Here is how to troubleshoot them like a professional bench jeweler.
- Issue: Shells are turning yellow or dull.
Solution: Prolonged exposure to UV light and skin oils can degrade the shell's surface. Restore the luster by rubbing each shell with a tiny amount of food-grade mineral oil or jojoba oil on a cotton swab. Buff off the excess with a dry microfiber cloth. - Issue: The cord keeps fraying near the clasp.
Solution: The jump ring or clasp edge likely has a microscopic burr. Use a jewelry file or fine-grit sandpaper to smooth the inside of the metal hardware. Alternatively, use a cord end cap and a dab of epoxy to transition from the soft cord to the metal clasp. - Issue: Shells are flipping backward while wearing.
Solution: This happens when the drill holes are not perfectly centered, or the cord is too loose. Restring the necklace using the "knot-between-every-shell" technique rather than using spacer beads. The friction of the knots will lock the shells into their forward-facing position.
By understanding the material science of the cowrie shell and applying proper jewelry-making techniques, you can ensure your cowrie necklace remains a durable, stunning centerpiece in your collection for decades to come.


