How to Layer and Style a Bubble Necklace: A Step-by-Step Guide
Learn how to layer, style, and maintain your bubble necklace. Step-by-step guide on weight distribution, stringing materials, and cleaning spherical beads.


The Anatomy of a Bubble Necklace
A bubble necklace is defined by its continuous strand of spherical beads—ranging from lustrous freshwater pearls and hollow borosilicate glass to polished metal orbs. Because of their uniform geometry and concentrated weight, bubble necklaces offer a bold, textural statement that differs vastly from flat chains or faceted gemstones. However, these same physical properties make them notoriously difficult to layer without tangling and prone to specific structural failures like cord stretching or bead chipping.
Whether you are styling a delicate 6mm pearl strand or a heavy 14mm hollow glass statement piece, mastering the mechanics of spherical jewelry is essential. This step-by-step guide will walk you through the precise techniques for layering, supporting, and maintaining your bubble necklaces to ensure they drape perfectly and last a lifetime.
Step 1: Choose the Right Anchor Chain for Layering
When layering a bubble necklace, the accompanying chains must act as structural anchors. Spherical beads roll and shift, creating kinetic friction against neighboring jewelry. If you pair a heavy glass bubble necklace with a delicate 0.8mm cable chain, the beads will act like sandpaper, eventually sawing through the softer metal.
- For 6mm - 8mm Bubbles (Lightweight): Pair with a 1.0mm to 1.2mm Figaro or wheat chain. These chains offer enough surface area to resist friction without overpowering the delicate beads.
- For 10mm - 14mm Bubbles (Medium Weight): Use a 1.5mm to 2.0mm box chain or rope chain. The flat edges of a box chain prevent the spherical beads from catching in the links.
- For 16mm+ Bubbles (Heavyweight): Avoid layering with standard chains entirely. Instead, layer with a solid metal torque or a thick 3.0mm Cuban link chain that can support the 80+ gram weight of large glass or stone spheres.
Step 2: Apply the 2-Inch Separation Rule
The most common mistake when styling bubble necklaces is clustering them at similar lengths. Because spheres have a larger diameter than flat chains, they require more vertical space to hang without colliding. You must apply the 2-Inch Separation Rule.
If your bubble necklace is 18 inches long, your secondary layering piece must be no longer than 16 inches or no shorter than 20 inches. This 2-inch gap accounts for the physical depth of the beads (which can add up to 14mm of drop) and prevents the clasp of the shorter necklace from getting trapped beneath the heavy beads of the bubble strand. Always put the bubble necklace on last to ensure it rests on top of the visual hierarchy, allowing the light to catch the spherical curves.
Step 3: Balance Weight and Neckline Pairing
The visual weight of a bubble necklace can easily overwhelm a delicate neckline or get lost in a busy pattern. Use the data table below to match your bead diameter and strand length to your specific garment neckline for optimal proportions.
| Neckline Type | Optimal Bubble Diameter | Ideal Strand Length | Layering Strategy |
|---|---|---|---|
| Crew Neck | 6mm - 8mm | 16" - 18" | Single strand or layered with a 20" delicate pendant chain |
| V-Neck | 10mm - 14mm | 20" - 24" | Let the bubble strand follow the V-shape; avoid chokers |
| Scoop Neck | 8mm - 12mm | 18" - 20" | Pair with a 16" solid metal choker for geometric contrast |
| Off-Shoulder | 14mm - 20mm | 30" - 36" | Long, dramatic lariat or double-wrap style for bare skin |
Step 4: Verify Structural Integrity and Stringing Materials
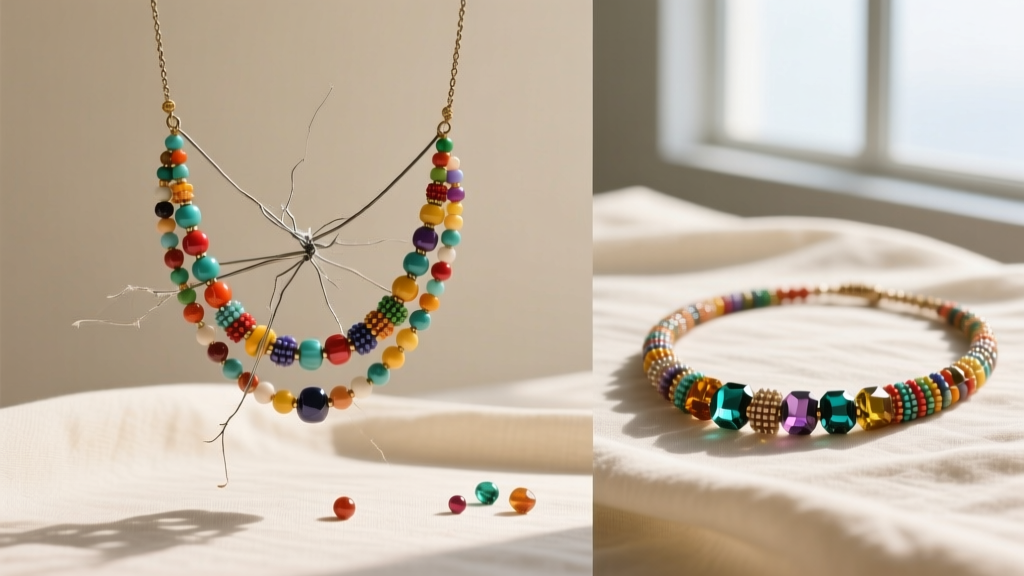
The failure mode for most vintage or poorly made bubble necklaces is string stretch. A 36-inch strand of 12mm solid glass beads can weigh over 150 grams. If strung on standard nylon or thin silk, the cord will stretch within weeks, creating unsightly gaps between the beads and putting immense stress on the drill holes, leading to chipping.
How to Check and Re-String
Hold the necklace up by the clasp. If the wire or cord is visible between the beads, or if the beads slide together with a clicking sound when you bend the strand, the structural integrity is compromised. To properly support heavy spherical beads, the necklace must be strung on 49-strand micro-fused stainless steel wire (specifically 0.024-inch diameter, such as professional-grade Beadalon) coated in nylon. If you prefer the drape of silk, you must use Size G (0.6mm) or Size H (0.8mm) silk cord and hand-knot between every single bead to distribute the weight and prevent bead-on-bead friction.
Step 5: Cleaning and Storing Spherical Beads
Spherical beads require specific cleaning protocols based on their material. The curvature of the bead hides dirt and oils in the drill holes, which can degrade the stringing material over time.
Material-Specific Care Guides
- Freshwater Pearls: According to the Gemological Institute of America (GIA), pearls are highly sensitive to acids and chemicals. Never use ultrasonic cleaners or alcohol. Wipe them gently with a damp, lint-free cloth after every wear to remove body oils, and allow them to dry completely flat before storing to prevent the silk from stretching.
- Hollow Glass or Metal Bubbles: Hollow spheres are prone to denting if dropped. Clean them with a mild dish soap solution and a soft-bristled baby toothbrush to reach the crevices near the drill holes. Dry immediately with a microfiber cloth to prevent water spots on the glass or tarnish on the metal.
- Solid Gemstone or Metal Orbs: These can withstand more rigorous cleaning. The Jewelers of America recommends a gentle ultrasonic bath for solid metals and hard stones (like quartz or onyx), but always inspect the beads for internal fractures first, as vibrations can shatter compromised stones.

Troubleshooting Common Bubble Necklace Failures
Even with proper care, bubble necklaces present unique mechanical challenges. Here is how to troubleshoot the most frequent issues:
- Problem: The clasp constantly slides to the front of the neck.
Cause: The necklace is top-heavy, or the clasp is too light to act as a counterbalance.
Fix: Replace the standard spring ring clasp with a heavier 10mm lobster clasp, or add a decorative counterweight charm directly to the clasp ring to anchor it at the nape of the neck. - Problem: Beads are chipping around the drill holes.
Cause: The stringing wire is too thick and rigid, acting like a saw against the glass or pearl when the necklace bends.
Fix: Re-string using a flexible 49-strand wire and add a 2mm metal spacer bead or a tiny rubber O-ring between each sphere to absorb the kinetic shock and protect the drill holes. - Problem: Hollow metal bubbles are denting.
Cause: Storing the necklace in a soft pouch where it can be crushed by heavier jewelry.
Fix: Always store hollow bubble necklaces in a hard-shell jewelry box with individual compartments, or hang them on a padded velvet jewelry stand to maintain their structural shape.
Final Thoughts on Spherical Styling
Styling a bubble necklace is an exercise in balancing geometry and gravity. By respecting the 2-inch separation rule, choosing the correct gauge for your anchor chains, and maintaining the structural integrity of the stringing material, you can transform a simple strand of spheres into a sophisticated, layered masterpiece. Whether you are wearing a minimalist 6mm pearl choker or a dramatic 20mm glass lariat, the key to pulling off the bubble necklace lies in intentional placement and meticulous care.