How to Tie, Style, and Maintain a Cording Necklace Properly
Learn how to tie adjustable knots, select the right gauge, and maintain your cording necklace with our expert step-by-step styling guide.

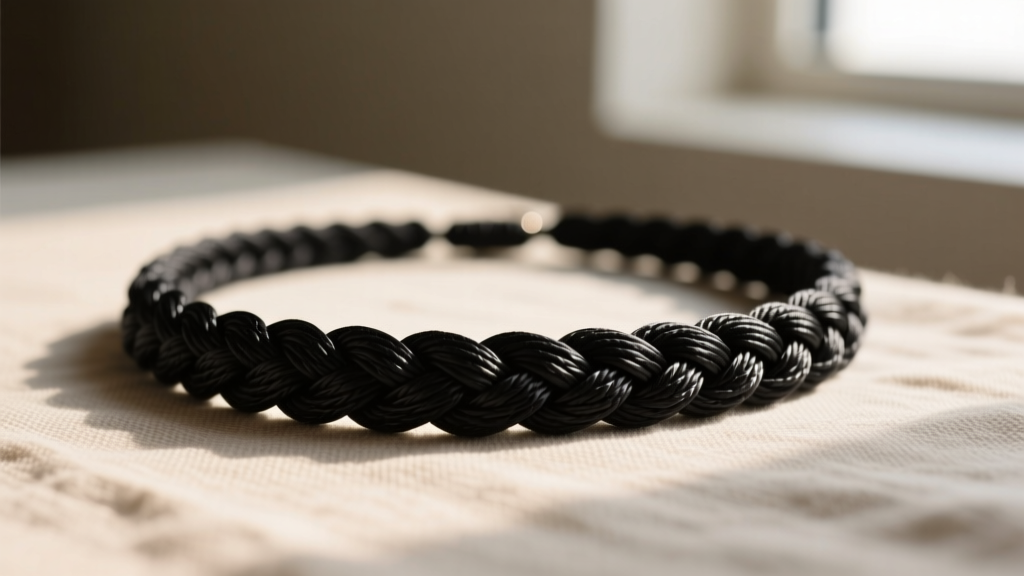
The cording necklace is a staple of versatile, bohemian, and minimalist jewelry design. Unlike rigid metal chains, corded necklaces offer a tactile, organic aesthetic that can be customized in length, knotted for texture, or paired with heavy artisan pendants. However, mastering the cording necklace requires an understanding of material gauges, structural knotting techniques, and specific maintenance protocols. Whether you are working with waxed cotton, genuine leather, or silk, this comprehensive guide will walk you through the exact steps to tie, style, and preserve your corded jewelry.
Understanding Cord Materials and Thickness (Gauge)
Before tying any knots, you must select the appropriate cord material and thickness. Cord thickness is measured in millimeters (mm), and choosing the wrong gauge can lead to structural failure or an inability to thread your desired pendant. According to Fire Mountain Gems, matching the cord gauge to the pendant's bail size is the most critical step in jewelry assembly.
- 0.5mm to 0.8mm (Micro Cords): Ideal for lightweight glass beads, small crystals, and delicate freshwater pearls. These cords are often made of nylon or silk and require microscopic knotting techniques.
- 1.0mm to 1.5mm (Standard Cords): The most versatile range. Perfect for medium-weight metal pendants, turquoise, and agate slices. Waxed cotton and Chinese knotting cord excel in this gauge.
- 2.0mm to 3.0mm (Heavy Cords): Reserved for heavy bronze, solid silver, or large geometric statement pieces. Leather and thick braided cotton are necessary here to support the weight without stretching or snapping.
Step-by-Step: Tying the Adjustable Sliding Knot
The hallmark of a well-crafted cording necklace is the adjustable sliding knot, which eliminates the need for metal clasps and allows the wearer to modify the drop length from collarbone to sternum. The most secure and aesthetically pleasing method is the Macrame Square Sliding Knot.
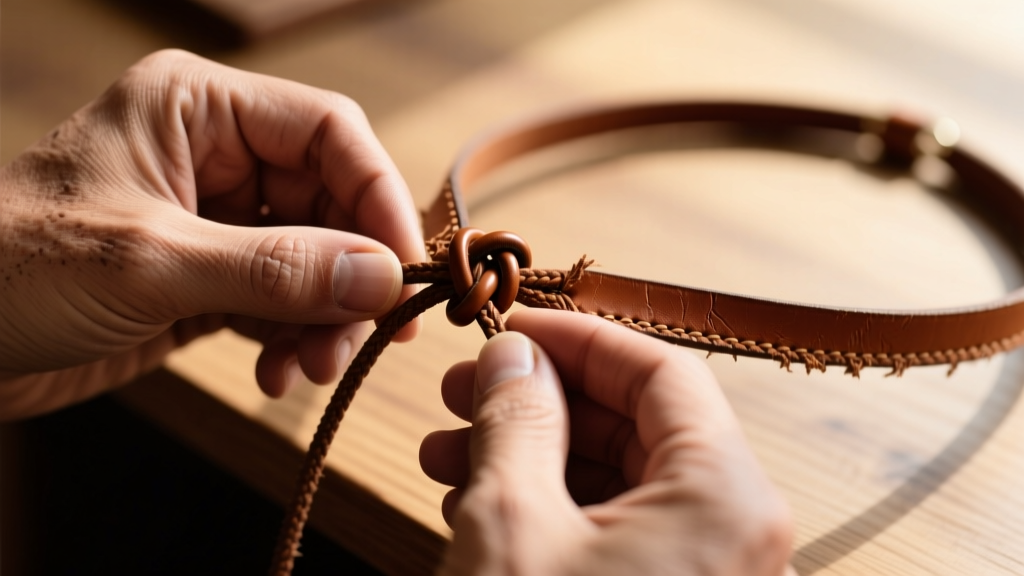
Step 1: Prepare the Base Cords
Lay the two ends of your main necklace cord parallel to each other, overlapping by about 4 inches. Secure the center of the overlap with a piece of painter's tape to your workspace. Cut a separate 36-inch piece of thinner cord (0.5mm waxed cotton works best) to serve as your knotting cord.
Step 2: The First Half-Knot
Place the center of your 36-inch knotting cord under the two parallel base cords. Take the right side of the knotting cord and pass it over the base cords, then under the left side of the knotting cord. Next, take the left side of the knotting cord, pass it over the base cords, and thread it up through the loop created on the right side. Pull tight to form the first half of the square knot.
Step 3: The Second Half-Knot (Completing the Square)
Reverse the process. Take the left cord, pass it over the base cords, and under the right cord. Take the right cord, pass it over the base cords, and thread it up through the loop on the left. Pull tightly. You have now completed one full square knot. As noted by The Spruce Crafts, alternating the direction of your half-knots is what keeps the macrame knot flat rather than spiraling into a half-hitch twist.
Step 4: Repeat and Finish
Repeat Steps 2 and 3 until you have a knot that is approximately 0.5 to 0.75 inches long. Trim the excess knotting cord, leaving a 2mm tail. Apply a microscopic drop of flexible jewelry adhesive (like E6000) to the tail ends and press them flat against the knot. Once dry, the base cords will slide smoothly through the square knot housing, allowing for infinite adjustability.
Material Comparison Chart: Choosing the Right Cord
Not all cords react to moisture, friction, and skin oils in the same way. Use the table below to determine which material suits your lifestyle and climate.
| Material | Best Gauge | Durability | Water Resistance | Ideal Pendant Type |
|---|---|---|---|---|
| Waxed Cotton | 1.0mm - 2.0mm | High | Excellent | Artisan metals, carved wood, sea glass |
| Genuine Leather | 1.5mm - 3.0mm | Medium-High | Poor (Degrades) | Heavy silver, bronze, large turquoise |
| Silk (Braided) | 0.8mm - 1.5mm | Medium | Poor (Water spots) | Pearls, jade, lightweight gold |
| Nylon (Chinese) | 0.5mm - 2.0mm | Very High | Excellent | Crystal points, gemstone beads |
Attaching Pendants: Bail Sizing and the Lark's Head Knot
A common failure point in a cording necklace is the connection between the cord and the pendant. If your pendant has a glued-on metal bail, ensure the inner diameter of the bail is at least 0.5mm larger than your cord's gauge. For example, a 1.5mm leather cord requires a bail with a minimum 2.0mm inner diameter to prevent friction wear.
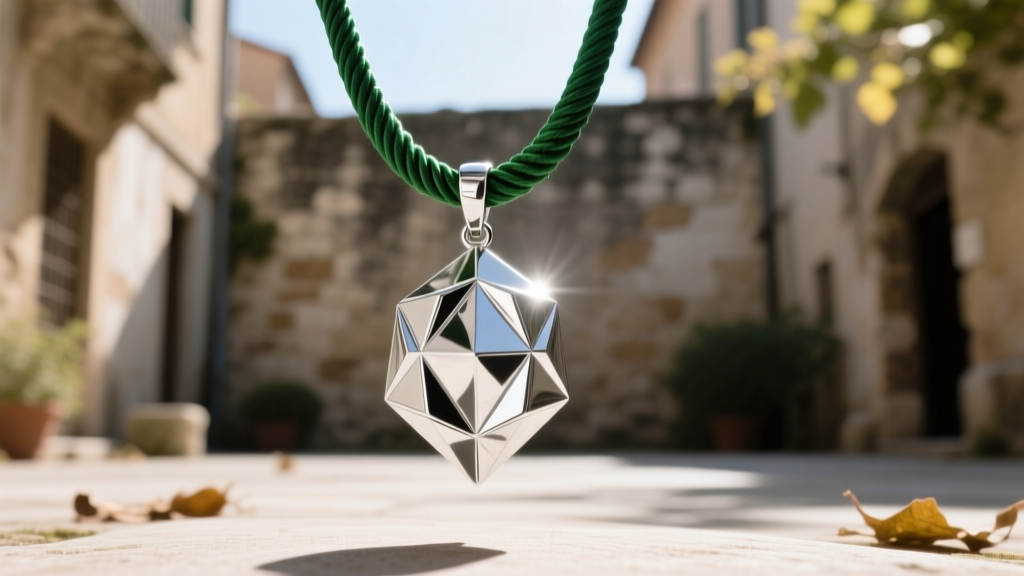
If your pendant features a top-drilled hole or a large wire-wrapped loop, bypass the metal bail entirely and use the Lark's Head Knot (also known as a cow hitch). Fold your necklace cord in half to find the center. Push the folded loop through the pendant's hole from front to back. Then, open the loop, pass the two long tails of the necklace through the loop, and pull tightly. This creates a secure, self-tightening grip that will not abrade the pendant hole over time.
Long-Term Care and Cleaning Protocols
Because corded necklaces sit directly against the skin, they absorb sweat, sebum, and environmental pollutants. Proper maintenance extends the life of the cord and prevents skin irritation.
Expert Rule of Thumb: Never submerge leather or silk cords in water. Moisture strips leather of its natural tanning oils, leading to dry rot and snapping, while water leaves permanent mineral spots on silk fibers.
Cleaning Waxed Cotton and Nylon
These materials are highly resilient. Create a solution of warm water and a few drops of mild castile soap. Dip a soft-bristled toothbrush into the solution and gently scrub the cord, paying special attention to the areas near the sliding knots where dead skin cells accumulate. Rinse quickly under cold water and lay flat on a towel to air dry. The wax coating on cotton will naturally redistribute as it dries.
Maintaining Leather and Silk
For leather, use a damp microfiber cloth to wipe away surface oils. Once a month, apply a tiny amount of high-quality saddle soap or leather conditioner to keep the fibers supple. For silk, spot-clean only with a barely damp cloth and a drop of baby shampoo. The Gemological Institute of America (GIA) recommends keeping organic jewelry materials away from harsh chemicals, perfumes, and aerosol sprays, which can break down the structural integrity of natural fibers over time.
Conclusion
Mastering the cording necklace elevates your jewelry styling from basic to bespoke. By understanding the precise gauge requirements of your pendants, executing a flawless macrame sliding knot, and adhering to material-specific cleaning protocols, you ensure that your corded pieces remain durable, adjustable, and visually striking for years to come. Whether you prefer the rugged texture of braided leather or the sleek finish of waxed nylon, the right technique transforms a simple string into a lifelong wearable artifact.


