How to Make a Necklace Knot: Style Trends & Expert Guide
Learn how to make a necklace knot with our expert guide. Explore current trends, cord materials, sliding knots, and traditional pearl knotting methods.

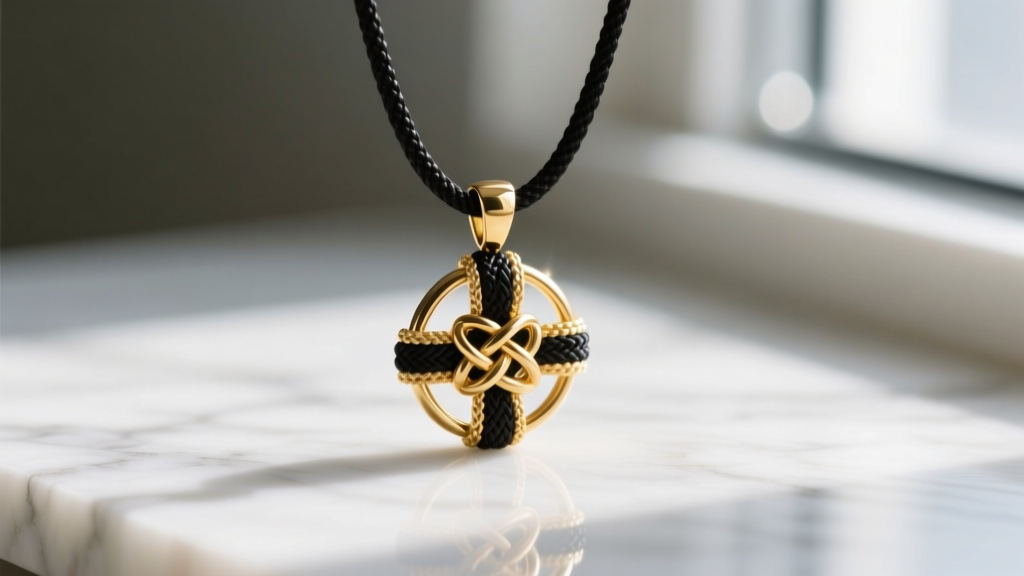
The Runway Shift: Why Knotted Necklaces Are Dominating
In the contemporary jewelry landscape, the hardware clasp is quietly being retired. As we navigate the style currents of 2026, the question of how to make a necklace knot has transitioned from a niche DIY query to a central pillar of high jewelry design and artisanal styling. The shift away from traditional lobster clasps and spring rings is driven by two major factors: the rise of the 'invisible' aesthetic and a growing consumer awareness of contact dermatitis caused by base-metal alloys.
Knotted necklaces offer a seamless, uninterrupted neckline that allows pendants and gemstones to take center stage without the visual interruption of a metallic clasp at the nape of the neck. Furthermore, from a style analysis perspective, the knot represents a return to tactile, human-centric craftsmanship. Whether it is a meticulously tied adjustable sliding square knot securing a minimalist gold talisman, or traditional silk knotting protecting a strand of Akoya pearls, mastering these techniques is essential for the modern jewelry enthusiast.
"The knot is the oldest form of jewelry fastening, yet in its modern iteration, it represents the ultimate rejection of mass-produced hardware in favor of intentional, tactile craftsmanship."
Material Science: Selecting the Optimal Cord
Before you can execute a flawless knot, you must understand the material science of jewelry cords. Not all threads are created equal. The success of your knot depends entirely on the cord's friction coefficient, tensile strength, and memory (stretch). According to comprehensive beading material guides from Fire Mountain Gems, choosing the wrong cord is the primary reason knots slip or degrade over time.
| Material | Diameter | Tensile Strength | Best Application | Friction Profile |
|---|---|---|---|---|
| S-Lon (Super-Lon) Nylon | 0.5mm | 22 lbs | Sliding Knots, Minimalist Pendants | High (Grips securely without glue) |
| Griffin 100% Natural Silk | 0.70mm (Size 6) | 8 lbs | Pearl Knotting, Heirloom Restringing | Medium (Requires French wire/glue) |
| C-Lon / Chinese Knotting Cord | 1.0mm | 35 lbs | Heavy Macramé, Statement Pendants | Very High (Holds complex macramé) |
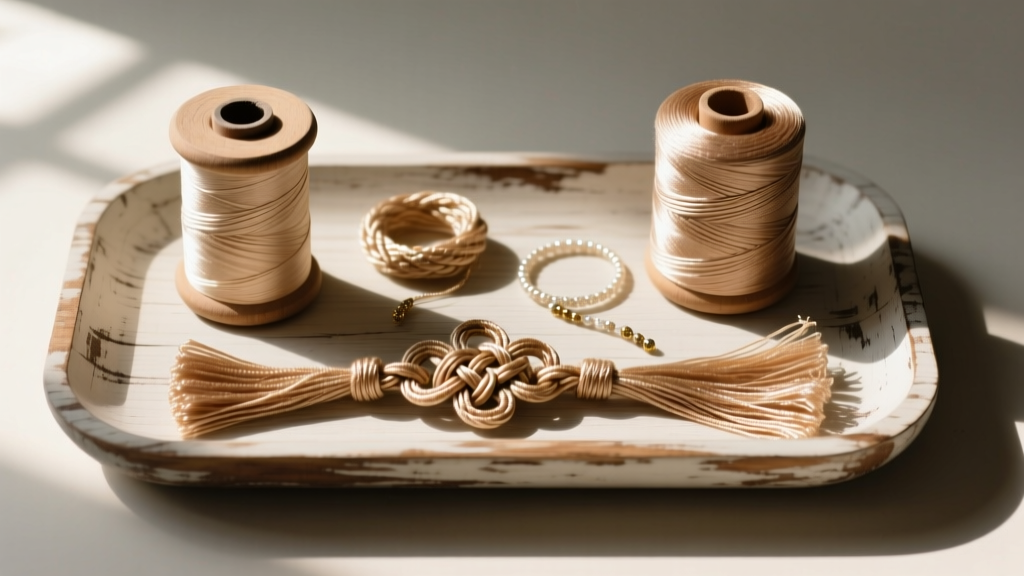
For adjustable sliding knots, S-Lon is the undisputed champion. Its nylon composition allows it to be melted and sealed with a micro-torch, preventing fraying while maintaining the exact friction needed to hold a pendant at a specific length without slipping. Conversely, natural silk is mandatory for pearls but requires a completely different knotting approach, which we will cover below.
Technique 1: The Adjustable Sliding Square Knot
The adjustable sliding knot is the backbone of the modern minimalist pendant trend. It allows the wearer to adjust the necklace length from a 16-inch choker to a 24-inch matinee drop effortlessly. Here is the professional method for executing a square sliding knot using 0.5mm S-Lon cord.
Step-by-Step Execution
- The Overlap: Lay the two ends of your necklace cord parallel to each other, overlapping by about 4 inches. Secure them to your work surface with a piece of painter's tape.
- The Anchor: Take a separate 12-inch piece of the same S-Lon cord. Place it horizontally under the overlapping cords, right in the center of the overlap.
- The First Half-Knot: Bring the right side of the anchor cord over the main cords, then under the left side of the anchor cord. Take the left side of the anchor cord, pass it over the main cords, and thread it through the loop created on the right side. Pull tight.
- The Second Half-Knot (The Reversal): This is where most beginners fail. You must reverse the direction. Take the left side of the anchor cord over the main cords, then under the right side. Take the right side, pass it over the main cords, and thread it through the left loop. Pull tight.
- Repetition: Alternate these two steps until you have completed 4 to 6 full square knots. Four knots provide the perfect balance of grip and slide-ability for 0.5mm nylon.
- The Finish: Trim the anchor cord tails close to the knot. Use a micro-torch or a precision lighter to briefly touch the nylon ends. Press the melted nylon flat against the knot with a metal spoon or ceramic tile to seal it. Never use your fingers, as melted nylon causes severe burns.
For a deeper visual breakdown of the mechanics behind the square knot, The Spruce Crafts offers excellent foundational diagrams that complement this professional workflow.
Technique 2: Traditional Overhand Silk Pearl Knotting
While the sliding knot is for modern pendants, traditional knotting is about preservation and heirloom elegance. The Gemological Institute of America (GIA) strongly recommends knotting between pearls to prevent nacre damage caused by pearls rubbing against each other, and to prevent the loss of multiple pearls if the strand breaks.

The Awl Method vs. The Twister Tool
There are two primary ways to learn how to make a necklace knot for pearls: the traditional awl method and the modern pearl knotting tool (often called a 'twister').
- The Awl Method (Expert Level): After threading a pearl onto the silk, you tie a loose overhand knot. Before tightening it, you insert a fine steel beading awl into the loop of the knot. As you pull the silk thread taut, you slide the awl down, pushing the knot flush against the drill hole of the pearl. This ensures zero gaps between the knot and the gemstone.
- The Twister Tool (Beginner Level): This tool uses two metal prongs to hold the knot open while a lever pulls the thread tight. While faster, it often leaves a microscopic gap between the pearl and the knot, which can loosen over time as the silk stretches.
For high-end jewelry styling, the awl method remains the gold standard. It requires patience, but the resulting flush, tight knots are the hallmark of true luxury pearl strands.
Styling Framework: Matching Knots to Necklines
Understanding how to make a necklace knot is only half the battle; knowing how to style it is where true trend analysis comes into play. Knotted necklaces behave differently on the body than chained ones. They drape softer and move more fluidly.
- The Crew Neck & The Sliding Knot: Pair a single, heavy geometric pendant on a 1.0mm C-Lon cord with a sliding knot over a simple white crew-neck t-shirt. The adjustability allows you to drop the pendant exactly to the sternum, breaking up the heavy fabric line.
- The V-Neck & The Pearl Strand: A traditionally knotted 18-inch princess-length pearl strand perfectly mirrors the geometry of a V-neck blouse. The silk knots provide a subtle, matte textural contrast to the lustrous nacre and the skin.
- Off-the-Shoulder & The Lariat Knot: For off-the-shoulder silhouettes, utilize a long, 36-inch knotted cord wrapped twice around the neck, letting the ends cascade down the collarbone. The absence of a metal clasp ensures the jewelry doesn't catch on delicate knitwear or silk blouses.
Troubleshooting & Maintenance
Even expertly tied knots require maintenance. Natural silk degrades when exposed to perfumes, lotions, and the natural acids in human sweat. If you notice your silk pearl knots becoming dark or frayed, it is time for a professional restringing. Do not attempt to clean silk knots with ultrasonic cleaners or harsh chemicals.
For nylon sliding knots, the most common failure mode is 'creep'—where the knot slowly loosens over weeks of wear due to body heat and friction. If your sliding knot begins to slip, it means the cord has stretched or the melted seal has worn smooth. The solution is to snip off the old knot, trim a quarter-inch off the main cords to remove the stretched section, and tie a fresh square knot. Mastering how to make a necklace knot is not just a one-time craft; it is an ongoing dialogue with the materials you wear.


