How to Make Candy Necklaces: A 2026 Buying & Craft Guide
Learn how to make candy necklaces that last and what to look for when buying premium candy-inspired resin jewelry in our ultimate 2026 craft guide.

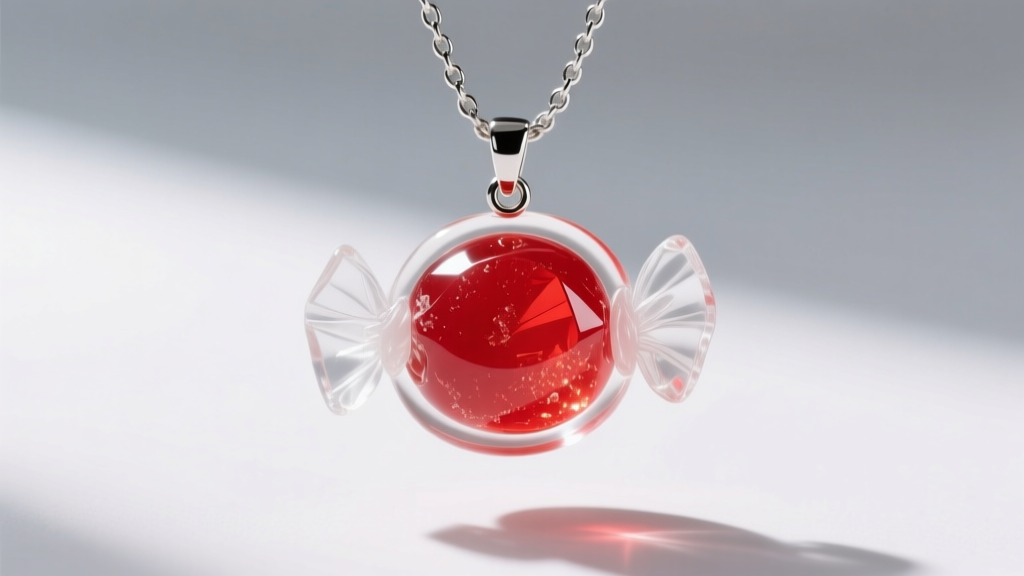
The intersection of nostalgia and high-end crafting has birthed one of the most delightful jewelry trends of 2026: premium candy-inspired and actual encapsulated candy necklaces. What was once relegated to children's party favors and cheap plastic beads has been elevated by indie jewelers and resin artists into a sophisticated 'dopamine dressing' staple. Whether you are looking to purchase artisan-crafted sweet-themed pendants or you want to learn how to make candy necklaces using real confections and professional-grade resins, this comprehensive guide covers the material science, hardware requirements, and preservation techniques necessary to create jewelry that lasts.
The Resurgence of Nostalgia: Why Candy Jewelry is Trending
According to trend forecasters at Vogue, the 'kidcore' and dopamine dressing movements have matured. In 2026, consumers are no longer just wearing bright colors; they are seeking tangible connections to their childhoods through hyper-realistic, preserved objects. Candy necklaces fit this bill perfectly. However, the modern iteration demands durability. Nobody wants a sticky, melting pendant or a chain that turns their neck green. The market has bifurcated into two distinct categories: high-end candy-inspired resin art (where artists sculpt and tint resin to look exactly like gummy bears or hard candies) and genuine encapsulated candy jewelry (where real sweets are permanently preserved in crystal-clear epoxy).
Buying Guide: What to Look For in Premium Candy Necklaces
If you are purchasing candy-themed jewelry from an artisan or boutique, you must scrutinize the materials. The difference between a novelty item that degrades in a month and a wearable piece of art lies in the chemical composition of the resin and the metal grade of the findings.
1. Resin Quality and UV Stabilizers
Real candy encapsulated in cheap polyester resin will yellow within weeks and degrade the sugar inside. When buying, look for artists who explicitly use UV-stabilized, non-toxic epoxy resins (such as ArtResin or Let's Resin Pro). These formulas contain hindered amine light stabilizers (HALS) that prevent the yellowing effect caused by sunlight exposure. Furthermore, the resin should be completely bubble-free. Micro-bubbles trapped against the candy surface indicate improper vacuum degassing during the crafting process.
2. The Encapsulation Seal
Sugar is hygroscopic, meaning it draws moisture from the air. If a real hard candy is placed directly into liquid resin without a barrier, the moisture will cause the resin to cure cloudy, and the candy will eventually dissolve into a sticky, unrecognizable sludge. Always ask the seller if the candy was sealed with a polyurethane spray or a specialized acrylic sealer before encapsulation.
3. Hardware and Chain Grades
Candy necklaces are often worn in summer or in humid environments. Zinc alloy or brass-plated findings will quickly oxidize, rust, or cause contact dermatitis. Insist on 316L surgical stainless steel or 14k gold-filled chains and clasps. These metals resist corrosion from sweat and humidity, ensuring the structural integrity of your necklace.
| Resin Type | Cure Time | Yellowing Resistance | Best For |
|---|---|---|---|
| Standard Epoxy | 24-48 Hours | Low (Yellows in 6 months) | Practice pieces, opaque molds |
| UV-Stabilized Epoxy | 24-72 Hours | High (Lasts 5+ years) | Real candy encapsulation, clear pendants |
| UV-Cure Resin | 2-5 Minutes | Medium | Small cabochons, quick layering |
| Polyurethane Resin | 10-30 Minutes | Very Low | Industrial casting (Not for jewelry) |
DIY Masterclass: How to Make Candy Necklaces That Actually Last
Learning how to make candy necklaces with real sweets requires patience and an understanding of moisture control. You cannot simply drop a Jolly Rancher into a silicone mold and pour resin over it. Follow this professional-grade workflow to ensure your edible pendants survive the test of time.
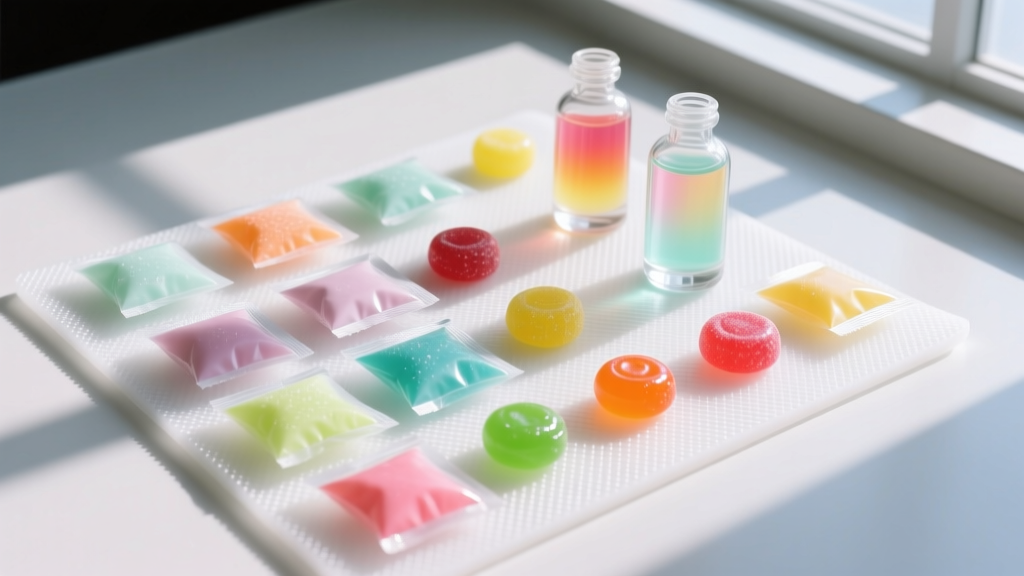
Step 1: Candy Selection and Dehydration
Avoid gummy or chewy candies entirely; their high moisture and fat content will cause them to rot and emit gases that will crack the resin. Stick to dense, hard candies like Werther's Originals, Jolly Ranchers, or translucent mints. Even hard candies contain trace moisture. Place your selected candies in an airtight container completely buried in silica gel packets for 48 hours. This slowly draws out internal moisture without melting the candy's shape. For a faster method, use a food dehydrator at 120°F (49°C) for 4 hours, monitoring closely to prevent melting.
Step 2: The Crucial Sealing Phase
Once dehydrated, the candy must be sealed to prevent it from reacting with the liquid resin. In a well-ventilated area, suspend the candy on a wire rack and apply three light, even coats of Krylon Triple Thick Crystal Clear or a similar water-based polyurethane spray. Allow 30 minutes of drying time between coats. This creates an impermeable moisture barrier. As noted by the experts at Resin Obsession, sealing organic and hygroscopic materials is the single most important step in preventing resin cloudiness and inclusions degradation.
Step 3: Mold Preparation and Pouring
Use a high-quality, platinum-cure silicone mold designed for jewelry pendants. Lightly mist the mold with a silicone release spray. Place your sealed candy into the mold cavity. Mix your UV-stabilized epoxy resin strictly according to the manufacturer's volume ratio (usually 1:1). Stir slowly for 5 minutes to minimize air entrapment. Pour a thin 'base layer' of resin into the mold, let it become tacky (about 4 hours), and then place the candy on top. This prevents the candy from floating to the surface. Finally, pour the remaining resin to fill the mold.
Step 4: Degassing and Curing
If you have access to a vacuum degassing chamber, use it to pull out micro-bubbles. If not, gently pass a heat gun or culinary torch over the surface of the resin to pop surface bubbles. Cover the mold with a dust-proof dome and let it cure in a room kept at exactly 75°F (24°C) for 48 hours. Demold carefully and sand the edges with wet sandpaper (from 400 to 2000 grit) before polishing with a plastic compound for a glass-like finish.
Hardware Matters: Choosing the Right Chains and Findings
The pendant is only half the battle. When figuring out how to make candy necklaces that feel like premium jewelry, your chain selection dictates the overall aesthetic and lifespan of the piece.
- Cable Chains (1.5mm - 2.0mm): The most versatile choice. A 316L stainless steel cable chain offers a delicate, classic look that allows the colorful candy pendant to take center stage without overwhelming it.
- Box Chains (1.2mm - 1.5mm): Excellent for heavier, multi-candy pendants. The interlocking square links provide superior tensile strength and resist kinking, which is crucial if the resin pendant is cast in a large, chunky mold.
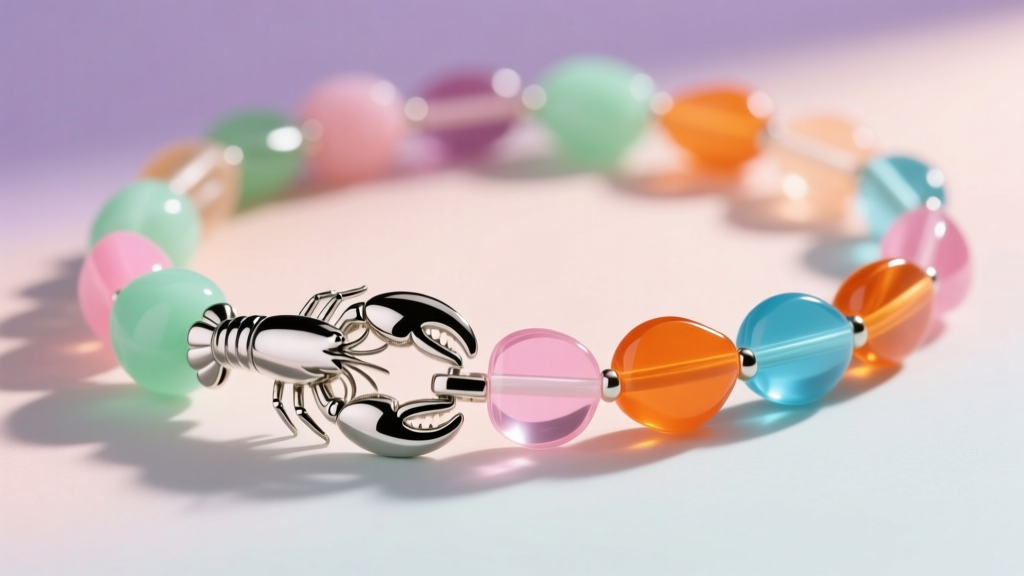
- Clasps: Avoid spring ring clasps, which are notoriously difficult to operate and prone to mechanical failure. Opt for a 316L stainless steel lobster clasp or a neodymium magnetic clasp for ease of use. Ensure the jump rings connecting the clasp are soldered shut or made of heavy-gauge wire (18-gauge or thicker) to prevent them from pulling apart under the weight of the resin.
Care and Maintenance for Edible and Resin Jewelry
Even perfectly encapsulated candy necklaces require specific care routines. Never wear your resin candy necklace in the shower, swimming pool, or hot tub. Chlorine and saltwater can dull the polished surface of the resin and degrade the metal findings over time. When cleaning, use only a soft microfiber cloth and a mild solution of dish soap and warm water. Avoid ultrasonic jewelry cleaners and harsh chemical polishes, as these will strip the glossy finish from the epoxy and potentially damage the sealant layer protecting the candy inside. Store your necklace flat in a dark, climate-controlled jewelry box to prevent unnecessary UV exposure and chain tangling. By treating your candy necklace with the same respect as fine gemstone jewelry, you ensure that this sweet, nostalgic statement piece remains vibrant and wearable for years to come.


