How to Make a Knot for a Necklace: DIY Cost & Value Guide
Learn how to make a knot for a necklace at home. We break down the ROI of DIY pearl knotting vs. jeweler fees, cord materials, and knot types.

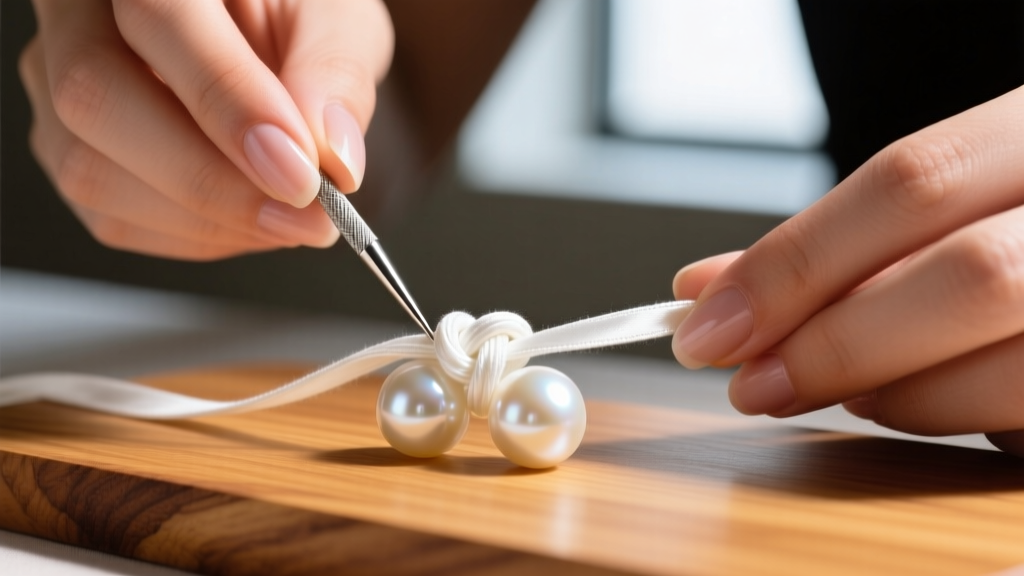
When a beloved pearl or gemstone strand breaks, the immediate instinct is to take it to a professional jeweler for restringing. However, the markup on professional knotting services is one of the highest in the jewelry repair industry. Learning how to make a knot for a necklace is not merely a niche crafting skill; it is a high-ROI budget hack that can save you hundreds of dollars over a lifetime of jewelry ownership. According to the Gemological Institute of America (GIA), proper knotting between beads prevents catastrophic loss if the strand breaks and protects delicate nacre from friction damage. But is the DIY approach worth your time, and what materials offer the best long-term value?
The True Cost of Professional Restringing vs. DIY Knotting
To assess the value of learning how to make a knot for a necklace, we must first look at the market rates for professional services. Most jewelers charge by the inch or by the bead. For a standard 16-inch pearl necklace, professional knotting fees typically range from $3.00 to $8.00 per inch, excluding the cost of a new clasp or gold French wire. This means a single restringing job can easily cost between $60 and $150.
| Service / Material | Professional Jeweler Cost | DIY Cost (Amortized) | Value Verdict |
|---|---|---|---|
| Knotting (16-inch strand) | $60 - $150 | $4.50 (silk + labor) | Massive DIY Savings |
| French Wire (Gimp) Finishing | $15 - $30 | $0.85 per coil | High DIY Value |
| Clasp Reattachment | $20 - $45 | $2.00 (jump rings) | Excellent DIY ROI |
| Tool Investment (Awl, Tweezers) | N/A | $18.00 (one-time) | Pays off on 2nd project |
By investing roughly $35 in a high-quality beading awl, tweezers, and premium cord, you can restring your entire jewelry box for the cost of a single professional visit. The Fire Mountain Gems resource center notes that mastering the overhand knot with an awl takes most beginners less than an hour of practice, making the hourly 'wage' of your DIY effort exceptionally high.
Material Value Assessment: Silk vs. Nylon vs. Wire
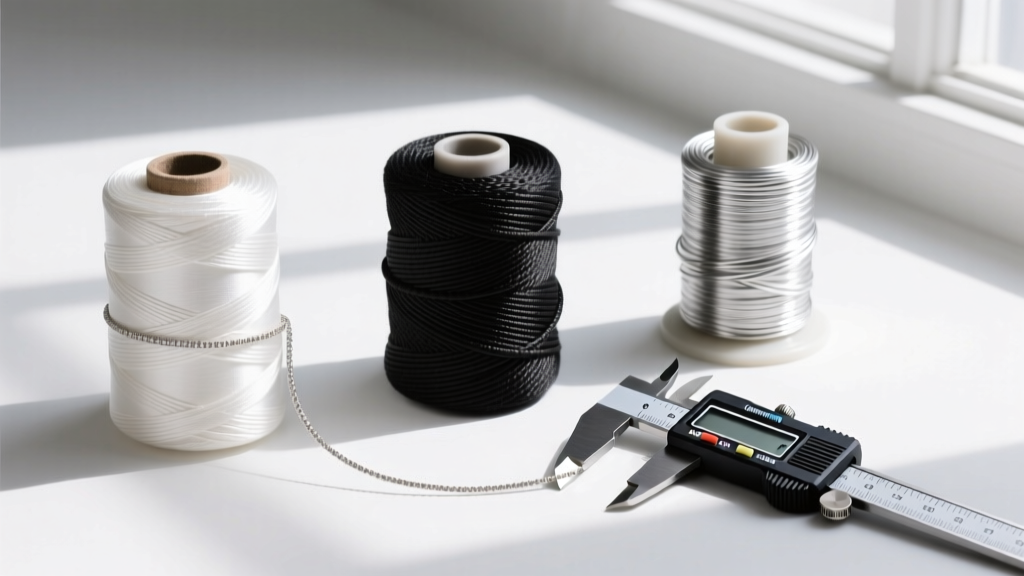
The longevity of your necklace depends entirely on the cord material. Choosing the wrong cord is a false economy that will result in premature breakage. Here is a breakdown of the most common stringing materials and their value proposition.
1. Natural Silk (The Traditional Standard)
German-manufactured silk (such as Griffin brand) remains the gold standard for pearl knotting. It drapes beautifully and holds knots securely. Cost: ~$8 per card (approx. 6.5 feet). Best for: Akoya, Freshwater, and Tahitian pearls. Drawback: Silk degrades over time when exposed to sweat, perfume, and UV light. It must be replaced every 3-5 years, which is exactly why knowing how to make a knot for a necklace yourself is so financially advantageous.
2. Braided Nylon & Polyethylene (The Modern Workhorse)
Materials like PowerPro or Beadalon Wildfire offer incredible tensile strength and resistance to moisture. Cost: ~$15 for a 50-yard spool. Best for: Heavy gemstone beads (onyx, lapis lazuli) and abrasive beads with sharp drilled holes. Drawback: These synthetic cords are notoriously slippery. Standard overhand knots can loosen over time, requiring a drop of flexible jewelry adhesive to secure the knot.
3. Stainless Steel or Nylon-Coated Wire
While excellent for bead stringing, wire cannot be knotted in the traditional sense. It requires crimp beads. If your goal is traditional pearl knotting, wire is the wrong material and offers zero value for this specific technique.
Step-by-Step: How to Make a Knot for a Necklace That Lasts
The secret to professional-looking DIY knotting is not just the knot itself, but the tensioning. Here is the exact methodology used by bench jewelers to ensure tight, uniform knots.
The Overhand Knot with an Awl
- Thread the Bead: Pass your silk cord (with a twisted needle or wire end) through the pearl.
- Form the Loop: Create a simple overhand loop, but do not pull it tight yet. Leave it slightly loose so the bead sits inside the loop.
- Insert the Awl: Place the tip of a fine beading awl (size #1 or #2) into the center of the loose knot.
- Seat the Knot: Gently pull the cord tail while simultaneously sliding the awl down the cord, pushing the knot flush against the bottom of the bead.
- Tighten and Release: Once the knot is seated perfectly against the bead, pull the cord taut, and carefully slide the awl out. The result is a perfectly tight, gap-free knot.
The Surgeon’s Knot (For Clasp Security)
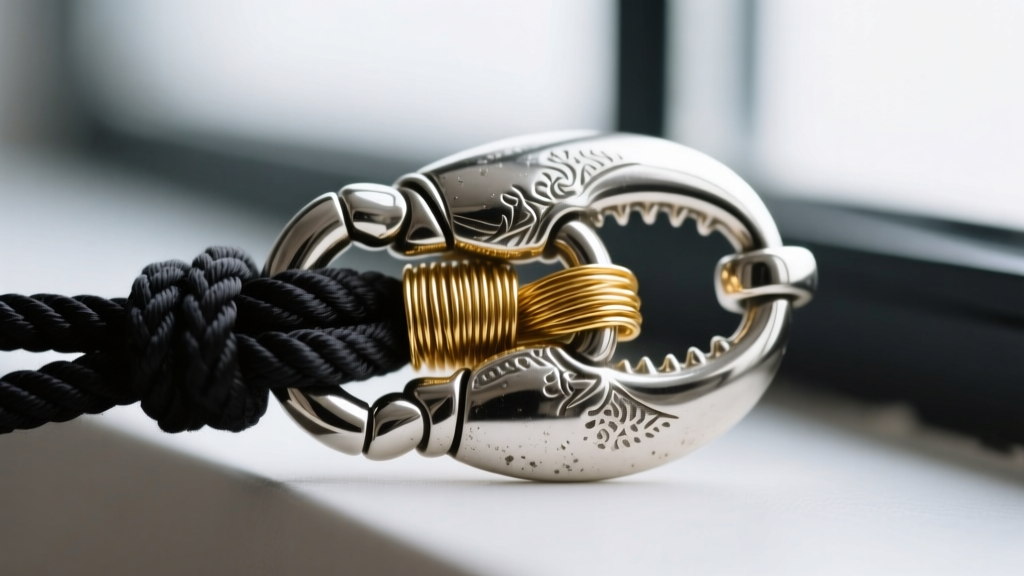
When attaching the clasp, a standard knot is insufficient due to the stress placed on the ends of the necklace. The surgeon’s knot adds an extra twist to the first pass of an overhand knot, creating immense friction. Wrap the cord around the jump ring, pass it through the loop twice, pull tight, and then finish with a standard second overhand knot. This prevents the cord from slipping through the clasp ring before the adhesive cures.
The Hidden Value of French Wire (Gimp)
Many DIYers skip French wire to save time, but this destroys the long-term value of the necklace. French wire is a microscopic, hollow metal coil that slips over the silk cord where it meets the metal clasp. Without it, the metal clasp acts like a saw blade against the silk cord every time the necklace is worn, eventually slicing through the thread and causing the necklace to break. A pack of fine French wire costs less than $5 and adds $50+ in perceived and actual durability to your finished piece. Always trim the silk flush with the wire and secure the final knot with a micro-drop of G-S Hypo Cement.
Failure Modes: Why DIY Knots Break
Understanding why knots fail is crucial for maximizing the lifespan of your restringing projects.
- Gap Syndrome: Failing to use an awl leaves microscopic gaps between the bead and the knot. This causes the beads to slide and bang against each other, damaging the nacre and loosening the knots.
- Adhesive Rot: Using rigid superglue (cyanoacrylate) instead of flexible jewelry cement (like E6000 or G-S Hypo) causes the knot to become brittle and snap under the natural flexing of the necklace.
- Incorrect Cord Gauge: Using a cord that is too thin for the bead hole allows the knot to be pulled entirely through the drill hole. Always match the cord size to the bead; for example, use Size D (0.30mm) silk for 5-6mm pearls, and Size #6 (0.70mm) for 8mm+ pearls.
Final Verdict: Is the Time Investment Worth It?
'Restringing your own pearls transforms a $100 maintenance liability into a $5 afternoon project. The initial learning curve with the beading awl is the only barrier to entry, and the financial payoff is immediate.' — Independent Jewelry Bench Appraisal, 2025.
Mastering how to make a knot for a necklace is one of the most financially rewarding DIY skills in the jewelry space. By sourcing premium German silk, utilizing a beading awl for perfect tension, and finishing with French wire, you achieve a professional-grade result that protects your investment and keeps your hard-earned money in your pocket. Whether you are restoring a vintage estate find or maintaining a modern Akoya strand, the budget-conscious collector always keeps a spool of silk and an awl on hand.


