The Ultimate Buying Guide on How to Make a Necklace With String
Learn how to make a necklace with string using professional-grade materials. Our buying guide covers cords, clasps, adhesives, and tools for lasting jewelry.

Introduction: Elevating DIY String Jewelry to Professional Standards
When learning how to make a necklace with string, the difference between a craft-store trinket and a boutique-quality piece of jewelry lies entirely in material selection and hardware engineering. In 2026, independent jewelry makers have access to the same professional-grade cords, findings, and adhesives used by high-end designers. However, navigating the sheer volume of stringing materials—from waxed cotton and braided leather to micro-nylon and pure silk—can be overwhelming.
This comprehensive buying guide strips away the guesswork. We will dissect the exact material grades, diameter specifications, and hardware configurations you need to purchase to create durable, aesthetically pleasing string necklaces. Whether you are stringing heavy gemstone beads, securing a solid gold pendant, or crafting an adjustable macramé choker, choosing the right foundational elements is critical to preventing catastrophic failures like snapped cords or detached clasps.
The Core Cords: What to Buy for Your Stringing Base
The 'string' is the structural spine of your necklace. Selecting the wrong material for your specific bead weight or pendant style is the most common point of failure. According to Fire Mountain Gems, matching the cord's tensile strength and flexibility to your design is non-negotiable.
| Material | Recommended Diameter | Best Application | Average Price Range |
|---|---|---|---|
| Griffin Natural Silk | 0.45mm (Size 2) to 0.60mm (Size 4) | Freshwater pearls, lightweight gemstones, knotted designs | $4.00 - $8.00 / 2m card |
| C-Lon / S-Lon Nylon | 0.9mm (Heavy) or 0.4mm (Micro) | Macramé, seed beads, sliding knot closures, heavy pendants | $3.50 - $6.00 / 10m spool |
| Greek Braided Leather | 2.0mm to 3.0mm (Round) | Single heavy pendants, rustic designs, magnetic clasp ends | $12.00 - $22.00 / hank |
| Waxed Cotton Cord | 1.0mm to 1.5mm | Casual layering necklaces, adjustable square-knot closures | $2.00 - $5.00 / 10m roll |
Deep Dive: Silk vs. Nylon
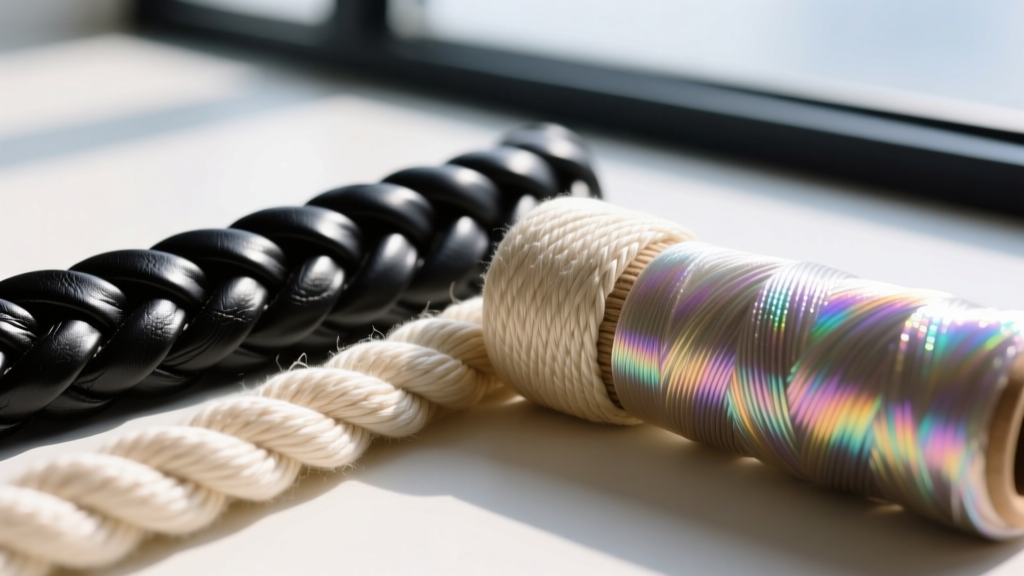
If you are stringing pearls, the Gemological Institute of America (GIA) strongly recommends pure silk. Silk possesses a natural 'bite' that holds overhand knots securely against the bead, preventing them from slipping. However, silk degrades when exposed to moisture and skin oils over time. For designs requiring water resistance and extreme tensile strength, C-Lon nylon is the superior choice. Nylon does not stretch or fray easily, making it ideal for sliding-knot adjustable necklaces that endure daily friction.
Essential Findings: Clasps and Cord Ends
Knowing how to make a necklace with string is only half the battle; terminating the ends securely requires specialized metal findings. Never tie a string directly to a jump ring, as the metal edge will eventually saw through the fibers.
Fold-Over Crimps vs. Ribbon Ends
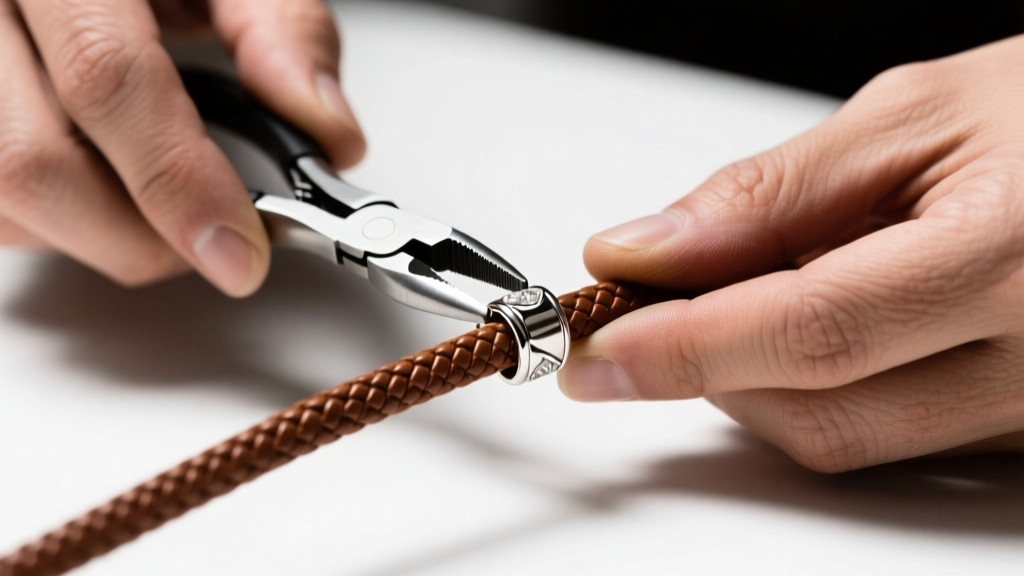
For leather and thick cotton cords (1.5mm to 3.0mm), fold-over crimps are mandatory. These U-shaped metal channels feature teeth that bite into the cord when compressed with flat-nose pliers. Always buy fold-over crimps with an integrated loop, and ensure the internal width matches your cord diameter exactly (e.g., a 2.0mm crimp for a 2.0mm leather cord). If the crimp is too wide, the leather will slip out; if too narrow, the metal teeth will sever the leather's core.
For flat or multi-strand designs, ribbon crimps (also known as cord ends) feature a wide, serrated jaw that clamps down on the entire width of the material, distributing the tension evenly and preventing localized stress tears.
Choosing the Right Clasp and Jump Rings
The connection point between your cord end and the clasp relies on jump rings. Do not use base-metal jump rings, as they will oxidize and snap. Purchase 18-gauge or 20-gauge stainless steel or solid sterling silver jump rings. For heavy pendant necklaces, utilize a toggle clasp, which distributes weight more evenly than a standard lobster claw and is easier to fasten one-handed.
Adhesives and Tools: The Hidden Heroes
Mechanical crimping is rarely enough on its own; professional jewelers use adhesives to reinforce the bond between the cord and the metal finding. Choosing the right chemical compound is vital.
- G-S Hypo Cement: The industry standard for precision work. It features a needle-like applicator tip that allows you to inject a microscopic drop of glue directly into the fold-over crimp before clamping. It dries clear, remains slightly flexible, and will not stain silk or nylon.
- E6000 Jewelry & Bead Adhesive: A thicker, industrial-strength option best reserved for heavy leather cords and large metal end-caps. It requires a 24-hour cure time and can be messy, but offers unparalleled sheer strength.
- Avoid Cyanoacrylate (Super Glue): Never use standard super glue on string jewelry. It dries rigid and crystalline. When the necklace flexes during wear, the brittle glue will shatter, causing the cord to detach instantly. Furthermore, it leaves a permanent, cloudy white residue on porous cords like cotton and silk.
On the tooling side, invest in a pair of high-quality flush cutters from a reputable supplier like Rio Grande. Standard wire cutters leave a sharp, angled 'pinch' on the cord end, making it nearly impossible to feed through bead holes or crimp tubes cleanly. Flush cutters provide a perfectly flat, clean shear.
Step-by-Step Assembly Framework
Once you have procured your professional-grade materials, follow this standardized assembly protocol to ensure maximum longevity.
- Prep the Cord: Cut your stringing material 4 inches longer than your desired finished length to allow for knotting and crimping.
- Apply Adhesive: Dip the last 3mm of the cord into a small pool of G-S Hypo Cement. This hardens the tip, acting like a needle to make threading beads easier.
- Secure the First End: Thread a crimp bead or fold-over crimp onto the cord, followed by a jump ring. Pass the cord back through the crimp, pull tight, and compress with crimping pliers.
- String the Design: Add your beads or pendant. If using silk, tie an overhand knot between each pearl using a bead knotter tool to maintain uniform spacing.
- Terminate the Clasp End: Thread the final crimp and clasp component. Pull the cord taut (but not so tight that it restricts the necklace's drape), compress the crimp, and trim the excess flush.
Pro-Tip on Tension: A common beginner mistake is pulling the stringing material as tight as physically possible before crimping. This creates a rigid necklace that lacks 'drape' and puts immense, constant stress on the crimps. Always leave a millimeter of slack per inch of necklace length to allow the piece to flex naturally around the neck.
Common Failure Modes and How to Avoid Them
Even with premium materials, structural failures can occur if specific physical properties are ignored. Here are the three most common failure modes in string necklaces and how to engineer them out of your design:
1. Bead Hole Abrasion
The Problem: Gemstone beads, particularly hand-carved or lower-grade stones, often have rough, unpolished drill holes. Over time, these microscopic jagged edges act like a saw, cutting right through nylon or silk cords. The Solution: Purchase a bead reamer or a set of diamond-coated hole files. Before stringing, run the reamer through each bead to smooth the interior channel. Alternatively, use 'bead bumpers' (tiny silicone or metal discs) on either side of abrasive beads to protect the cord.
2. Sliding Knot Seizure
The Problem: Adjustable necklaces rely on sliding square knots. If you use a cord with high surface friction (like raw cotton or unpolished hemp), the knots will seize up, making the necklace impossible to resize. The Solution: For adjustable closures, exclusively use waxed cotton or C-Lon nylon. The wax or synthetic coating provides the necessary lubricity for the knots to glide smoothly while still holding their position when pulled taut.
3. Jump Ring Distortion
The Problem: Pulling the necklace over the head (especially with heavy pendants) causes the jump ring connecting the clasp to pull apart at the seam. The Solution: Never use a jump ring that is too large for the finding. A 4mm outer diameter (OD) jump ring is standard. More importantly, always open and close jump rings by twisting them laterally with two pairs of pliers, never by pulling the ends apart like a 'C'. Twisting preserves the structural integrity and temper of the metal wire.
Final Thoughts on Material Investment
Understanding how to make a necklace with string at a professional level requires a shift in mindset from 'crafting' to 'engineering.' By investing an extra $10 to $15 in genuine silk, stainless steel findings, and precision adhesives, you elevate your work from disposable DIY to heirloom-quality jewelry. The time spent sourcing the correct gauge of jump ring or the exact millimeter of leather cord will pay dividends in the durability, drape, and perceived value of your finished necklace.


