How to Make a Plectrum Necklace: Ultimate DIY Style Guide
Learn how to make a plectrum necklace with our expert DIY guide. Discover drilling techniques, hardware gauges, and 2026 musician-core styling tips.

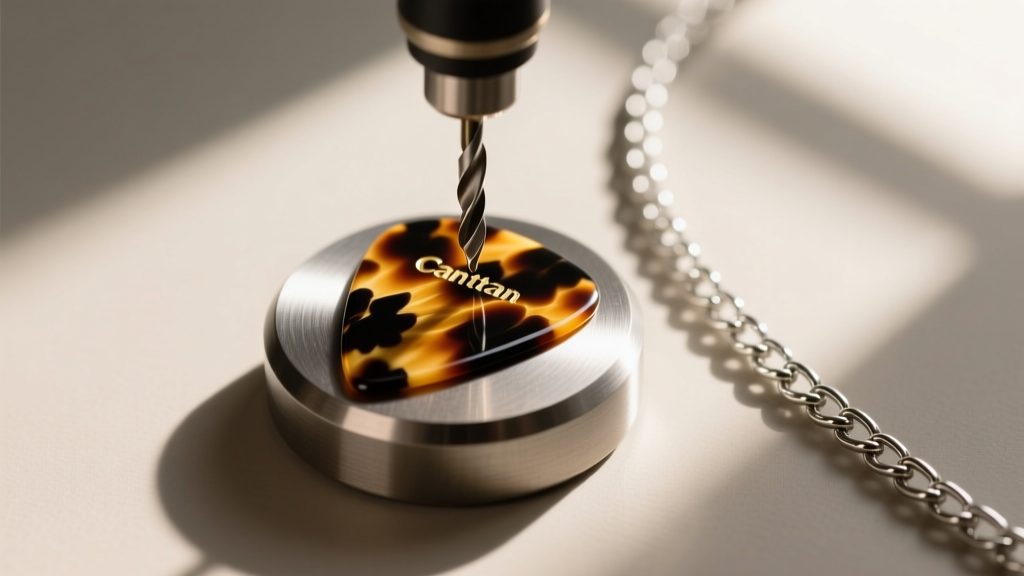
The intersection of music and jewelry has always yielded iconic fashion statements, but in 2026, the 'musician-core' and indie-sleaze revivals have pushed a very specific accessory into the mainstream spotlight: the guitar pick pendant. Whether you are a gigging musician wanting to keep your lucky pick close, or a fashion enthusiast looking to tap into the grunge-revival aesthetic, learning how to make a plectrum necklace is a rewarding DIY project that bridges functional gear and personal style.
However, transforming a standard guitar pick into a durable, wearable pendant requires more than just poking a hole in it with a needle. Different plectrum materials react wildly to heat and friction, and improper hardware selection will lead to snapped chains and lost keepsakes. This comprehensive guide breaks down the material science, precision drilling techniques, and structural jewelry engineering required to craft a plectrum necklace that survives daily wear.
The 2026 Musician-Core Revival: Why Plectrum Pendants?
Over the past few years, street style and high fashion have heavily leaned into hobby-driven, nostalgic aesthetics. The 'musician-core' trend celebrates the raw, unpolished look of backstage passes, vintage band tees, and instrument hardware. A plectrum necklace serves as the ultimate subtle nod to this culture. Unlike bulky guitar-string bracelets, a well-crafted pick pendant offers a sleek, triangular silhouette that pairs beautifully with both minimalist streetwear and layered grunge outfits. In 2026, we are seeing a massive spike in customized, upcycled plectrum jewelry, with wearers favoring heavily played, scuffed picks that tell a story over pristine, factory-new ones.
Material Science: Selecting the Right Plectrum
Before you learn how to make a plectrum necklace, you must understand the material you are working with. According to Fender's official guide on pick materials, plectrums are manufactured from a wide variety of polymers, metals, and natural materials. Each has a distinct melting point, brittleness, and structural integrity.
Material Comparison Chart for Jewelry Making
| Material | Drillability | Melt/Chip Risk | Best Chain Pairing | Recommended Thickness |
|---|---|---|---|---|
| Celluloid | Poor | Extremely High (Melts/Burns) | Lightweight Cable Chain | > 0.88mm |
| Acrylic / Lucite | Good | Medium (Can chip on exit) | Curb or Figaro Chain | > 1.14mm |
| Delrin / Tortex | Excellent | Low (Very durable) | Rope or Box Chain | > 0.73mm |
| Stainless Steel | Difficult | Low (Requires metal bits) | Heavy Cuban Link | Any |
| Wood / Bone | Moderate | Medium (Splintering risk) | Leather Cord or Waxed Cotton | > 1.50mm |
For beginners, Delrin or thick Acrylic picks are the most forgiving. Avoid thin celluloid picks (under 0.73mm), as the friction from a drill bit will instantly melt the plastic, fusing it to your bit and ruining the pick.
Step-by-Step: How to Make a Plectrum Necklace Without Cracking It
Creating a clean, structurally sound hole in a polymer plectrum requires precision. Do not use a standard hand drill or a push-pin; you need controlled RPMs and specialized micro bits.
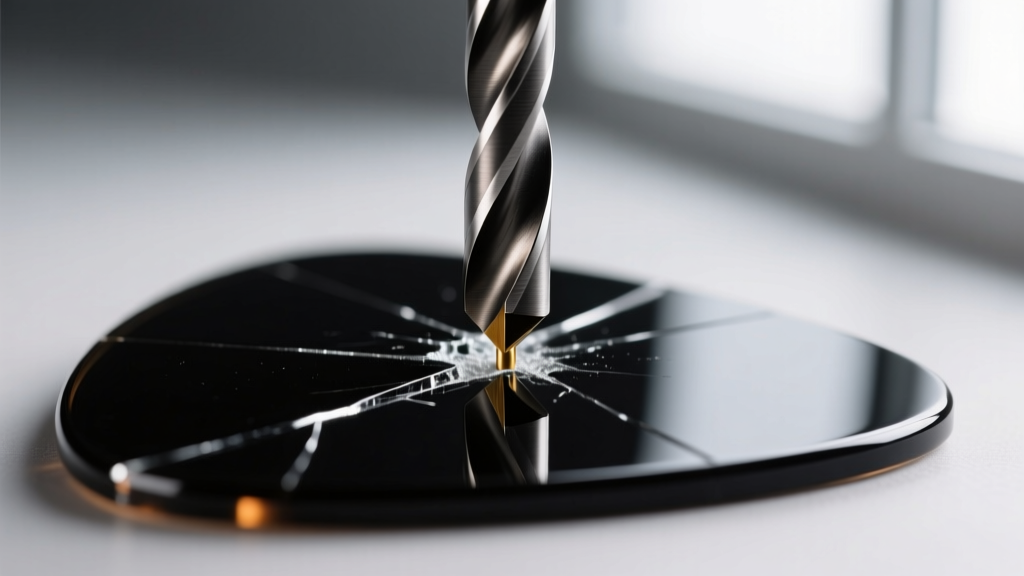
Step 1: Preparation and Marking
Apply a piece of blue painter's tape or masking tape over the top rounded edge of the guitar pick. This serves two purposes: it provides a non-slip surface for your marker, and it prevents the drill bit from 'walking' and scratching the glossy finish of the pick. Using a fine-point permanent marker, mark your drill point exactly in the center of the taped area, about 3mm to 4mm down from the top edge.
Step 2: The Drilling Process
Use a flex shaft tool or a variable-speed rotary tool (like a Dremel). Jewelry suppliers like Rio Grande offer excellent flex shafts that provide the high-torque, low-RPM control necessary for delicate plastics. Equip your tool with a 1.5mm or 2.0mm High-Speed Steel (HSS) or carbide micro drill bit.
- Speed: Set your tool to a low RPM (around 3,000 to 5,000 RPM). High speeds generate friction heat, which will melt acrylic and celluloid.
- Backing: Place the pick on a sacrificial piece of scrap wood or a jeweler's bench pin. Never drill into the air or a hard metal surface, as the 'exit wound' of the drill bit will cause the plastic to blow out and chip.
- Technique: Apply very light, intermittent pressure. Use a 'pecking' motion—drill for two seconds, pull up to clear the plastic shavings, and repeat. This keeps the bit cool.
Step 3: Deburring and Chamfering
Once the hole is pierced, remove the masking tape. You will likely have a small burr or rough edge around the hole. Use a jeweler's needle file or a specialized deburring tool to gently chamfer the edges of the hole on both sides. This prevents the sharp plastic edge from sawing through your metal jump ring over time.
Hardware Engineering: Gauges, Jump Rings, and Chains
The most common failure point in DIY plectrum necklaces is the hardware. A guitar pick acts as a lever; when it catches on clothing, it applies immense lateral torque to the jump ring connecting it to the chain.
Selecting the Right Jump Ring
Do not use standard 20-gauge or 22-gauge jump rings found in basic craft store kits. They are too thin (0.8mm and 0.6mm, respectively) and will pull open under stress. For a plectrum necklace, you must use 18-gauge (1.02mm) or 16-gauge (1.29mm) jump rings. Furthermore, opt for 'split rings' (which look like tiny keychains) or soldered jump rings for maximum security. If using standard open jump rings, ensure you use two pairs of flat-nose pliers to twist the ring open laterally, rather than pulling it apart outward, which weakens the metal's temper.
Chain Selection for Plectrum Pendants
A plectrum's sharp, triangular shape demands a chain that complements its geometric lines while providing enough tensile strength to handle the swinging weight of the pick.
For metal picks or heavy acrylics, a 2mm to 3mm stainless steel rope chain or a medium Cuban link chain provides the necessary durability and visual weight. For vintage celluloid or wooden picks, a delicate 1.5mm sterling silver cable chain or a black waxed cotton cord maintains the lightweight, bohemian aesthetic without overpowering the pendant.

Styling Frameworks: Necklines and Layering in 2026
Knowing how to make a plectrum necklace is only half the battle; styling it correctly is what elevates it from a cheap trinket to a deliberate fashion statement. The current trend landscape favors intentional contrast and layered textures.
The 'Grunge-Contrast' Stack
Pair your plectrum pendant with unexpected materials to create visual tension. Try layering a scuffed, black Delrin pick on a heavy oxidized silver chain with a delicate, luminous freshwater pearl choker. The juxtaposition of the rugged, masculine musician-core element against the soft, classic pearl is a hallmark of 2026 street style.
Neckline Pairings
- Deep V-Necks: Opt for a longer chain (22 to 24 inches) so the plectrum rests in the center of the chest, drawing the eye downward and elongating the torso.
- Crew Necks and Tees: Use a shorter chain (18 to 20 inches) so the pick rests just above the collarbone. This works exceptionally well with vintage, faded band merchandise.
- Turtlenecks and High Collars: Layer a heavy, metal plectrum pendant over a black turtleneck using a 24-inch figaro chain for a sharp, mod-inspired silhouette.
Troubleshooting Common DIY Failure Modes
Even with careful preparation, things can go wrong. Here is how to troubleshoot the most common issues encountered when crafting plectrum jewelry:
Problem: The Hole Melted and Fused Shut
Cause: Drilling at too high an RPM or failing to clear the plastic shavings from the flutes of the bit.
Solution: If the pick isn't completely ruined, use a heated needle to carefully re-open the hole, then immediately quench it in cold water. Alternatively, use a brass eyelet (grommet) and a setting tool to punch through the melted area, which reinforces the hole and hides the damage.
Problem: The Pick Keeps Slipping Out of the Jump Ring
Cause: The hole was drilled too large, or the jump ring gauge is too small, allowing the pick to slip through the gap in the open ring.
Solution: Switch to a 16-gauge split ring, or add a small silicone 'o-ring' or rubber washer between the pick and the metal jump ring. This acts as a bumper, preventing the plastic from sliding into the gap and keeping the pendant facing forward.
Problem: The Chain Keeps Breaking at the Clasp
Cause: The plectrum is too heavy for the chain's clasp mechanism, usually a thin lobster claw or spring ring.
Solution: Upgrade your findings. Replace the factory clasp with a heavy-duty stainless steel lobster clasp or a magnetic neodymium clasp rated for at least 5 lbs of tensile pull. Always check the weld point on the jump ring attaching the clasp to the chain, as this is the most frequent point of structural failure.
Crafting your own plectrum necklace is an exercise in precision and personal expression. By respecting the material properties of your chosen pick, utilizing proper micro-drilling techniques, and engineering the hardware to withstand daily leverage, you can create a piece of jewelry that is as resilient as it is stylish. Whether you are preserving a pick from your first live show or simply tapping into the enduring appeal of musician-core, your custom pendant is now ready for the stage and the street.


