How to Make a Safety Pin Necklace: Secure DIY Guide
Learn how to make a safety pin necklace that won't break or scratch. Expert troubleshooting for secure DIY jewelry using 316L steel and micro-wire.

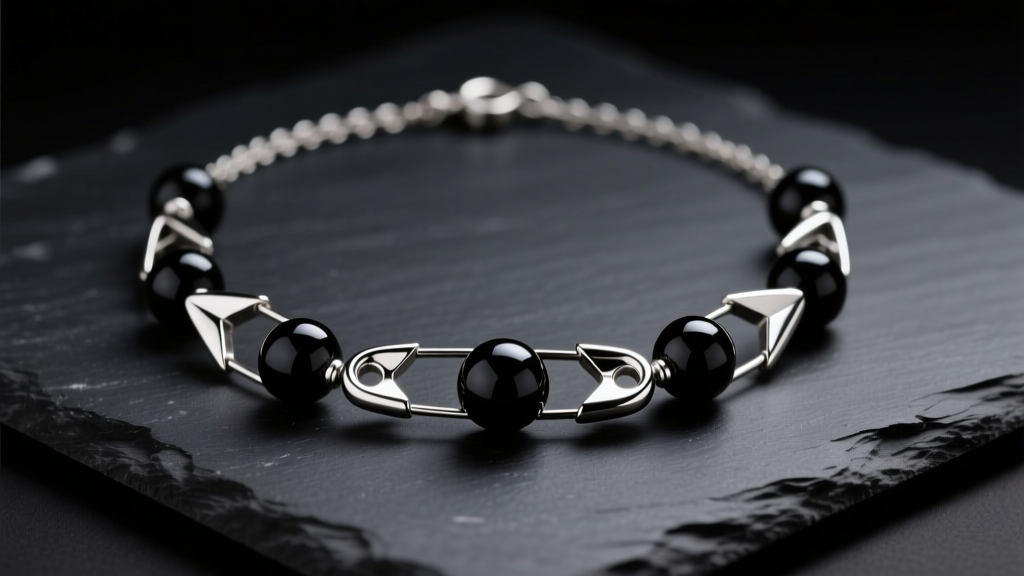
The safety pin necklace has evolved from a raw, punk-rock rebellion staple into a sophisticated layering piece seen on contemporary runways. However, if you are looking into how to make a safety pin necklace at home, you have likely encountered the frustrating reality of DIY hardware: cheap pins snap under tension, flimsy clasaps pop open and scratch the wearer's chest, and standard cotton threads degrade rapidly. In 2026, with the market saturated by low-grade alloy findings from overseas marketplaces, building a durable, skin-safe piece requires a shift from basic crafting to precision jewelry making. This guide bypasses the fluff and provides a masterclass in troubleshooting the structural and material failures inherent in DIY safety pin jewelry.
The Core Problem: Why DIY Safety Pin Necklaces Fail
Most crafters approach this project by grabbing standard office-supply safety pins and nylon thread. This guarantees failure. Office pins are typically made from low-carbon steel with a thin nickel or zinc plating. When exposed to the natural acidity and moisture of human skin, the plating wears off within days, leading to rapid oxidation (rust) and severe contact dermatitis. According to the Mayo Clinic, nickel allergy is one of the most common causes of allergic contact dermatitis, resulting in the exact red, itchy rashes that ruin the necklace-wearing experience.
Beyond skin reactions, structural failure is the second major hurdle. The eyelet (the small hole at the base of the pin) on standard craft pins is stamped with sharp, unfinished edges. When you pull a beading wire or thread through this hole, the micro-abrasions act like a saw blade, fraying and snapping your stringing material within a week of wear. Solving these issues requires upgrading your materials and employing specific jewelry-making techniques.
Sourcing the Right Hardware (Stop Using Craft Store Pins)
To create a piece that lasts, you must source jewelry-grade findings. You need pins stamped from 316L surgical stainless steel or solid brass. 316L steel contains molybdenum, which drastically increases corrosion resistance and makes it hypoallergenic for the vast majority of wearers. When shopping for blank safety pin pendants or large kilt pins to use as a base, look for suppliers that explicitly state their metal composition.
| Material Grade | Composition | Pros | Cons | Avg. Cost (per 10) |
|---|---|---|---|---|
| 316L Surgical Steel | Steel, Chromium, Nickel, Molybdenum | Hypoallergenic, rust-proof, high tensile strength | Harder to bend or customize manually | $4.00 - $8.00 |
| Solid Brass | Copper and Zinc alloy | Vintage aesthetic, easily patina-ed, no nickel | Can tarnish, softer metal prone to bending | $6.00 - $12.00 |
| Nickel-Plated Craft | Low-carbon steel, Nickel coating | Extremely cheap, widely available | Causes rashes, rusts quickly, sharp eyelets | $1.00 - $2.00 |
Step-by-Step Assembly with Fail-Safes
Once you have secured 316L stainless steel #2 size pins (1.5 inches, the ideal scale for a layered necklace), the assembly process must focus on tension management and securing the moving parts.
Securing the Pin Mechanism (The Heat Shrink Method)
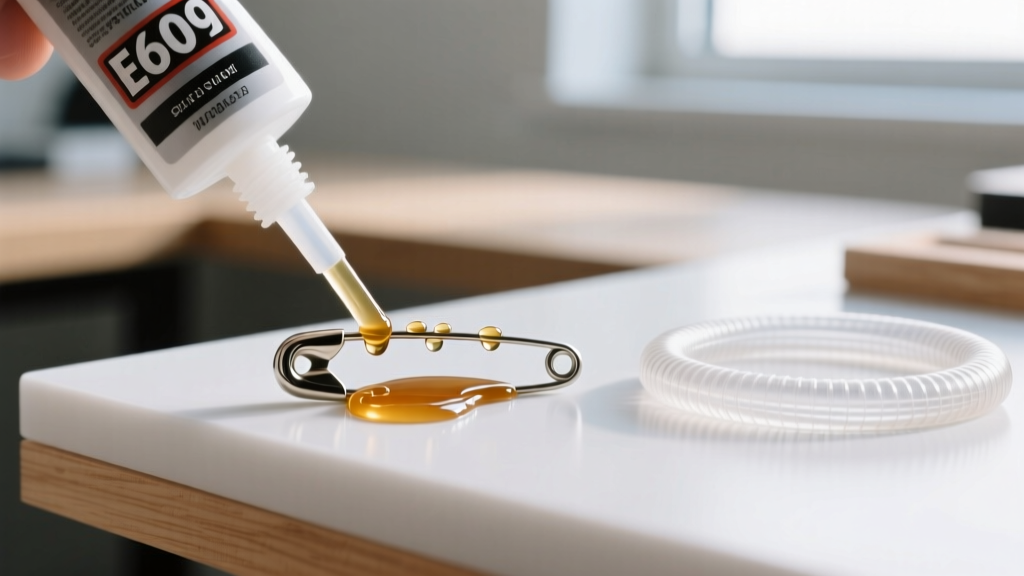
The most dangerous aspect of a safety pin necklace is the pin accidentally unlatching and stabbing the wearer. Relying solely on the tension of the pin's coil is a rookie mistake. To permanently lock the pin in the closed position while maintaining a clean aesthetic, use a combination of jewelry adhesive and polyolefin heat shrink tubing.
Cut a 4mm piece of 3:1 adhesive-lined polyolefin heat shrink tubing (1/16 inch diameter). Slide it over the pin's point before closing it into the clasp head. Apply a micro-drop of E6000 industrial adhesive to the inside of the clasp head, snap the pin shut, and slide the tubing over the joint. Apply heat with a precision embossing gun at 250°F for 10 seconds. The tubing will shrink, sealing the joint and preventing the pin from vibrating open, while the adhesive ensures a permanent bond.
Stringing and Tension Management
Do not use silk thread or standard nylon. As noted in the Fire Mountain Gems beading wire guide, multi-strand micro-wire is the industry standard for heavy or abrasive pendants. Use a 49-strand, 0.015-inch diameter stainless steel beading wire coated in clear nylon. The 49-strand core provides the drape of silk with the tensile strength of steel, while the 0.015-inch thickness easily navigates the small eyelets of safety pins and most semi-precious stone beads.
To protect the wire from the sharp inner edge of the pin's eyelet, you must use a wire protector (also known as French wire or a wire guardian). Thread your beading wire through the metal horseshoe-shaped protector, loop it through the safety pin eyelet, and bring it back through the other side of the protector. This ensures the wire only ever touches smooth, rounded metal, eliminating the fraying failure point entirely.
Troubleshooting Common Assembly Disasters
Even with premium materials, DIYers frequently encounter specific mechanical issues. Here is how to troubleshoot the most common disasters when figuring out how to make a safety pin necklace that actually functions as high-end jewelry.
- Problem: Crimp beads are slipping, causing the necklace to stretch and sag.
Solution: You are likely using base-metal crimp tubes that lack the structural integrity to bite into 49-strand wire. Upgrade to sterling silver or 14k gold-filled seamless crimp tubes (2x2mm). Furthermore, use a crimping plier to fold the tube into a U-shape, then fold it back onto itself, rather than simply crushing it flat with chain-nose pliers. - Problem: The safety pin hangs upside down or flips awkwardly on the wire.
Solution: This occurs when the eyelet is too large for the wire, allowing the pin to rotate freely. Solve this by flanking the safety pin with 2mm silicone or metal bead bumpers (also called cushion beads). These create friction against the eyelet, locking the pin in a forward-facing orientation while protecting adjacent glass or stone beads from chipping. - Problem: The clasp connection at the back of the neck keeps pulling apart.
Solution: Standard split rings (like miniature key rings) will eventually pull apart under the weight of metal safety pins. Replace all split rings with soldered jump rings. A soldered ring has no seam, meaning it is physically impossible to pull open under normal wearing conditions.

Finishing and Clasp Integration
The final point of failure in any DIY necklace is the clasp assembly. For a safety pin necklace, which carries more weight than a standard chain, a lightweight spring-ring clasp is insufficient. Opt for a heavy-duty stainless steel lobster clasp (12mm or 15mm).
Attach the lobster clasp to one end of your 49-strand wire using a soldered jump ring and a properly crimped wire loop. On the opposite end, instead of a standard jump ring, use a soldered extension chain (typically 2 inches of 316L cable chain). This not only provides adjustability for different necklines but ensures that the catch-point for the lobster clasp is structurally sound. Suppliers like Rio Grande offer premium, nickel-compliant stainless steel findings that guarantee your finishing hardware will match the longevity of your main pendant components.
By treating the safety pin not as a cheap craft supply, but as a structural metal component requiring proper jewelry engineering, you elevate a simple DIY project into a durable, skin-safe, and highly stylish accessory. Proper material selection, friction management via wire protectors, and mechanical locking of the pin head are the non-negotiable pillars of a successful build.


