How to Make a Necklace With Shells: Expert Drilling & Stringing Guide
Master how to make a necklace with shells using expert drilling, wire-wrapping, and stringing techniques for durable, professional-grade jewelry.

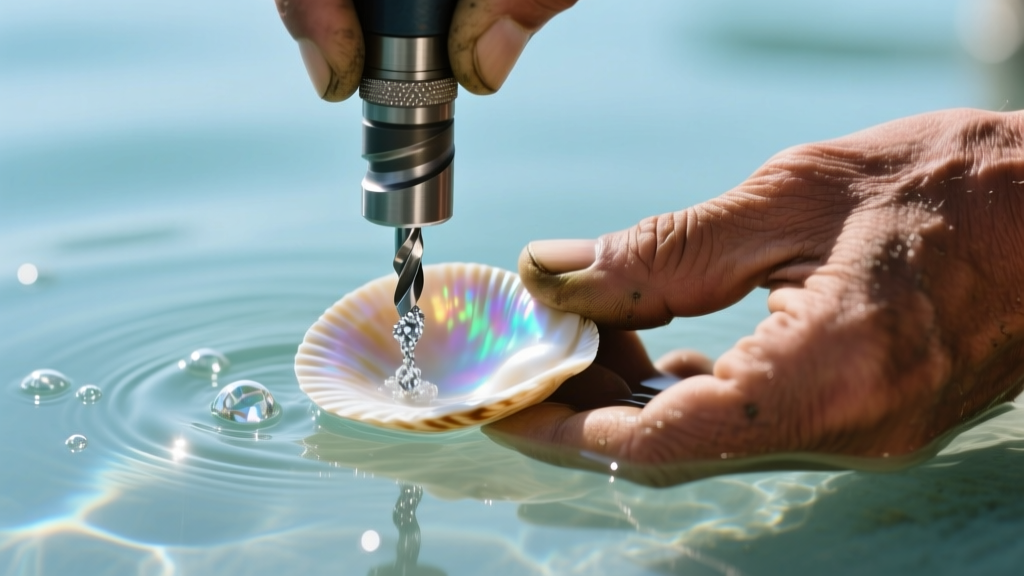
The Anatomy of a Professional Shell Necklace
When learning how to make a necklace with shells, the difference between a fragile craft project and a durable piece of fine jewelry lies in material science and precision tooling. Shells are not merely decorative objects; they are complex, biomineralized structures composed primarily of calcium carbonate in the form of aragonite or calcite. Understanding this crystalline matrix is the first step in transforming raw, beach-combed specimens into high-end, heirloom-quality pendants and layered necklaces.
Amateur approaches often rely on superglue, basic twist drills, and cotton thread, resulting in rapid degradation, micro-fractures, and catastrophic failure. A professional approach requires an understanding of Mohs hardness ratings, thermal shock prevention, and the tensile strength of micro-fused stringing materials. This guide provides a comprehensive, technical deep dive into the exact protocols used by master jewelry artisans to prepare, drill, and string shell components for lasting wearability.
Shell Selection and Preparation Protocols
Before any drilling begins, the structural integrity of the shell must be assessed and optimized. Shells like Mother of Pearl (nacre), Abalone, Cowrie, and Queen Conch vary wildly in density and porosity.
Cleaning and Stabilization
Never use chlorine bleach to clean shells, as it degrades the calcium carbonate matrix, leaving the surface chalky and structurally compromised. Instead, use a 12% hydrogen peroxide solution to lift organic stains and algae without attacking the aragonite crystals. For highly porous or fragile shells (such as thin Conch or fragile Bivalves), stabilization is mandatory. Submerge the dried shell in a vacuum chamber with a penetrating resin like Opticon or a thin cyanoacrylate. This fills microscopic voids, preventing the shell from shattering under the lateral pressure of a drill bit.
Precision Drilling: Avoiding Micro-Fractures
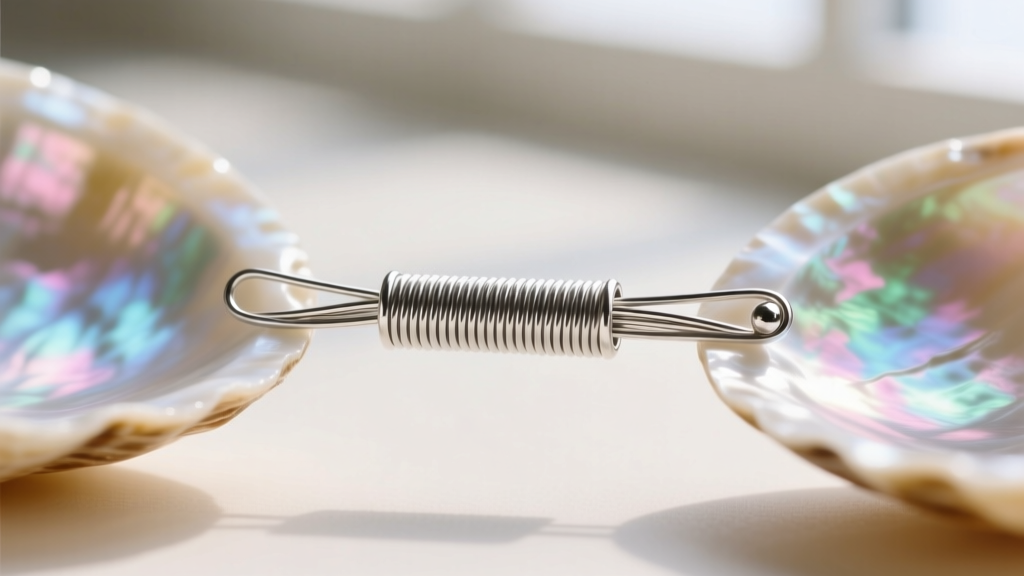
The most critical failure point in shell jewelry is the drill hole. Shells possess a Mohs hardness ranging from 2.5 to 4.5, making them deceptively soft yet highly brittle. Standard high-speed steel (HSS) or carbide twist bits will grab the material, causing catastrophic blowouts on the exit side and generating enough friction heat to induce thermal shock.
The Diamond Core Bit and Water Cooling Mandate
Always use diamond-coated core bits or diamond twist drills ranging from 1.0mm to 1.5mm in diameter. According to the Gemological Institute of America (GIA), organic gems and shell structures are highly sensitive to heat and dehydration. Therefore, dry drilling is strictly prohibited. Not only does water cooling prevent thermal micro-fractures, but it also suppresses toxic calcium carbonate dust, which poses a severe respiratory hazard (silicosis) if inhaled.
Utilize a Foredom flex shaft with a foot pedal for variable speed control, rather than a standard rotary tool, to maintain precise torque at lower RPMs. Apply zero downward pressure; let the diamond grit and the RPM do the work. As you near the exit side of the hole, flip the shell and drill from the opposite direction to meet in the middle, completely eliminating the 'blowout' effect.
Technical Drilling Parameters by Shell Type
| Shell Type | Mohs Hardness | Recommended Drill Bit | Optimal RPM | Cooling Method |
|---|---|---|---|---|
| Mother of Pearl (Nacre) | 2.5 - 3.0 | 1.0mm Diamond Core | 5,000 - 8,000 | Full Water Submersion |
| Abalone | 2.5 - 4.0 | 1.2mm Diamond Twist | 8,000 - 12,000 | Continuous Water Drip |
| Cowrie | 3.0 - 4.0 | 1.5mm Carbide/Diamond | 10,000 - 15,000 | Shallow Water Bath |
| Conch (Queen) | 3.5 - 4.5 | 1.5mm Diamond Core | 12,000 - 18,000 | Full Water Submersion |
Stringing Materials and Hardware Grades
The internal architecture of your necklace dictates its lifespan. Shells have abrasive, unpolished edges inside the drill channel that will quickly saw through standard nylon threads or leather cords. Selecting the correct stringing medium is non-negotiable.
Wire vs. Thread: A Technical Comparison
For heavy shells like Conch or large Abalone slides, utilize a 49-strand micro-fused stainless steel beading wire (such as Soft Flex or Beadalon) with a diameter of 0.018 to 0.024 inches. The 49-strand construction provides superior drape and kink-resistance compared to 7-strand or 19-strand alternatives. For lightweight, delicate shells or pearl-and-shell combinations, size F or G natural silk thread is preferred for its knotting capabilities, but it must be protected with French wire (bullion) at the clasp transitions and inside the shell channels to prevent abrasion. The Fire Mountain Gems Beading Encyclopedia provides extensive data on the tensile strength variations between these stringing mediums, confirming that 49-strand wire offers the highest pound-test reliability for asymmetrical, heavy pendants.
Hardware and Clasp Metallurgy
Shells are often worn in summer environments, exposing them to saltwater, sweat, and high humidity. Base metals, brass, and standard silver-plated findings will corrode rapidly, staining the porous edges of your shells. Always source findings from reputable suppliers like Rio Grande Jewelry Supply, specifying 316L surgical stainless steel, solid 14k/18k gold, or high-grade sterling silver (925) with a rhodium plating for tarnish resistance. Use seamless sterling silver crimp tubes (2mm x 2mm) rather than crimp beads, as tubes provide a larger surface area for the wire to compress against, ensuring a permanent mechanical lock.
Assembly and Finishing Techniques
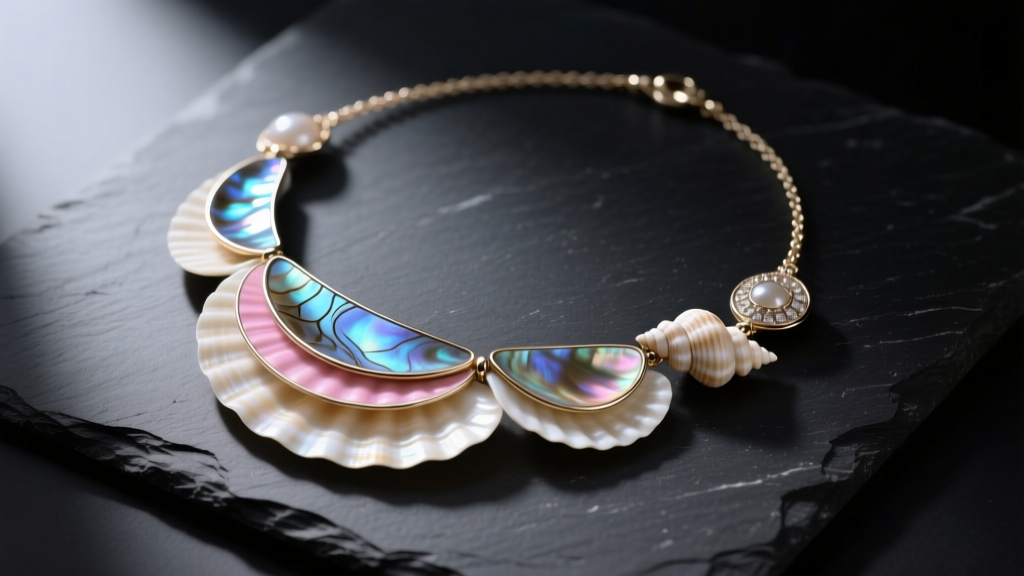
The final assembly requires precision crimping and the use of protective findings to ensure the necklace can withstand the dynamic tension of daily wear.
The Micro-Crimping Protocol
- Thread the Wire: Pass the 0.018" steel wire through the crimp tube, then through the jump ring or clasp, and back down through the crimp tube, leaving a 2-inch tail.
- Positioning: Use a bead stopper to hold the desired tension. Ensure the wire strands inside the crimp tube are lying parallel, not crossed, to maximize friction.
- First Crimp: Place the crimp tube in the second notch (the U-shape) of your micro-crimping pliers. Squeeze firmly to create a crescent shape.
- Second Crimp: Rotate the tube 90 degrees and place it in the first notch (the oval shape). Squeeze to fold the crescent in on itself, creating a perfectly rounded, secure bead.
- Concealment: Slide a 3mm sterling silver crimp cover over the folded tube and use chain-nose pliers to gently close it, mimicking a seamless metal bead.
Wire Guards and Abrasion Protection
For heavy shell pendants that slide freely along the wire, the constant friction will eventually fatigue the steel strands. Incorporate a sterling silver wire guard (also known as a wire protector) at the clasp connection points. Furthermore, if the shell hole is large, thread a small piece of flexible rubber or silicone tubing through the shell channel before passing the wire. This acts as a shock absorber, preventing the hard steel wire from grinding against the brittle calcium carbonate edges during movement.
Maintenance and Longevity
Shell necklaces require specific care protocols. Never place shell jewelry in an ultrasonic cleaner; the high-frequency acoustic cavitation will shatter the aragonite layers and strip the natural iridescence of nacre. Instead, clean the necklace using a soft, lint-free microfiber cloth dampened with distilled water and a drop of pH-neutral soap. Store the piece flat in a climate-controlled environment, as extreme dryness can cause the organic conchiolin proteins within the shell to desiccate, leading to spontaneous delamination. By adhering to these technical specifications, your shell necklace will transcend seasonal trends and remain a structurally sound, breathtaking piece of wearable art for decades.


