How to Make a Slip Knot Necklace: Cord Materials & Friction Guide
Learn how to make a slip knot necklace by choosing the right cord. Compare leather, silk, and nylon materials for perfect adjustable friction.

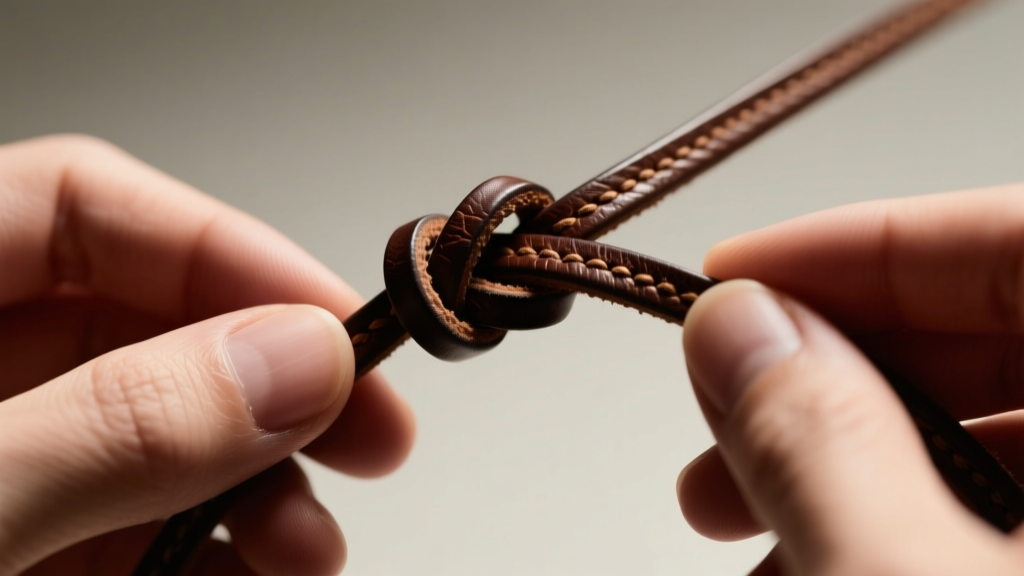
Learning how to make a slip knot necklace is a fundamental skill for jewelry makers, offering a customizable, clasp-free design that fits any neckline. However, the success of an adjustable sliding knot—often a macrame square knot or a double overhand slip—relies entirely on the physics of friction. If you choose a cord that is too slick, the knot will creep open under the weight of a pendant. If the material is too rough or stiff, the knot will jam, making adjustment impossible. In this comprehensive guide, we bypass generic tutorials and dive deep into the material science of jewelry cords, equipping you with the exact specifications needed to engineer a flawless slip knot necklace.
The Physics of the Slip Knot: Why Material Matters
A slip knot necklace functions on the balance between static and kinetic friction. When the wearer pulls the cord ends to adjust the length, the kinetic friction must be low enough to allow the cord to glide through the knot wraps. Once released, the static friction must be high enough to grip the base cord and support the pendant's weight without sliding.
This balance is dictated by three material properties:
- Surface Texture: Micro-abrasions on the cord surface increase static friction. Braided cords grip better than smooth, extruded monofilaments.
- Cord Geometry: Round cords provide consistent friction from all angles. Flat cords (like suede lace) can twist inside the knot, creating uneven tension and 'locking' the slide.
- Material Memory and Stretch: Materials with high elasticity (like cheap elastic cords) will thin out under tension, reducing the friction surface area and causing the knot to fail.
Cord Material Comparison Chart
Selecting the right material is the most critical step when figuring out how to make a slip knot necklace that actually works. Below is a technical comparison of the most common jewelry cords used for adjustable necklaces.
| Material | Optimal Gauge | Friction Profile | Tensile Strength | End Finishing Method |
|---|---|---|---|---|
| Braided Nylon (C-Lon/S-Lon) | 0.9mm - 1.5mm | Medium-High (Excellent grip) | High (Resists snapping) | Thermal melting (Lighter/Thread burner) |
| Genuine Deerskin Lace | 1.5mm - 2.0mm | High (Can jam if too thick) | Medium (Stretches over time) | Crimp ends or E6000 jewelry adhesive |
| Kangaroo Leather | 1.0mm - 1.5mm | Medium (Smooth but grippy) | Extremely High (~11,000 psi) | Beveling and burnishing |
| Braided Silk Cord | 1.0mm - 2.0mm | Medium (Slicker than nylon) | Low-Medium (Degrades in water) | French wire ends and crimp covers |
| Waxed Cotton | 1.0mm - 1.5mm | High (Wax creates temporary tack) | Low (Brittle when dry) | Knotting and sealing with clear glue |
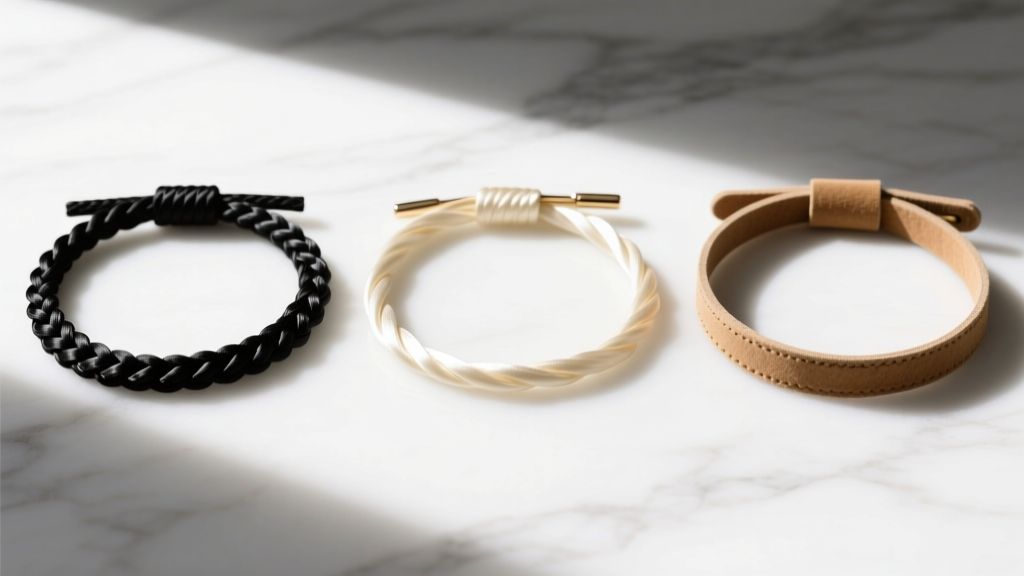
Step-by-Step: How to Make a Slip Knot Necklace
While there are several variations of the slip knot, the Macrame Sliding Square Knot is the industry standard for its durability and symmetrical appearance. Here is how to execute it, with material-specific adjustments.
1. Preparation and Measurement
Cut your main necklace cord to approximately 36 inches for a standard choker-to-chest adjustable length. Cut a separate 'working cord' of the exact same material, about 18 inches long. If you are using nylon, use a thread burner to seal both ends of the main cord to prevent fraying during the knotting process.
2. Forming the Square Knot Wraps
Overlap the two ends of your main 36-inch cord by about 4 inches. Take your 18-inch working cord and place it underneath the overlapped section. Begin tying alternating square knots (right over left, then left over right) around the two base cords.
Material Tweak: If using braided nylon, 4 to 5 wraps are sufficient due to its high friction. If using silk or smooth leather, you must execute 6 to 8 wraps to create enough surface area for the static friction to hold a pendant.
3. Securing and Finishing the Knot
Once the desired number of wraps is achieved, trim the working cord tails to about 2mm.
Material Tweak: For nylon, carefully melt the tails into the base of the knot using the blue flame of a butane lighter. For leather or cotton, apply a microscopic drop of cyanoacrylate (super glue) or E6000 to the cut ends and press them flat against the knot base. Never melt natural fibers, as they will scorch and weaken.
Failure Modes: Why Your Slip Knot Keeps Slipping (or Sticking)
Even experienced jewelers encounter functional failures when designing adjustable necklaces. Understanding these failure modes will save you hours of troubleshooting.
Pro-Tip from the Bench: 'Cord memory' is the enemy of the slip knot. If you store your necklace tightly coiled, the cord will develop a curvature that forces the sliding knot to twist and bind. Always store adjustable necklaces hanging vertically to maintain the cord's linear geometry.' - Ganoksin Jewelry Making Guide
The Creep (Knot Loosens on its Own)
Cause: The coefficient of friction is too low for the weight of the pendant. This frequently happens when jewelers use extruded monofilament cords or polished silicone cords.
Solution: Switch to a textured, braided cord like C-Lon nylon, or increase the number of wraps in your sliding knot from 4 to 8. Alternatively, add a small silicone 'stopper' bead hidden inside the knot wraps to act as an internal brake.
The Lock (Knot Refuses to Slide)
Cause: Debris accumulation (skin oils, lotions, dust) mixing with high-friction materials like waxed cotton, or using a flat cord that has twisted inside the knot.
Solution: Avoid waxed cotton for slip knots if the wearer uses heavy body lotions. If using flat suede, ensure you are using a 'barrel knot' or a specialized leather slider rather than a square macrame knot, which flattens and locks around wide, flat geometries.
Bead and Pendant Compatibility by Cord Type
The material you choose for your slip knot necklace must also be compatible with the pendant or focal bead you intend to string. The inner diameter (ID) of your bead must accommodate not just the single thickness of the cord, but the double thickness where the cord loops back, plus a 0.2mm tolerance for sliding friction.
- Heavy Gemstone Pendants (50g+): Require Kangaroo leather (1.5mm) or braided steel-core nylon. Standard silk or cotton will stretch and eventually snap under continuous dynamic loading.
- Delicate Glass or Ceramic Beads: Require smooth cords like braided silk or micro-nylon (0.5mm). Rough leather or textured cotton will act like sandpaper against the bead hole, eventually grinding through the glass or ceramic over time.
- Large Metal Baubles: Pair excellently with 2.0mm deerskin lace, which provides the necessary structural rigidity to keep the heavy metal resting flat against the sternum rather than flipping over.
Expert Tips for Longevity and Skin Safety
When learning how to make a slip knot necklace, do not overlook biocompatibility and long-term wearability. The cord rests directly against the nape of the neck, an area highly susceptible to contact dermatitis and sweat degradation.
According to the Fire Mountain Gems Material Encyclopedia, natural fibers like cotton and unsealed silk are highly porous. They absorb sweat, sebum, and environmental pollutants, leading to bacterial growth, odor, and eventual fiber rot. If you are designing a necklace for daily wear, synthetic braided nylon or sealed kangaroo leather are vastly superior choices. Nylon is hydrophobic, meaning it repels water and sweat, and can be easily washed with mild soap and air-dried without losing its tensile integrity or friction profile.
Finally, always test the 'pull-force' of your finished slip knot. A well-engineered sliding square knot on 1.0mm braided nylon should require approximately 2 to 3 pounds of lateral pull-force to adjust. If it slides with a light touch, it will not hold a pendant. If it requires yanking, it will frustrate the wearer and eventually snap the base cord. Master the materials, respect the friction, and your adjustable necklaces will be both functional and flawless.


