How to Put on a Necklace Alone: 5 Solo Clasp Hacks & Tips
Learn how to put on a necklace alone with 5 foolproof solo clasp hacks. Discover paperclip tricks, magnetic upgrades, and tangle tips.


The Universal Struggle of the Solo Clasp
If you have ever wondered how to put on a necklace without asking a roommate, partner, or stranger for help, you are not alone. The 'solo clasp dance'—fumbling blindly behind your neck, dropping a delicate pendant, or watching a fine chain slip through your fingers—is a universal frustration. The difficulty usually stems from a mismatch between the clasp mechanism, the chain gauge, and your natural dexterity.
In this comprehensive guide, we break down the mechanics of necklace hardware and provide five actionable, foolproof hacks to fasten any chain by yourself. Whether you are dealing with a microscopic 5mm spring ring on a vintage 0.8mm box chain or a heavy 4mm Cuban link with a stubborn lobster claw, these techniques will save your manicure and your patience.
The Anatomy of a Necklace Clasp (And Why Some Are Harder)
Before diving into the hacks, it is crucial to understand why certain necklaces are inherently more difficult to put on alone. According to jewelry manufacturing standards, the clasp type dictates the required dexterity. As noted by the Gemological Institute of America (GIA), regular inspection and proper handling of clasps prevent long-term metal fatigue, but it also highlights how different mechanisms operate under tension.
| Clasp Type | Average Size | Dexterity Required | Best Chain Gauge |
|---|---|---|---|
| Spring Ring | 5mm - 9mm | High (Requires pinching and pulling back a tiny lever) | 0.8mm - 1.2mm |
| Lobster Claw | 9mm - 15mm | Medium (Lever action, easier to grip) | 1.2mm - 3.0mm |
| Toggle (T-Bar) | 15mm+ bar | Low (Requires slack to push bar through ring) | 2.0mm - 5.0mm |
| Magnetic | 5mm - 10mm | Minimal (Neodymium magnets snap together) | 1.5mm - 4.0mm |
Spring rings are the most common culprits for frustration. They are often stamped from brass and plated, meaning the internal spring can weaken over time, requiring you to pull the lever back further than its housing allows. Lobster claws, usually cast in solid 14k gold or stainless steel, offer a more robust lever but can still be tricky when attached to a lightweight chain that refuses to stay still.
5 Foolproof Hacks on How to Put on a Necklace Alone
Skip the awkward behind-the-neck fumbling. Try these five expert-approved methods to secure your jewelry quickly and safely.
1. The Paperclip Anchor Method
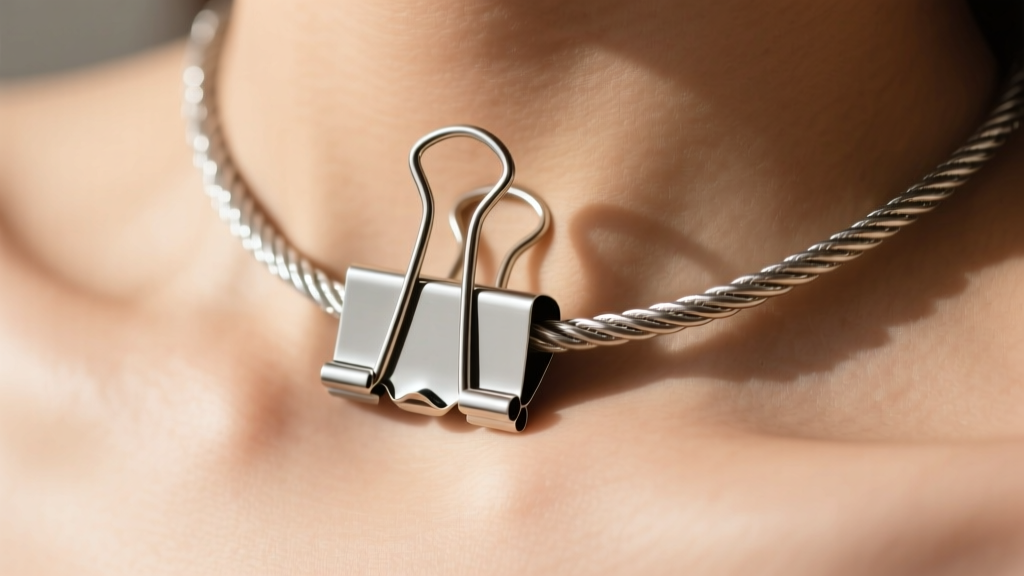
This is the gold standard for fastening delicate chains with spring ring clasps. Unbend a standard metal paperclip into an 'S' shape. Hook one end of the 'S' through the jump ring (the loop the clasp connects to) at the back of your neck. Let the paperclip rest against your collarbone or shoulder to anchor the chain in place. With the chain secured and tension applied, bring the clasp around your neck and easily hook it into the anchored jump ring using your dominant hand. Once fastened, simply slide the paperclip out.
2. The Medical Tape Trick
If you do not have a paperclip nearby, use a small piece of medical tape or painter's tape. Tape the jump ring end of the necklace to your collarbone or the side of your neck. This holds the receiving loop perfectly still and upright. Bring the clasp around, hook it in, and gently peel the tape away. This method is exceptionally useful for heavy pendants that pull the chain downward while you are trying to fasten it.
3. The Straw Threader (For Beaded & Pearl Necklaces)
Knotted pearl or beaded necklaces often feature tiny barrel clasps or fishhook clasps that are nearly impossible to align blindly. Cut a two-inch piece of a plastic drinking straw. Thread the jump ring end of the necklace through the straw and hold the straw in your non-dominant hand behind your neck. The straw acts as a rigid extension, giving you a physical target to bring the clasp toward, completely eliminating the 'slipping chain' problem.
4. The Front-Drape and Mirror Pivot
For thick chains with toggle clasps or large lobster claws, do not attempt to fasten them behind your neck. Drape the necklace around your neck so the clasp rests in the front, just below your chin. Fasten the clasp where you can see it. Once secured, rotate the entire chain 180 degrees around your neck so the clasp moves to the back. Warning: Only do this with chains thicker than 2.0mm; fine chains may tangle or catch on neck hair during the rotation.
5. The Silicone O-Ring Stopper
Purchase a pack of 2mm clear silicone O-rings (often sold as jewelry stoppers or earring backs). Slide one onto the chain near the jump ring. When putting the necklace on, the silicone ring creates enough friction against your skin to stop the chain from sliding off your shoulder while you work the clasp with your other hand. It is a game-changer for slippery box chains and snake chains.
Preventing the Dreaded 'Pendant Slide' and Chain Tangles
Learning how to put on a necklace is only half the battle; keeping it properly positioned is the other. If your pendant constantly slides to the side, or your chain tangles the moment you take it off, the issue lies in the chain's gauge and the pendant's bail size.
According to jewelry experts at James Allen, matching the chain thickness to the pendant bail is critical for both aesthetics and functionality. If you have a pendant with a wide 6mm bail on a thin 0.9mm chain, the pendant will slide freely and pull the clasp to the front of your neck.
- For sliding pendants: Invest in a silicone pendant stopper. These tiny, invisible discs slide onto the chain behind the pendant bail, creating friction that locks the pendant in the center of your chest.
- For tangling chains: Chains under 1.0mm (like fine box or herringbone chains) are prone to micro-tangles due to their high surface-area-to-weight ratio. Upgrade to a 1.5mm rope chain or a 2.0mm cable chain, which possess enough structural rigidity to resist knotting when stored or worn.
When to Upgrade Your Clasp (And What It Costs)
If you have arthritis, limited mobility, or simply own a beloved vintage piece with a failing 5mm spring ring, it is time to upgrade the hardware. You do not need to replace the entire necklace. A local bench jeweler can easily snip off the old clasp and solder on a new one.
Clasp Conversion Pricing Guide
- Standard Lobster Claw (Gold-Filled or Sterling Silver): $15 - $25
- Solid 14k Gold Lobster Claw (Laser Soldered): $35 - $55
- Platinum Magnetic or Lobster Clasp: $60 - $90 (Requires specialized laser welding to avoid porosity)
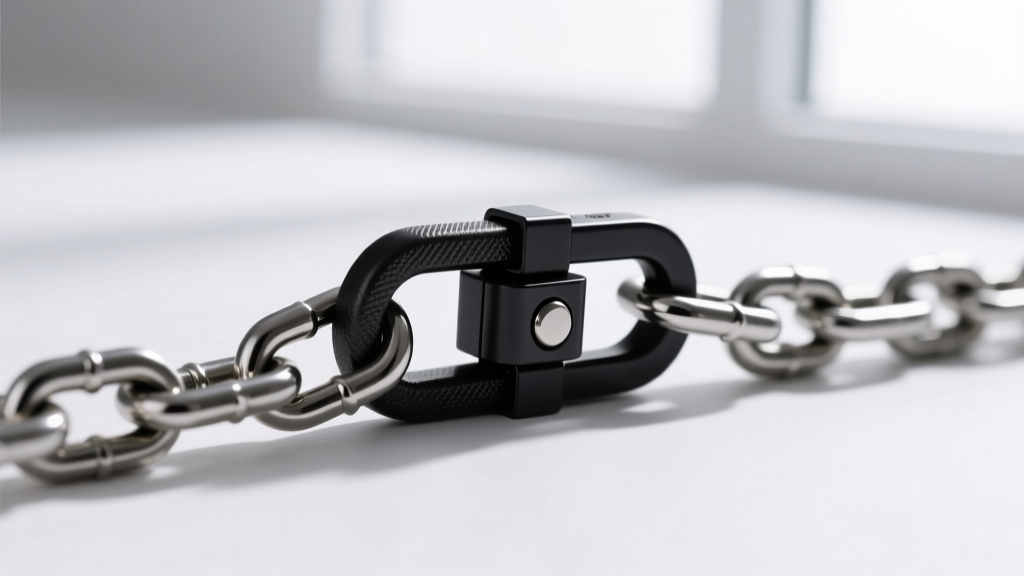
Pro Tip: If you frequently switch between pendants, ask your jeweler to install a 'convertible' or 'interchangeable' clasp system. These feature a specialized locking lever that allows you to open the chain link itself, rather than the clasp, making it incredibly easy to swap out different pendants without struggling with tiny jump rings and pliers.
Final Thoughts on Solo Jewelry Styling
Mastering how to put on a necklace alone is about working smarter, not harder. By leveraging everyday household items like paperclips and tape, or investing in permanent hardware upgrades like N52-grade neodymium magnetic clasps, you can eliminate the daily frustration of jewelry application. Remember to always store your unclasped chains flat or hung vertically to preserve the integrity of the links, ensuring that the next time you reach for your favorite piece, it is ready to be worn with zero hassle.


