How to Authenticate and Restore a Vintage Carved Bone Necklace
Learn how to authenticate, safely clean, and restore a vintage carved bone necklace with our expert step-by-step guide and material preservation tips.

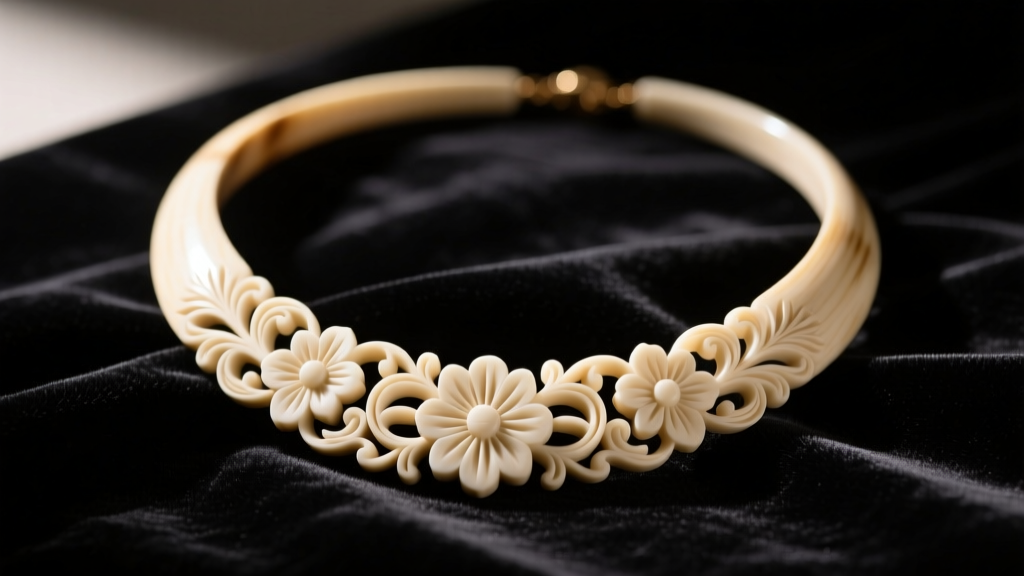
The Allure and Fragility of Carved Bone Jewelry
Vintage carved bone necklaces, particularly those dating from the 1920s through the 1970s, offer a unique blend of tribal artistry, Art Deco geometry, and mid-century bohemian flair. Unlike mass-produced synthetic alternatives, bone is a natural, porous organic material that ages distinctively. However, its organic nature also makes it highly susceptible to desiccation, chemical damage, and misidentification. Whether you have inherited a family heirloom or scored a rare piece at an estate sale, properly authenticating and restoring a vintage carved bone necklace requires a methodical, conservation-minded approach. This guide provides actionable, step-by-step instructions to verify your piece's origins and return it to its former glory without compromising its structural integrity.
Step 1: Authenticating Vintage Bone vs. Ivory and Resin
The secondary jewelry market is flooded with misidentified organic materials. Before applying any cleaning agents or restringing your necklace, you must confirm the material. According to the Gemological Institute of America (GIA), distinguishing between bone, ivory, and early plastics like Bakelite or celluloid relies on specific visual and physical markers.
Visual and Tactile Markers
Use a 10x jeweler's loupe to examine the surface and any uncarved cross-sections of the beads.
- Bone: Look for Haversian canals, which appear as tiny, irregular dark dots or short, jagged lines scattered across the surface. Bone also feels slightly lighter and more porous than ivory.
- Ivory: Genuine ivory exhibits Schreger lines (cross-hatching or engine-turning patterns) when viewed in cross-section. It lacks the pitted, porous texture of bone.
- Synthetic Resin/Plastic: Plastics will appear perfectly homogenous under magnification, often with mold lines or a slightly waxy, artificial luster.
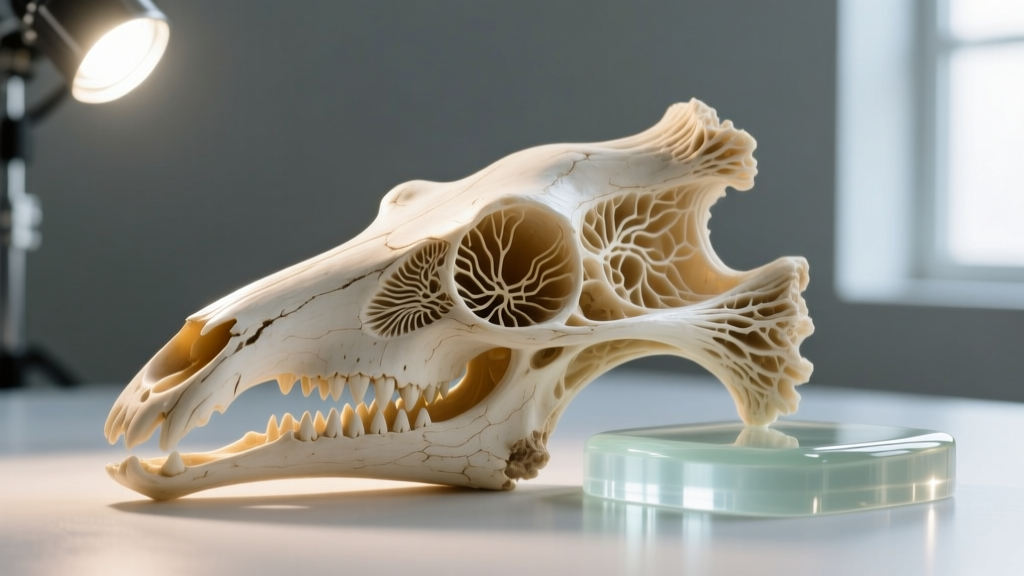
The UV Fluorescence Test
Shine a 365nm ultraviolet (UV) flashlight on the beads in a dark room. Natural bone typically fluoresces a dull, chalky white or pale yellow. Early synthetics and modern resins often absorb the light or glow a bright, unnatural blue-white. While not definitive on its own, UV testing is a non-destructive first step endorsed by conservationists.
Conservator's Warning: Avoid the traditional 'hot pin test' on vintage pieces. Applying a heated needle to an inconspicuous area to smell for burning hair (bone) vs. melting plastic is highly destructive, leaves permanent scorch marks, and drastically reduces the antique value of your necklace.
Step 2: Assessing the Condition and Structural Integrity
Once authenticated, evaluate the physical health of the necklace. Bone is hygroscopic, meaning it absorbs and releases moisture from the environment. Decades of fluctuating humidity can cause micro-fractures.
- Inspect for Desiccation Cracks: Run your fingernail gently over the carvings. Catching on invisible splits indicates deep structural weakness that requires consolidation before cleaning.
- Check the Drill Holes: Look inside the bead channels. Fraying, old cotton thread or oxidized, brittle wire can cause internal abrasion, enlarging the holes and weakening the bead from the inside out.
- Evaluate the Hardware: Vintage base-metal clasps often suffer from pot-metal degradation or rust. Plan to replace these with modern, hypoallergenic alternatives like surgical steel or solid sterling silver.
Step 3: The Safe Cleaning Protocol for Aged Bone
The most common mistake collectors make is soaking organic jewelry in water or using ultrasonic cleaners. Water causes bone to swell and crack upon drying, while ultrasonic vibrations can shatter micro-fractured beads. The National Park Service Museum Handbook strictly advises against aqueous cleaning for porous organics.
Recommended Cleaning Agents vs. Destructive Solvents
| Cleaning Agent | Effect on Vintage Bone | Verdict |
|---|---|---|
| Warm Soapy Water | Causes swelling, warping, and eventual cracking | Avoid |
| Isopropyl Alcohol | Strips natural oils, leading to severe desiccation | Avoid |
| Acetone / Polish Remover | Dissolves surface patina and damages organic matrix | Avoid |
| Mineral Oil | Rehydrates safely but can attract dust if over-applied | Use Sparingly |
| Microcrystalline Wax | Seals moisture, protects carvings, enhances luster | Highly Recommended |
Step-by-Step Dry Cleaning Method
- Dust Removal: Use a 0.5mm soft-bristle makeup brush or a clean, dry camel-hair brush to gently dislodge dirt from deep within the carved crevices.
- Surface Wiping: Lightly dampen a microfiber cloth with a tiny amount of odorless mineral spirits (not water) to lift surface grime, immediately buffing dry.
- Wax Application: Apply a thin, even coat of museum-grade microcrystalline wax (such as Renaissance Wax) using a soft cotton swab. Allow it to cure for 20 minutes, then buff gently with a clean flannel cloth to restore a soft, natural satin glow.
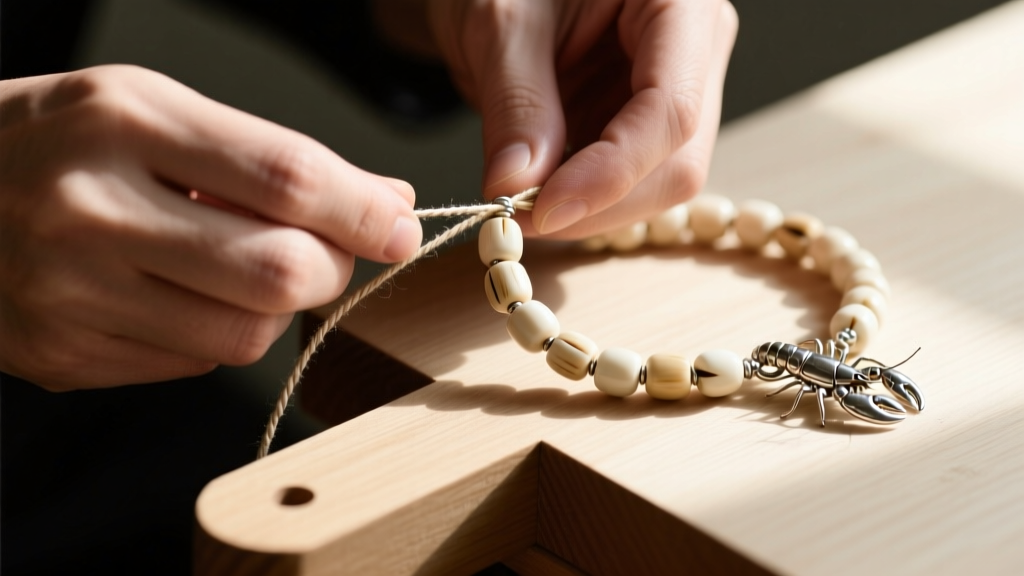
Step 4: Re-stringing and Hardware Upgrades
Vintage bone beads are often heavy, especially in statement necklaces featuring large, intricately carved pendants or barrel beads. The original stringing material has likely degraded. Upgrading the cord ensures the necklace is safe to wear.
Choosing the Right Stringing Material
- Flexible Beading Wire (0.018-inch or 0.024-inch gauge): Ideal for heavy, chunky bone beads. Use 49-strand stainless steel wire coated in nylon for maximum drape and tensile strength. Secure with 2mm sterling silver crimp tubes.
- Waxed Cotton Cord (Size 2 or 3): Best for tribal or bohemian styles where knotting between beads is desired. The wax prevents fraying and adds water resistance.
- Griffin Silk Thread (Size F or G): Only use for smaller, lighter bone beads where traditional hand-knotting is required to prevent bead-on-bead abrasion.
Clasp and Hardware Integration
Replace old, corroded jump rings and barrel clasps. For heavy vintage bone necklaces, a solid sterling silver lobster clasp paired with a soldered jump ring provides the best security. If the drill holes are exceptionally large or jagged, use sterling silver bead tips (calottes) or French wire bullion to protect the stringing material from being sliced by the bone's rough interior edges.
Long-Term Storage and Preservation
Proper storage is the final step in your restoration process. According to guidelines from the American Institute for Conservation (AIC), organic materials require strict environmental controls to prevent deterioration.
- Humidity Control: Store your necklace in an environment with a stable relative humidity (RH) between 45% and 55%. Use silica gel packets conditioned to 50% RH in your jewelry box to prevent the bone from drying out or absorbing excess moisture.
- UV Protection: Keep the necklace away from direct sunlight and harsh display lighting, which can bleach the natural patina and cause severe thermal cracking.
- Physical Support: Never hang heavy vintage bone necklaces on a hook, as the gravitational pull can stretch the cord and stress the drill holes over time. Always lay them flat in a padded, acid-free jewelry box or roll them loosely in unbleached muslin cloth.
By following these precise authentication, cleaning, and restringing protocols, you ensure that your vintage carved bone necklace remains a wearable, structurally sound piece of history for decades to come.


