How to Restore and Restring Vintage Glass Bead Necklaces
Learn how to authenticate, clean, and restring vintage glass bead necklaces with our expert step-by-step guide, featuring silk thread and French wire tips.

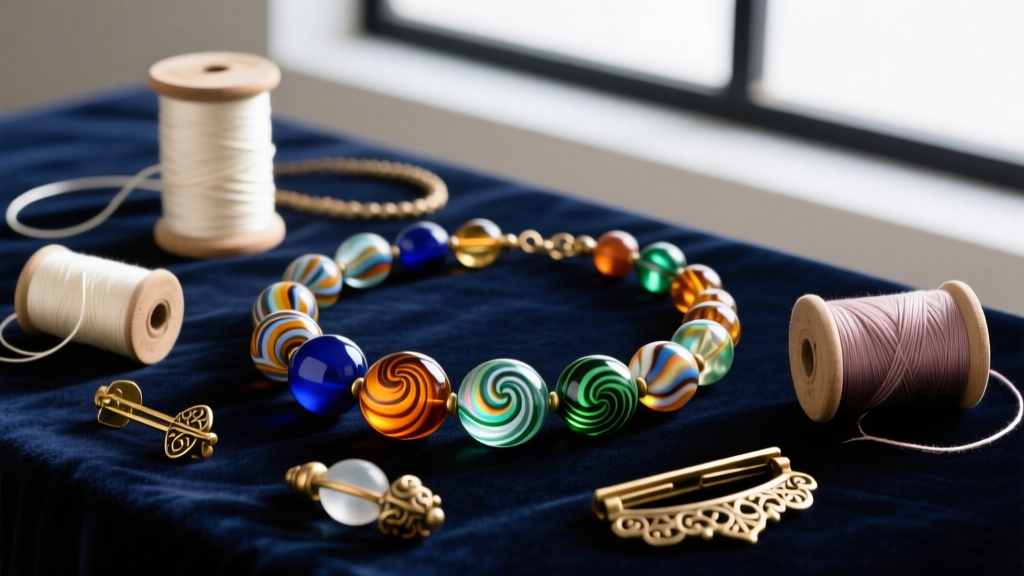
The secondary market for estate jewelry has seen a massive resurgence, and in 2026, collectors and stylists are heavily favoring vintage glass bead necklaces over mass-produced contemporary alternatives. Whether you have inherited a strand of 1920s Czechoslovakian molded glass, a mid-century Murano lampwork piece, or a delicate strand of Victorian seed beads, these artifacts require specialized care. The original cotton or early synthetic threads used decades ago inevitably dry rot, stretch, or snap. Restringing these pieces is not just a repair; it is an act of historical preservation. This comprehensive guide will walk you through the exact methodologies professional bench jewelers use to authenticate, clean, and re-string vintage glass beads without compromising their structural or historical integrity.
The Anatomy and Authentication of Vintage Glass
Before you cut the original string, you must verify the material. The vintage market is flooded with early plastics (like Bakelite, celluloid, and Lucite) masquerading as glass. According to the Gemological Institute of America (GIA), identifying bead composition is the first step in determining the appropriate cleaning and stringing tension.
The Tooth and Temperature Tests
Glass is inherently harder and denser than plastic. To perform the tooth test, gently tap the bead against the edge of your front tooth. Genuine glass will feel distinctly smooth but hard, while early plastics or modern resin will feel slightly 'grippy' or soft. For the temperature test, hold the bead against your cheek or the inside of your wrist. Glass acts as a thermal sink and will feel noticeably cool to the touch, taking longer to warm to your body temperature than plastic. Furthermore, if you suspect you have Vaseline glass (uranium glass), use a 365nm UV flashlight; genuine uranium glass will fluoresce a vibrant, neon green due to its uranium dioxide content.
Step 1: Safe Cleaning Protocols for Antique Glass
Never submerge vintage glass bead necklaces in harsh chemical baths or ultrasonic cleaners. Many early 20th-century beads, particularly those from the Gablonz region or early Aurora Borealis (AB) finishes, feature delicate metallic foiling or painted backing that will instantly flake off if exposed to moisture or high-frequency vibrations.
- Standard Glass Beads: Mix a few drops of pH-neutral dish soap into a bowl of distilled water. Dip a soft-bristled baby toothbrush into the solution, gently scrub the bead, and immediately wipe it dry with a microfiber cloth.
- Foiled or Painted Beads: Use a dry, clean makeup brush to dust out the bead holes and gently wipe the surface. If grime is stuck, use a cotton swab very lightly dampened with isopropyl alcohol, avoiding the bead holes entirely.
- Uranium Glass: Clean with mild soap and water, but avoid acidic cleaners like vinegar, which can etch the glass surface over time and dull its characteristic glow.
Step 2: Choosing the Right Stringing Materials
The most common mistake amateurs make is using modern nylon-coated beading wire (like Tiger Tail) for vintage pieces. While strong, wire lacks the drape of silk and can saw through the fragile glass holes of antique beads over time. For authentic restoration, 100% silk thread remains the gold standard, as documented in historical jewelry archives like the Victoria and Albert Museum.
| Thread Size | Diameter (mm) | Best Used For | Tensile Strength |
|---|---|---|---|
| Size B | 0.20mm | Micro seed beads (1-2mm), delicate Victorian lacework beads | Low |
| Size D | 0.30mm | Small Czech glass, early 20th-century faux pearls | Medium |
| Size F | 0.35mm | Standard vintage glass (3-5mm), Murano lampwork | High |
| Size FF | 0.45mm | Large statement beads, heavy Art Deco molded glass | Very High |
When to Use Synthetic Alternatives
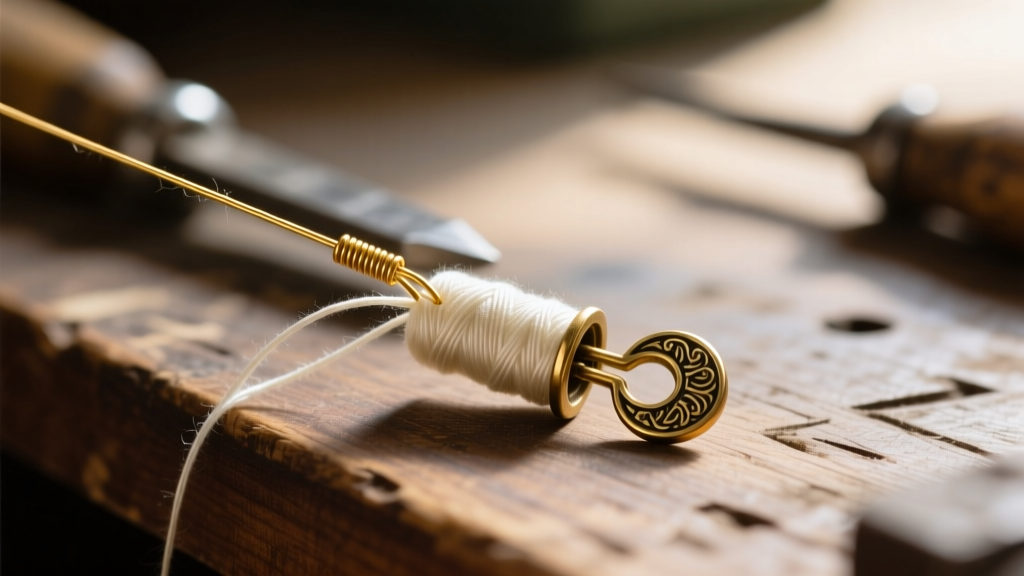
If your vintage beads have sharp, unpolished drill holes (common in early molded Czech glass or rough-hewn trade beads), silk will eventually fray and snap. In these specific cases, upgrade to a 49-strand micro-wire (0.018 inch diameter) coated in nylon. However, you must use wire guardians (French wire) at the clasp to maintain a professional, flexible finish.
Step 3: The French Wire and Clasp Technique
French wire, also known as bullion or gimp, is a tightly coiled, microscopic spring of metal. It is an absolute necessity when stringing silk. The metal coil protects the delicate silk thread from rubbing against the sharp inner edge of the metal clasp ring, which is the primary cause of necklace breakage.
- Select a French wire gauge that matches your thread. For Size F silk, a 0.5mm or 0.6mm bullion is ideal.
- Cut a 1-inch piece of bullion using flush cutters. Do not use standard scissors, as they will crush the delicate coil.
- Thread your silk through the clasp ring, then pass it back through the French wire coil, creating a small, protected loop.
- Tie a secure surgeon's knot to lock the clasp in place, adding a tiny drop of jeweler's cement (like G-S Hypo Cement) to the knot for permanence.
Step 4: Restringing and Tension Management
Restringing is a test of patience and tension control. The goal is to have the beads sit flush against one another without gaps, but without so much tension that the necklace becomes stiff and unable to drape naturally around the neck.
Knotting Between Beads: To Knot or Not to Knot?
Historically, high-end vintage glass bead necklaces were knotted between every bead. This serves two purposes: it prevents the beads from grinding against each other (which can chip the glass), and if the strand breaks, you only lose one bead instead of the entire necklace scattering across the floor. According to Fire Mountain Gems' stringing encyclopedia, knotting is mandatory for beads larger than 4mm or those with high historical value.
The Beading Awl Method
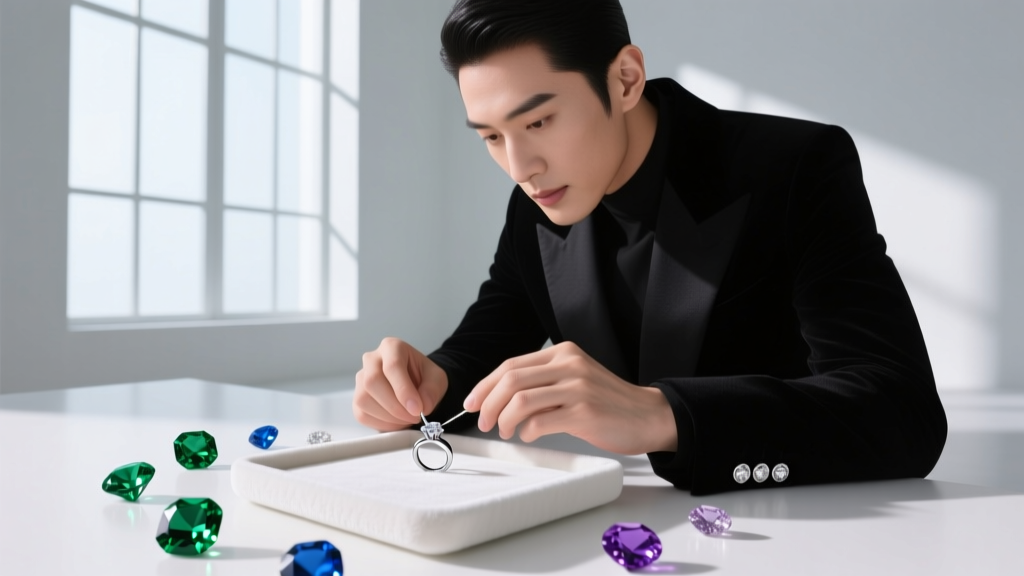
To achieve perfectly tight knots flush against the glass, you must use a beading awl or a specialized knotting tool.
- String the bead, then tie a simple overhand knot, leaving it slightly loose.
- Insert the tip of the beading awl into the knot.
- Slide the knot down the awl until it rests perfectly flush against the top of the glass bead.
- Pull the thread taut while slowly withdrawing the awl, cinching the knot tightly into place.
- Repeat this process for every single bead. This is time-consuming, but it is the hallmark of a professional restoration.
Troubleshooting Common Vintage Bead Issues
Even with perfect technique, vintage materials present unique challenges. Here is how to troubleshoot the most common issues encountered on the bench:
- Drill Holes are Too Small for Knotted Silk: If the hole is under 1mm, a knot will not pass through. You must use a bead reamer (a diamond-coated micro-file) to gently enlarge the hole. Use water as a lubricant to prevent the glass from cracking due to heat friction.
- Discoloration of Original Thread: If you are preserving the original thread for a museum piece and cannot replace it, carefully clean it with a cotton swab dampened with a mild textile conservation soap. Do not attempt to bleach the thread, as this will destroy the protein structure of the silk.
- Clasp Mismatch: Often, vintage necklaces have had their original clasps replaced with cheap modern alternatives. When restoring, source deadstock vintage barrel clasps, filigree box clasps, or brass spring rings to maintain the piece's historical accuracy and resale value.
Final Thoughts on Preservation
Restoring vintage glass bead necklaces is a meticulous craft that bridges the gap between historical appreciation and modern wearability. By utilizing the correct silk gauges, employing French wire to protect your tension points, and mastering the beading awl for flawless knotting, you ensure that these mid-century and Art Deco treasures will survive for another century. Always store your restored strands flat or hung in a climate-controlled environment away from direct UV light to prevent any remaining organic dyes or early metallic finishes from degrading. Proper restoration is not just about fixing a broken string; it is about honoring the artisan who originally crafted the glass.