How to String and Style a Rose Quartz Chip Necklace
Learn how to source, string, and layer a custom rose quartz chip necklace with our expert step-by-step guide on wire gauges and styling.

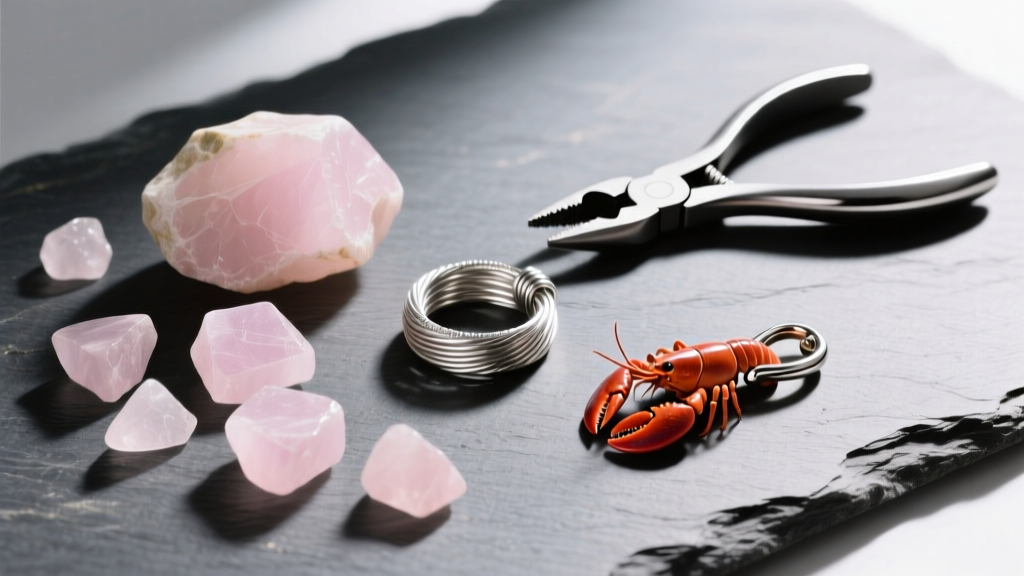
The Anatomy of a Rose Quartz Chip Necklace
In 2026, the jewelry landscape has decisively shifted away from rigid, perfectly symmetrical bead strands toward organic, fluid silhouettes. The rose quartz chip necklace sits at the epicenter of this movement. Unlike uniform round beads, "chips" are irregular, tumbled shards of stone that retain a raw, earthy geometry while still offering a polished finish. Because rose quartz ranks at a 7 on the Mohs hardness scale, it is durable enough for everyday wear, yet its delicate pink hue—ranging from cloudy blush to translucent bubblegum—requires careful material pairing to truly shine. This guide will walk you through the exact technical specifications for sourcing, stringing, and layering a custom rose quartz chip necklace that looks professional and lasts for years.
Sourcing High-Quality Rose Quartz Chips
Not all rose quartz is created equal. When purchasing chip strands (typically sold in 15- to 16-inch lengths), you are generally choosing between two primary origins:
- Madagascar Rose Quartz: Highly prized for its translucency and pale, icy-pink color. The chips tend to be cleaner with fewer white quartz inclusions, making them ideal for elegant, light-catching designs.
- Brazilian Rose Quartz: Generally more opaque with a deeper, warmer pink tone. These chips often feature visible white marbling and are excellent for bohemian or heavily layered, textural designs.
Expert Warning: Beware of dyed stones. Lower-grade white quartz is sometimes submerged in pink chemical dyes to mimic high-quality rose quartz. You can test a chip by wiping it with a cotton swab dipped in acetone; if pink transfers to the swab, the stone is dyed. For verified material science and identification properties, refer to the Gemological Institute of America (GIA) database.
Material Selection: Wire, Cord, and Findings
The most common failure point in DIY chip necklaces is using the wrong stringing material. Because chips have irregular, sometimes sharp-edged drill holes, they can easily fray natural fibers over time.
Why Coated Stainless Steel Wire Wins
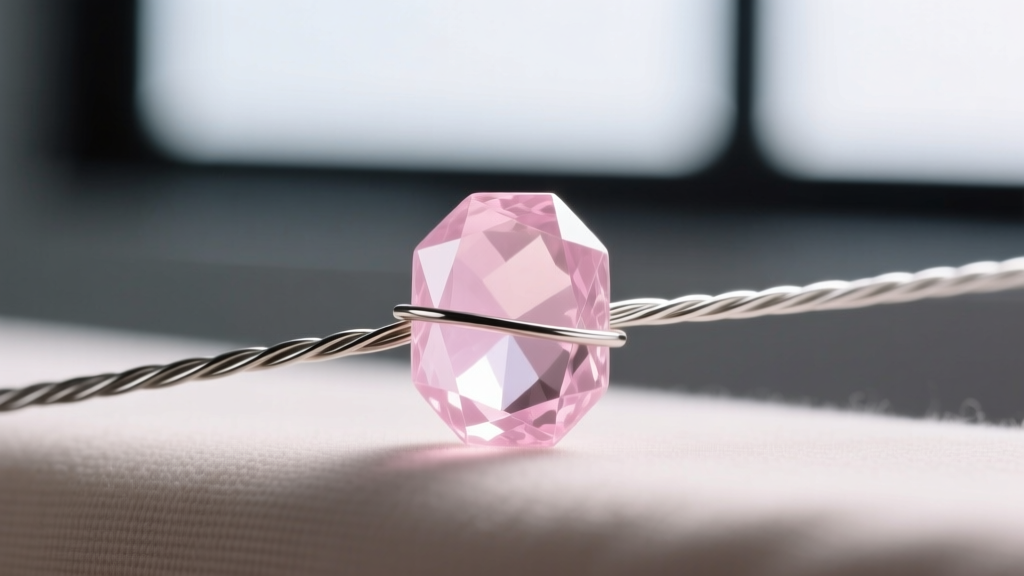
While Size F silk cord is traditional for pearl knotting, it is a poor choice for stone chips. Instead, opt for a 49-strand micro-wire coated in nylon. The 49-strand construction provides a silk-like drape, allowing the irregular chips to cascade naturally rather than jutting out at stiff angles. For standard 5-8mm chips, a 0.015-inch gauge is the optimal thickness. It is thick enough to support the stone's weight but thin enough to pass through narrow drill holes twice (which is necessary when finishing the clasp).
Selecting the Right Clasp
Because chip necklaces are inherently textured and casual, a bulky lobster clasp can disrupt the visual flow. A 925 sterling silver or 14k gold-filled toggle clasp is highly recommended. The weight of the toggle bar at the back of the neck acts as a counterbalance, preventing the lighter front drape from sliding sideways. For a seamless look, use a 5mm spring ring clasp paired with a custom wire-wrapped hook.
Step-by-Step Stringing Instructions
Follow this precise workflow to ensure structural integrity and a professional finish. For a comprehensive visual reference on crimping techniques, consult the Fire Mountain Gems Jewelry Making 101 guide.
- Measure and Cut: For an 18-inch princess length necklace, cut exactly 24 inches of 0.015-inch 49-strand wire. This provides 6 inches of working room for the clasp and crimping.
- Secure the First End: Thread a 2mm sterling silver crimp bead onto the wire, followed by a wire guardian (horseshoe finding). Loop the wire back through the crimp bead. Use a micro-crimping plier to fold and secure the crimp bead, creating a clean, rounded loop.
- String the Chips: Lay your chips on a velvet bead mat. String them onto the wire. Pro Tip: Do not pack the chips too tightly. Leave a microscopic amount of slack (about 1/16th of an inch per inch of strand) so the necklace can flex. If strung too tight, the wire will kink and eventually snap.
- Finish the Clasp: Once all chips are strung, add a crimp bead, the other half of your clasp, and loop the wire back through the crimp and the last three chips. Pull the slack out gently, ensuring the necklace drapes smoothly, then crimp securely.
- Trim and Conceal: Use flush cutters to trim the excess wire as close to the crimp bead as possible. For a flawless finish, slide a 3mm crimp cover over the flattened crimp and squeeze it shut with chain-nose pliers.
Structural Data: Chip Sizes and Bead Counts
Planning your strand length requires understanding the volume of irregular chips. Use the table below to estimate your material requirements and wire gauge.
| Chip Size (mm) | Target Strand Length | Approx. Bead Count | Recommended Wire Gauge |
|---|---|---|---|
| 3-5mm (Micro) | 16 inches (Choker) | 85 - 100 | 0.012" (19-strand) |
| 5-8mm (Standard) | 18 inches (Princess) | 60 - 75 | 0.015" (49-strand) |
| 8-12mm (Chunky) | 24 inches (Matinee) | 55 - 65 | 0.018" (49-strand) |
The Architecture of Layering
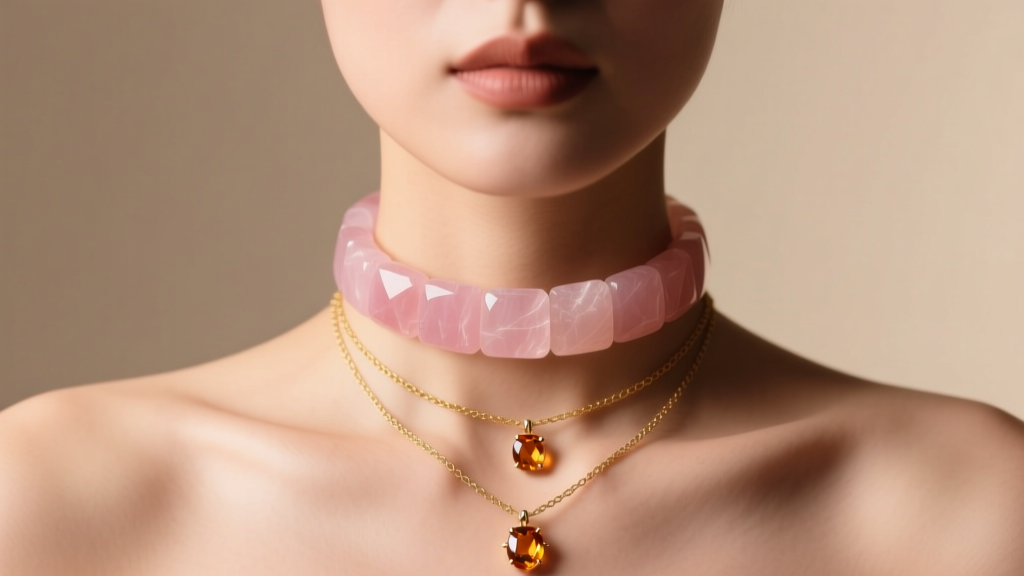
A single rose quartz chip necklace is beautiful, but its true potential is unlocked through strategic layering. The 2026 styling framework relies on the "Texture-Contrast Rule": pair the matte, organic irregularity of stone chips with high-polish, geometric metals.
The 3-Point Layering System
- Point 1 (The Anchor): A 15- to 16-inch rose quartz micro-chip (3-5mm) choker. This sits tight against the collarbone and provides a solid base of color.
- Point 2 (The Bridge): An 18-inch 14k gold-filled snake chain featuring a single, small geometric pendant (like a 6mm gold disc or a tiny raw diamond). The metallic sheen bridges the gap between the casual chips and the final layer.
- Point 3 (The Statement): A 22- to 24-inch chain with a larger, complementary stone pendant, such as a teardrop moonstone or a faceted morganite. This draws the eye downward, elongating the neck and torso.
Care, Maintenance, and UV Degradation
While rose quartz is relatively hard, its color centers (often caused by trace amounts of titanium, manganese, or dumortierite inclusions) can be sensitive to environmental factors. Prolonged exposure to direct, intense ultraviolet (UV) sunlight can cause the pink hue to fade toward a dull gray or white over time. When not wearing your necklace, store it in a lined jewelry box away from window light.
For cleaning, avoid harsh chemical dips. Because your necklace is strung on nylon-coated wire, ultrasonic cleaners are generally safe for the stone but can degrade the nylon coating over repeated uses. The safest, most effective method is to soak the necklace in a bowl of lukewarm water with a few drops of mild, phosphate-free dish soap for five minutes. Gently agitate the water, rinse under a low-pressure tap, and pat dry with a microfiber cloth. Never use a steamer, as sudden thermal shock can cause micro-fractures within the quartz chips, compromising their structural integrity.
Final Thoughts
Creating a custom rose quartz chip necklace is an exercise in balancing organic imperfection with precise engineering. By selecting the correct 49-strand wire gauge, understanding the geological origins of your stones, and applying the texture-contrast rule for layering, you elevate a simple craft project into a sophisticated, wearable piece of art. Whether you are designing for your personal collection or for a boutique line, mastering these structural fundamentals ensures your jewelry will endure both physically and stylistically.


