How to Style and Layer a Briolette Necklace: A Step-by-Step Guide
Learn how to style, layer, and maintain a briolette necklace. Follow our step-by-step guide on wire gauges, drill holes, and neckline pairing.


The Anatomy and Appeal of the Briolette Cut
Unlike traditional brilliant or step cuts that are designed to be viewed from a single top-down angle, a briolette is a fully three-dimensional, faceted teardrop. Typically featuring between 84 and 168 triangular or diamond-shaped facets, the briolette is engineered for kinetic light return. Because a briolette necklace suspends the gemstone from a single apex point, the stone moves freely with the wearer, catching and refracting light from every conceivable angle. This dynamic movement makes the briolette a highly coveted silhouette in both vintage estate jewelry and contemporary 2026 minimalist designs.
However, styling and maintaining a briolette requires a nuanced understanding of its unique structural vulnerabilities—specifically the drill hole—and its visual weight. Whether you are assembling a custom piece, repairing an heirloom, or simply looking to layer your existing collection, this step-by-step guide will walk you through the technical and aesthetic requirements of mastering the briolette necklace.
Step 1: Inspecting the Drill Hole and Hardware Compatibility
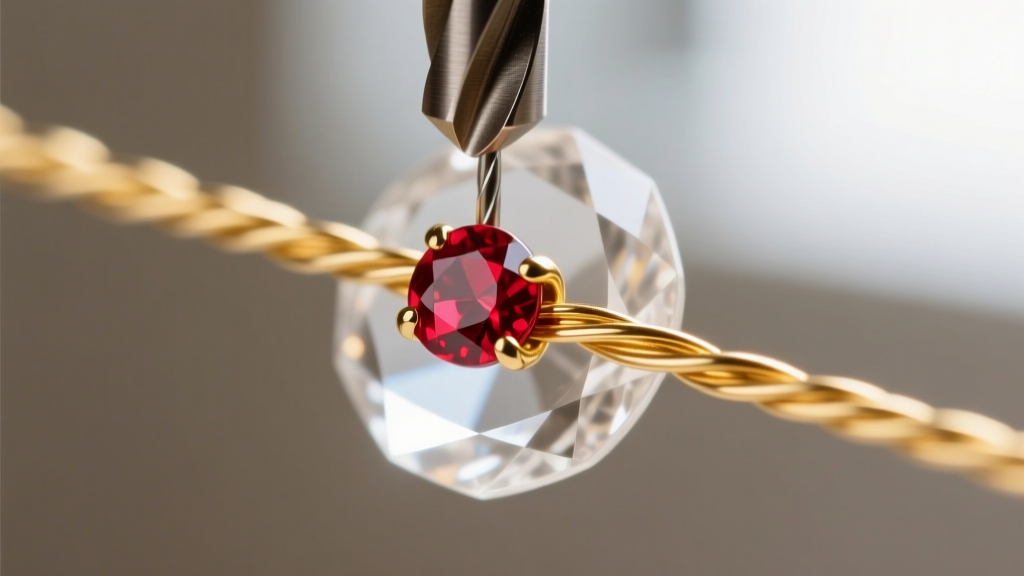
The most common failure mode in any briolette necklace is stone breakage at the apex. Because the stone must be drilled to accommodate a wire or pin, the structural integrity of the gemstone is compromised at its narrowest point. Before styling or assembling, you must inspect the hardware and the drill quality.
Assessing the Drill Quality
Using a 10x jeweler's loupe, examine the top of the briolette. High-quality briolettes feature a straight, cylindrical drill hole, usually measuring between 0.5mm and 0.8mm in diameter. Lower-quality, mass-produced stones often feature conical drill holes (drilled from both sides that meet in the middle), which leave a fragile, razor-thin edge at the apex that is highly prone to chipping.
Selecting the Correct Wire Gauge
If you are wire-wrapping or replacing the hardware on your briolette necklace, selecting the correct wire gauge is non-negotiable. According to jewelry fabrication standards outlined by Rio Grande, the wire must glide through the stone without friction, while being thick enough to resist snapping under the weight of the teardrop.
| Wire Gauge | Diameter (mm) | Temper | Best Use Case |
|---|---|---|---|
| 26-Gauge | 0.40mm | Dead Soft | Small briolettes (under 10mm); delicate wrapped loops. |
| 24-Gauge | 0.51mm | Dead Soft | Standard briolettes (10mm-20mm); the industry sweet spot. |
| 22-Gauge | 0.64mm | Half-Hard | Large, heavy briolettes (20mm+); requires large drill holes. |
Expert Tip: Never use half-hard or full-hard wire for the initial wrap through a briolette. The repeated bending required to create a wrapped loop will work-harden the wire rapidly, transferring stress directly into the gemstone's drill hole and causing it to crack.
Step 2: Wire-Wrapping and Securing the Drop
If your briolette necklace requires assembly or repair, follow this step-by-step wire-wrapping framework to ensure the stone is secure and protected from metal-on-stone friction.
- Cut and Thread: Cut a 4-inch piece of 24-gauge dead-soft wire. Thread it through the briolette drill hole, leaving a 1-inch tail.
- Add a Protective Spacer: Before bending the wire, thread a tiny 1.5mm metal or gemstone bead onto the wire. This bead acts as a buffer, preventing the wire from sawing into the fragile apex of the briolette during kinetic movement.
- Form the Loop: Bend both wires upward and use round-nose pliers to form a teardrop-shaped loop above the spacer bead.
- Wrap and Harden: Wrap the tail wire tightly down the base wire 3 to 4 times. Snip the excess flush with flush-cutters. Finally, use a nylon-jaw plier to gently squeeze and work-harden the wrapped loop, ensuring it holds its shape without stressing the stone.
Step 3: The 3-Point Layering Framework
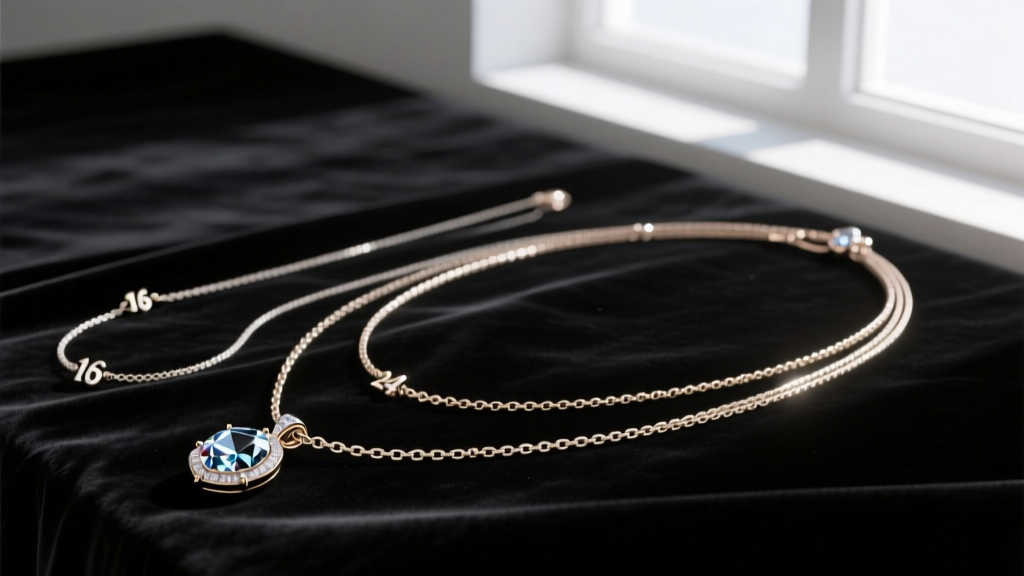
Because briolettes possess significant visual weight and draw the eye downward, layering them requires a structured approach to prevent a cluttered neckline. The most effective method is the 3-Point Layering Framework, which balances texture, length, and focal points.
Point 1: The Anchor (14 to 16 Inches)
Start with a lightweight, textural chain that sits high on the collarbone. A 16-inch oxidized sterling silver box chain or a delicate 14-inch gold paperclip chain provides a horizontal baseline that contrasts with the vertical drop of the briolette.
Point 2: The Focal Briolette (18 to 20 Inches)
Your briolette necklace should sit squarely in the princess or matinee length range. An 18-inch chain allows a standard 15mm briolette to rest perfectly in the hollow of the throat or just above the bust line, maximizing its kinetic light return without tangling with the anchor chain.
Point 3: The Elongator (24 to 28 Inches)
Finish the stack with a low-hanging, minimalist lariat or a simple 24-inch rope chain featuring a small, non-faceted geometric pendant. This draws the eye down the torso, elongating the neck and framing the central briolette.
Step 4: Matching Briolettes to Necklines
The teardrop silhouette of a briolette necklace interacts uniquely with different garment necklines. The GIA Gem Encyclopedia notes that the optical properties of faceted drops are best showcased when they have unobstructed space to move. Use this quick-reference guide to pair your jewelry with your wardrobe.
| Neckline Type | Ideal Briolette Length | Styling Rationale |
|---|---|---|
| Deep V-Neck | 20 to 22 Inches | The briolette mimics and extends the V-shape, creating a seamless, elongating line down the torso. |
| Scoop Neck | 18 Inches | Allows the teardrop to float just above the fabric line, providing a striking contrast to the curved hem. |
| Button-Down Collar | 24 to 28 Inches | Worn outside the collar or unbuttoned low, a long briolette adds a bohemian, relaxed focal point. |
| High Turtleneck | 30+ Inches (Rope) | A long, sweeping briolette lariat breaks up the heavy block of fabric and adds necessary verticality. |
Step 5: Cleaning and Ultrasonic Warnings
Maintaining the facet clarity of a briolette necklace is critical, as dirt accumulation on the underside of the teardrop severely limits light return. However, the drill hole presents a unique cleaning hazard.
The Ultrasonic Danger
Never place a briolette necklace in an ultrasonic cleaner without verifying the gemstone species. While diamonds and sapphires can generally withstand ultrasonic waves, briolettes cut from emeralds, opals, tanzanite, or included quartz are at high risk. The high-frequency vibrations can cause internal fractures to expand, and the drill hole can act as a resonance chamber, concentrating the acoustic energy and shattering the stone from the inside out.
Step-by-Step Safe Cleaning Method
- Prepare the Solution: Mix lukewarm water with a few drops of ammonia-free dish soap in a glass bowl.
- Soak Briefly: Submerge the briolette necklace for no more than 5 minutes. Prolonged soaking can degrade the silk or nylon thread if the stone is strung rather than wire-wrapped.
- Brush the Facets: Using an extra-soft baby toothbrush, gently brush the facets. Pay special attention to the top drill hole, where skin oils and lotion tend to pool.
- Rinse and Dry: Rinse under a gentle stream of lukewarm water. Pat dry with a microfiber cloth, and use a wooden toothpick to carefully wick away any trapped moisture from the apex drill hole before storing.
Final Thoughts on Briolette Mastery
A briolette necklace is more than just a piece of jewelry; it is a kinetic sculpture that relies on precise engineering and thoughtful styling to reach its full potential. By respecting the structural limitations of the drill hole, selecting the appropriate wire gauge, and employing a deliberate layering framework, you can ensure your briolette remains a captivating, light-catching centerpiece in your collection for decades to come.


