How to Style a Watch Chain Necklace: Step-by-Step Guide
Learn how to style, layer, and secure a watch chain necklace. Our step-by-step guide covers hardware, lengths, and neckline pairings.

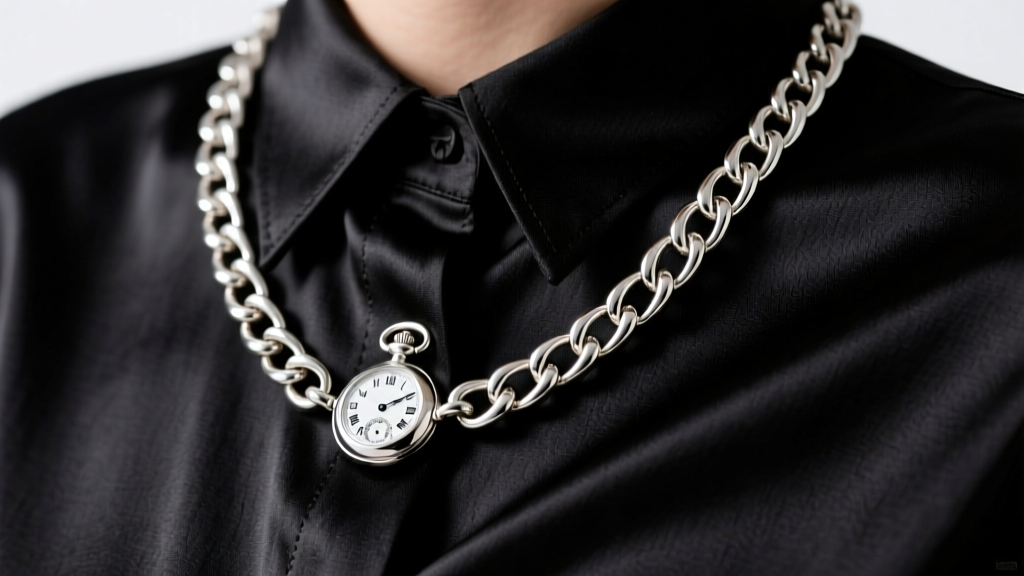
The watch chain necklace has evolved from a purely functional Victorian menswear accessory into a cornerstone of modern, gender-fluid jewelry styling. Whether you have inherited a heavy sterling silver pocket watch chain or purchased a contemporary curb-link replica, wearing these substantial pieces requires more than just draping them over your head. The weight, link structure, and vintage hardware demand specific styling techniques to ensure they sit correctly, remain secure, and complement your wardrobe.
In this comprehensive guide, we will walk you through the exact steps to convert, size, layer, and maintain a watch chain necklace, incorporating the latest 2026 styling trends and essential jeweler-grade hardware specifications.
The Anatomy of a Watch Chain Necklace
Before styling, you must understand what you are working with. According to Lang Antiques University, traditional pocket watch chains were designed to bear the weight of a solid gold or silver timepiece, meaning their links are engineered for tensile strength rather than delicate drape.
- The Albert Chain: Features a single chain with a T-bar on one end (originally for the waistcoat buttonhole) and a spring ring or dog clip on the other.
- The Double Albert: Features a T-bar in the center with two chains of varying lengths draping down, often ending in a fob seal or locket.
- Link Styles: Curb links (flat and interlocking) and Belcher links (round and uniform) are the most common. Rope chains are rarer but offer a more fluid, fabric-like drape.
A standard 14-inch to 16-inch solid 925 sterling silver curb watch chain can weigh anywhere from 45 grams to over 85 grams. This significant weight dictates how the necklace will hang and what type of modern hardware is required to keep it secure around your neck.
Step 1: Securing the Hardware (Crucial for Vintage Pieces)
If you are repurposing a vintage watch chain, the original hardware is rarely suitable for modern necklace wear. The T-bar is cumbersome at the nape of the neck, and antique spring rings are often weakened by decades of use. To prevent a catastrophic snap, you must upgrade the findings.
Tools and Materials Needed
- Flush cutters and chain-nose pliers
- 14-gauge (1.6mm) or 12-gauge (2.0mm) solid soldered jump rings
- A heavy-duty 15mm stainless steel or solid gold lobster clasp
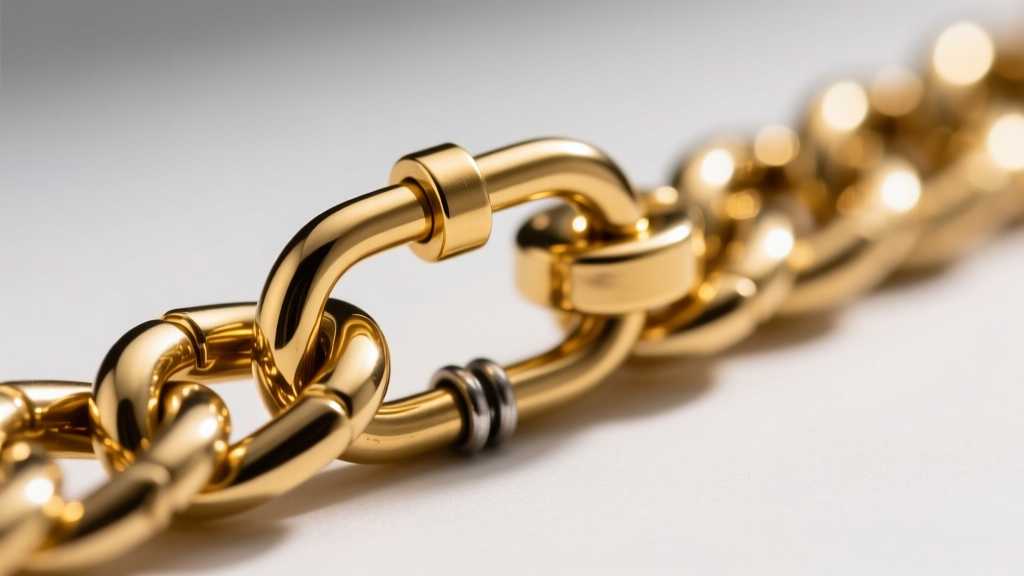
The Conversion Process
- Remove the T-Bar: Use flush cutters to carefully snip the jump ring connecting the T-bar to the chain. If the chain is highly valuable or antique, consult a professional jeweler to un-solder the link to preserve the chain's integrity.
- Attach Soldered Jump Rings: Never use standard open jump rings for a chain weighing over 30 grams; the tension will pull them apart. Use soldered jump rings (where the seam is fused shut with silver or gold solder) in at least 14-gauge (1.6mm) wire thickness.
- Secure the Clasp: Attach your 15mm lobster clasp to one end. On the opposite end, attach a larger soldered jump ring (at least 8mm in diameter) to serve as the catch for the clasp.
Jeweler's Tip: If your vintage chain features a 'dog clip' (a hinged, latch-style clasp common in early 20th-century British jewelry), inspect the internal spring mechanism. If it lacks tension, bypass it entirely with a modern lobster clasp to prevent accidental loss.
Step 2: Choosing the Right Length and Drop
Because watch chains are heavy, they pull downward, creating a deep, dramatic 'V' or 'U' shape. The ideal length depends heavily on the chain's weight and your preferred neckline. The Victoria and Albert Museum notes that historical chains were often sized strictly to the depth of a waistcoat pocket, but modern styling requires adapting to contemporary garments.
| Chain Length | Typical Weight (Sterling Silver) | Ideal Neckline Pairing | Styling Effect |
|---|---|---|---|
| 14 - 16 inches | 35g - 50g | Crew neck, high boat neck | Sits high on the collarbone; creates a bold, choker-adjacent statement. |
| 18 - 20 inches | 50g - 75g | V-neck, open button-down | Drops to the upper chest; allows the heavy links to drape naturally without pulling. |
| 24 - 30 inches | 75g - 120g+ | Turtleneck, maxi dress | Creates a deep, sweeping lariat effect; best for double-wrapping or layering. |
Step 3: Layering Techniques for Modern Styling
In 2026, the 'heavy metal' trend has shifted toward intentional contrast. The bulky, industrial nature of a watch chain necklace is best highlighted when juxtaposed with delicate, organic, or highly polished elements. Here is a step-by-step framework for building a balanced layering stack.
The Rule of Three
- The Anchor (14-16 inches): Start with a delicate, lightweight chain. A 1.2mm solid gold cable chain or a simple strand of freshwater baroque pearls sits close to the neck, providing a bright, reflective base.
- The Bridge (18-20 inches): Introduce a mid-length pendant necklace. A solitary bezel-set gemstone (like a dark onyx or malachite) on a medium-weight rope chain bridges the gap between the delicate anchor and the heavy watch chain.
- The Statement (22+ inches): Drape your watch chain necklace as the outermost layer. Let the heavy curb links frame the inner, more delicate pieces.

Mixing Metals Intentionally
Do not be afraid to mix a yellow gold-filled watch chain with sterling silver inner layers. The key to making mixed metals look intentional rather than accidental is to ensure the finishes contrast. Pair a highly polished silver choker with an oxidized (blackened) gold watch chain to create visual separation and depth.
Step 4: Maintenance, Tarnish, and Skin Sensitivities
Vintage watch chains carry a century of history, which often means a century of accumulated tarnish, polishing compound residue, and potential allergens.
Deep Cleaning Heavy Links
The tight crevices of curb and Belcher links trap skin oils and environmental grime. Avoid ultrasonic cleaners if your chain features any soldered repairs or hollow links, as the vibrations can shake old solder joints loose. Instead, use a mild solution of warm water and phosphate-free dish soap, agitating the links gently with a soft-bristled baby toothbrush. Dry thoroughly with a microfiber cloth to prevent water spots.
The Nickel Warning
If you are wearing an antique white gold or silver-plated brass watch chain, be aware of nickel content. Prior to modern alloying standards, nickel was heavily used to create white gold alloys and as a base metal for plating. If you experience contact dermatitis, coat the clasp and the links that rest against your nape with a thin layer of clear jewelry guard, or have a jeweler re-plate the piece in rhodium.
Troubleshooting Common Watch Chain Issues
Problem: The Chain Pulls Your Neck Hair
The Cause: Open jump rings or poorly finished link seams are catching fine hairs. The Fix: Run your fingernail along the inside of the links. If you feel snags, take the chain to a jeweler to have the links lightly laser-welded or filed smooth. Ensure all jump rings are tightly closed and soldered.
Problem: The Clasp Constantly Flips to the Front
The Cause: A heavy chain will naturally seek the lowest point of gravity, pulling the lightweight clasp around to the front of your neck. The Fix: Add a small, decorative counterweight (like a 3-gram gold bead or a tiny charm) directly next to the clasp at the back of the neck. This shifts the center of gravity and keeps the clasp anchored at your nape.
Problem: The Chain Feels Too Stiff and Doesn't Drape
The Cause: Thick curb links, especially when new or heavily oxidized, can act like a solid collar. The Fix: 'Break in' the chain by gently flexing it back and forth over a padded surface, or wear it layered over a thick knit sweater for a few days. The friction and movement will naturally loosen the tolerances between the links, resulting in a fluid, fabric-like drape.
Styling a watch chain necklace is an exercise in balancing historical weight with modern aesthetics. By upgrading your hardware to jeweler-grade specifications, understanding the physics of the drape, and layering with intentional contrast, you can transform a functional antique into a striking, contemporary centerpiece that will endure for decades to come.


