How to Tie a Necklace: Adjustable Knots & Clasp Repairs
Learn how to tie a necklace with adjustable sliding knots, fix broken clasps with cord, and choose the right silk or nylon thread for secure pendants.

The Lost Art of the Necklace Knot: Troubleshooting & Repairs
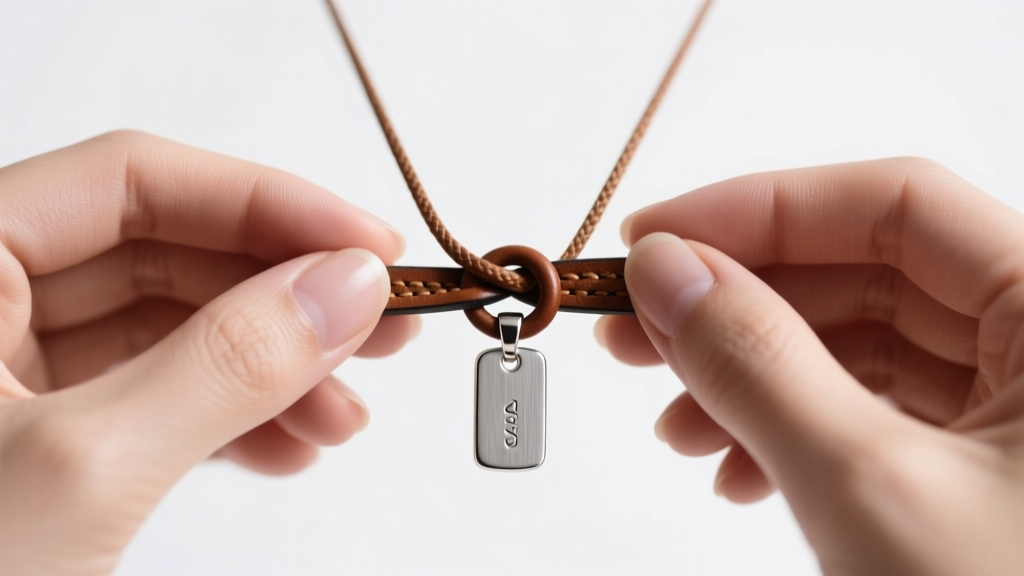
Knowing how to tie a necklace is one of the most underrated troubleshooting skills in jewelry care. Whether you are dealing with a broken lobster clasp at a formal event, attempting to customize the drop length of a heavy gemstone pendant, or restringing a vintage piece, mastering cord mechanics and knot friction is essential. In 2026, while magnetic clasps and integrated tension cables dominate the high-end market, traditional corded necklaces remain a staple for artisan pendants, pearl strands, and adjustable layering pieces. This guide bypasses basic crafts and dives deep into the material science, tensile limits, and structural troubleshooting of necklace knots.
Why Your Necklace Knots Keep Slipping (And How to Fix It)
The primary reason a necklace knot fails is a mismatch between the cord's surface friction and the knot's structural geometry. When you tie a simple overhand knot in a highly polished material, the kinetic friction is too low to hold against the pendulum swing of a heavy pendant. According to the Gemological Institute of America (GIA), natural silk is the gold standard for pearl stringing due to its gentle drape, but its low-friction surface requires specific knotting techniques, like the French knot or double overhand, to prevent catastrophic failure.
| Cord Material | Diameter Range | Friction Profile | Best Knot Type | Adhesive Required? |
|---|---|---|---|---|
| Griffin Natural Silk | 0.2mm - 1.05mm | Low (Slippery) | Double Overhand / French | Yes (G-S Hypo Cement) |
| Braided Nylon (C-Lon) | 0.4mm - 1.0mm | Medium (Textured) | Sliding Square Knot | Optional (Melt ends) |
| Suede Leather | 1.5mm - 3.0mm | High (Grippy) | Lark's Head / Simple Loop | No |
| Waxed Cotton | 0.8mm - 2.0mm | Medium-High | Figure-Eight Stopper | No |
Troubleshooting Tip: If your silk cord keeps untying, you are likely using a single overhand knot. Switch to a surgeon's knot (an overhand knot with an extra twist on the first pass) to increase the surface area contact and internal friction before applying adhesive.
The Sliding Square Knot: Your Go-To Adjustable Solution
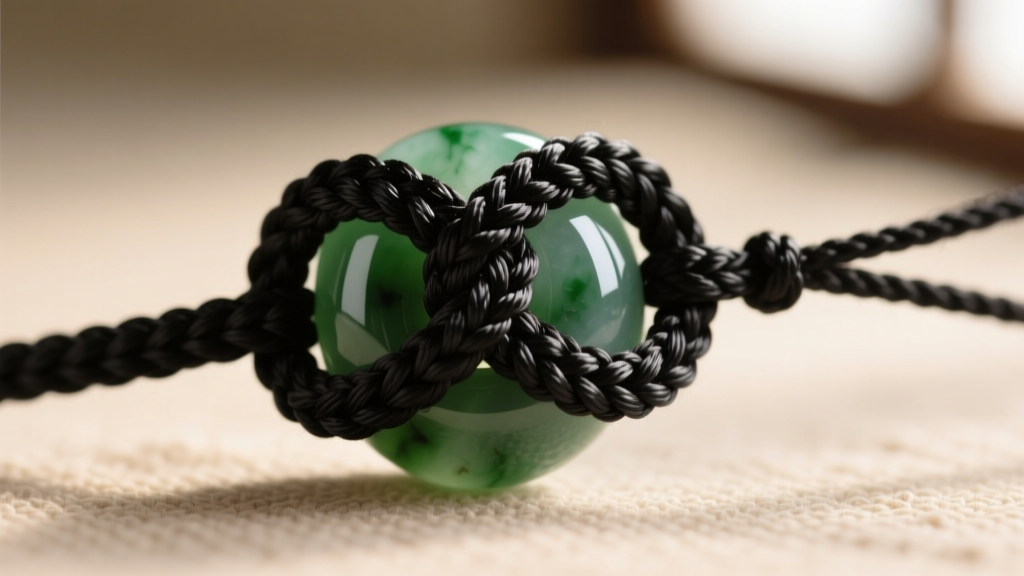
The sliding square knot (often used in macrame) is the ultimate solution for adjustable necklaces, allowing the wearer to modify the length from a choker (14 inches) to a matinee (24 inches) without requiring hardware. However, a common failure mode is the knot seizing up and refusing to slide, or conversely, slipping too easily under the weight of a pendant.
Step-by-Step Execution & Tension Control
- The Base: Lay your main necklace cord flat. Take a separate 12-inch piece of matching cord (the working cord) and place it under the base cord.
- The First Half-Hitch: Bring the right side of the working cord over the base cords and under the left side. Pull the left side through the loop. Tighten gently.
- The Second Half-Hitch: Reverse the process. Left over, under, and through. This creates one complete square knot.
- Repeat: Create 4 to 6 square knots. Fewer than 4 will slip; more than 8 will create a bulky, stiff joint that ruins the drape.
Troubleshooting Seized Knots: If the knot will not slide, you are pulling the working cord too tightly during the tying process. The base cords must remain perfectly relaxed and parallel. Additionally, never use suede or textured leather for the sliding mechanism; the microscopic fibers act like velcro, locking the knot in place. Use polished nylon or smooth round leather for the base, and waxed cotton for the working cord.
Emergency Clasp Repair: Converting a Chain to a Tie-Necklace
You are at a dinner event, and the jump ring connecting your lobster clasp snaps. You have no tools and no spare chain. Knowing how to tie a necklace in an emergency can save your evening. Do not attempt to tie the metal chain links together in a knot; metal fatigue will cause the links to warp and eventually snap, potentially losing your pendant.
The Dental Floss & Silk Scarf Method
If you have access to a restroom and a first-aid kit, waxed dental floss is a miracle material. It possesses a tensile strength of over 30 pounds and is virtually invisible against the skin. Thread the floss through the broken end links of your chain, tie a secure double surgeon's knot, and trim the excess with nail clippers. Alternatively, if the chain is entirely compromised, thread the pendant bail onto a thin, rolled silk scarf or a spare shoelace, utilizing a lark's head knot to secure the pendant in the center, and tie the ends behind your neck using a simple square knot.
Sizing Guide: Matching Cord Gauge to Pendant Weight
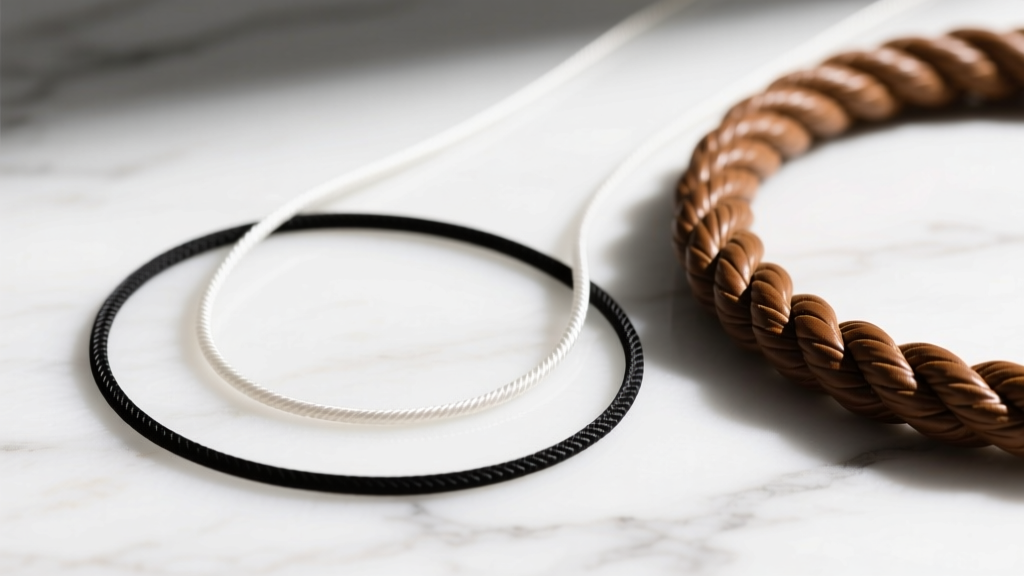
A frequent mistake in DIY jewelry making is pairing a heavy pendant with an undersized cord, leading to tensile failure. The pendulum effect of a heavy stone walking across your chest places dynamic stress on the cord that far exceeds the static weight of the piece. Rio Grande Jewelry Supply recommends factoring in a minimum 5x safety margin for dynamic jewelry stress.
| Pendant Weight | Material Examples | Minimum Cord Gauge | Recommended Material |
|---|---|---|---|
| Under 10g | Small pearls, lightweight resin, thin gold foil | 0.4mm - 0.6mm | Griffin Silk or Fine Nylon |
| 10g - 30g | Medium cabochons, silver lockets, geode slices | 1.0mm - 1.5mm | Braided Nylon or Waxed Cotton |
| 30g - 60g | Large brass pendants, heavy jade, steel pieces | 2.0mm - 3.0mm | Round Leather or Paracord |
| Over 60g | Oversized statement pieces, raw crystal clusters | 4.0mm+ | Steel Wire Core w/ Leather Wrap |
Sealing and Finishing Your Knots for Long-Term Wear
Tying the knot is only half the battle; sealing it ensures longevity. The most critical error jewelers make is using Cyanoacrylate (Super Glue) on nylon or silk cords. Cyanoacrylate cures into a hard, brittle plastic that creates a sharp edge, eventually cutting through the cord fibers due to friction. Furthermore, the chemical reaction can degrade synthetic fibers.
The Professional Standard: Use G-S Hypo Cement. This adhesive is specifically formulated for jewelry and watchmaking. It dries clear, remains slightly flexible to absorb shock, and features a precision needle tip that allows you to wick the glue directly into the core of the knot without leaving a messy residue on the exterior. Apply a single micro-drop, let it cure for 24 hours, and trim the tails flush with a pair of precision flush-cutters. For nylon cords, you can also use a thread zapper or a carefully applied lighter flame to melt the ends into a tiny, smooth bead that physically cannot pass through the knot.
Mastering how to tie a necklace transforms you from a passive wearer into an active curator of your jewelry collection. By understanding material friction, dynamic weight stress, and proper adhesive chemistry, you ensure your pendants remain secure, adjustable, and perfectly styled for any occasion.


