How to Unknot Necklace Chains Safely Without Breaking
Learn how to unknot necklace chains safely using household items. Step-by-step beginner guide to untangling fine gold, silver, and delicate links.

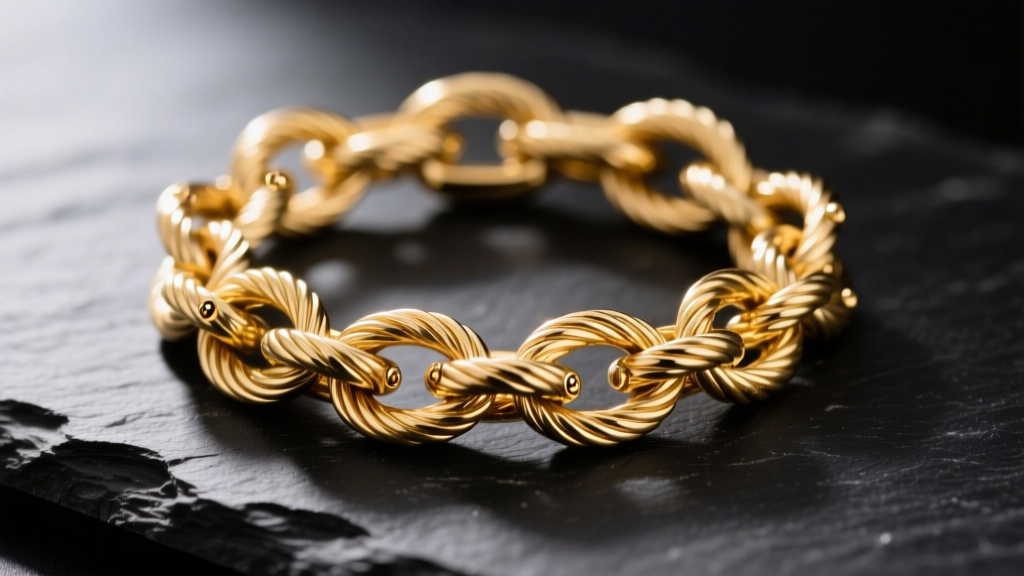
The Anatomy of a Tangled Chain: Why Knots Happen
There are few things more frustrating in jewelry care than pulling a delicate chain from your jewelry box only to find it transformed into a tight, chaotic bird's nest. Understanding how to unknot necklace chains safely begins with understanding why they tangle in the first place. Tangles are rarely random; they are the result of friction, static electricity, and the specific geometry of your chain's links.
When necklaces are stored loose in a drawer, the microscopic gaps between links catch on one another. Body oils, lotions, and dead skin cells (sebum) act as a mild adhesive, increasing the friction coefficient between metal links. When you attempt to pull the ends of a tangled necklace, you apply lateral tension. In physics, pulling the ends of a knot tightens the center, locking the metal links together and risking severe structural damage, especially in softer metals like 24k gold or fine sterling silver.
Essential Tools and Lubricants for Untangling
Before you attempt to unknot your jewelry, you need the right toolkit. Using your fingers or standard tweezers is a beginner mistake that often leads to scratched metal or stretched links. According to the Gemological Institute of America (GIA), proper jewelry care requires gentle manipulation and appropriate chemical aids to break down friction.
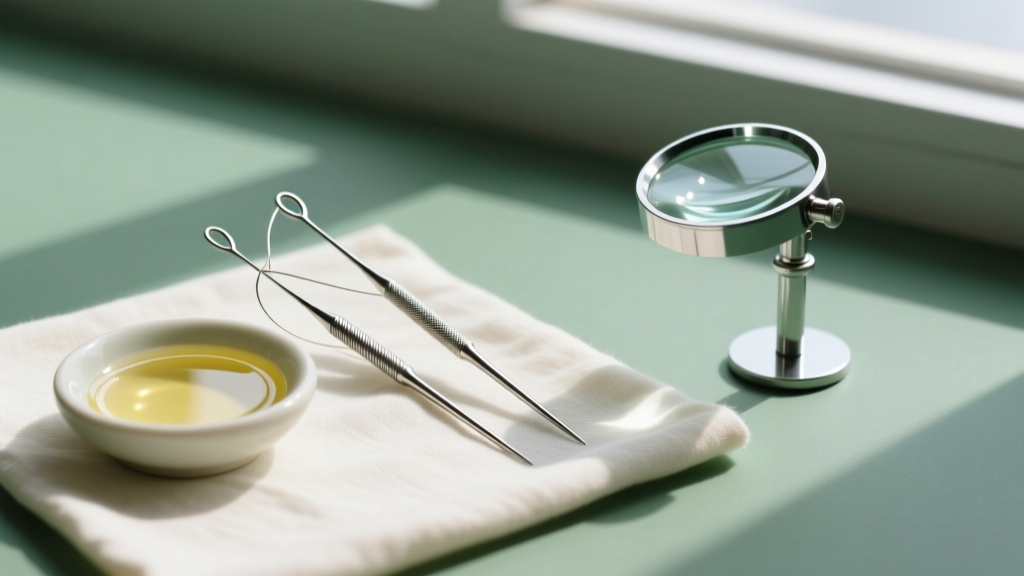
The Right Tools
- Sewing Needles or Straight Pins: A standard sewing needle is roughly 0.6mm in diameter. For micro-chains (under 1.2mm width), use a size 10 or 12 beading needle, which is closer to 0.35mm. This allows you to slide the tip between tightly bound links without forcing them apart.
- Jeweler's Loupe or Magnifying Glass: A 10x or 20x magnification loupe is critical. You need to see the exact entry and exit points of the knot to avoid pulling a link through a closed gap.
- Corkboard or Flat Mat: Always work on a flat, slightly textured surface. A dark corkboard or a rubber jewelry mat prevents the chain from sliding away while you work.
Lubricant Comparison Chart
Choosing the right lubricant depends on your chain's metal and the severity of the knot. Here is a breakdown of the most effective household slip agents:
| Lubricant | Best For | Mechanism of Action | Pros & Cons |
|---|---|---|---|
| Baby Oil (Mineral Oil) | Gold, Silver, Platinum | Dissolves sebum and skin oils binding the links. | Highly effective, safe for all metals. Requires washing afterward. |
| Cornstarch / Baby Powder | Porous gems, oxidized silver | Provides a dry, microscopic slip layer between metals. | Leaves no oily residue. Can be messy and hard to clean from crevices. |
| Graphite (Pencil Lead) | Stubborn metal-on-metal friction | Acts as a dry industrial lubricant. | Excellent slip. Leaves dark smudges that require ultrasonic cleaning. |
| Dish Soap & Warm Water | Chains bound by sticky lotions/hairspray | Surfactants break down cosmetic residues. | Great first step. Does not provide enough 'slip' for tight metal knots. |
Step-by-Step Guide: How to Unknot Necklace Chains
Follow this precise methodology to safely extract your chain from even the most stubborn tangles. Patience is your most valuable tool here.
Step 1: Prep and Unclasp
Always unclasp the necklace before you begin. If you leave the clasp closed, you are working with a continuous loop, which drastically limits your angles of approach and increases the tension on the chain. Lay the chain flat on your dark mat under a bright, direct light source.
Step 2: Lubricate the Knot
Dip a cotton swab into your chosen lubricant (baby oil is the most universally safe option) and dab it directly onto the center of the knot. Let it sit for 60 seconds. This allows the oil to penetrate the microscopic gaps between the links, neutralizing the friction caused by dried skin cells and cosmetics.
Step 3: The Pin Manipulation Technique
This is where most beginners fail. Do not pull the ends of the chain. Instead, take two fine needles. Insert the tip of the first needle into the absolute center of the knot and gently wiggle it to create a micro-gap. Insert the second needle into that gap, and gently push the needles apart in opposite directions. You are trying to loosen the core of the knot, not pull the outer loops tight.
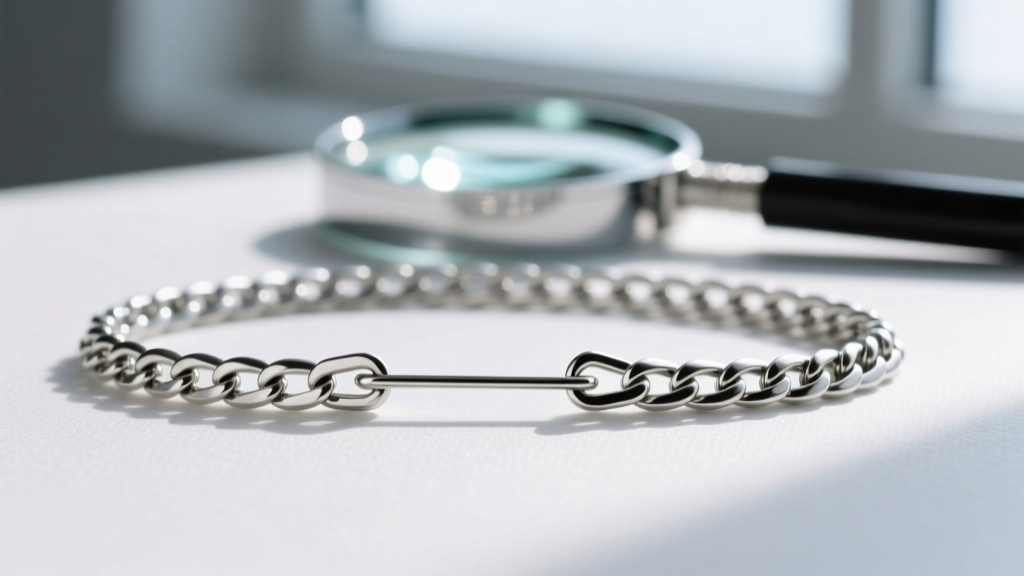
Step 4: Gentle Extraction
Once the center of the knot is loose enough to see light through the links, use your fingers to gently massage the outer loops inward toward the center. Feed the loose ends through the widened gaps one link at a time. If you encounter resistance, apply a second drop of oil and repeat the needle manipulation.
Chain-Specific Strategies: Adjusting by Link Type
Not all chains behave the same way. The geometry of the link dictates how it tangles and how it must be handled. Expert jewelers at Rio Grande note that understanding chain architecture is vital for preventing structural damage during repairs and maintenance.
- Cable and Link Chains: These have distinct, individual oval or round loops. They are the easiest to unknot because you can clearly see where one link ends and another begins. Use the two-pin method directly on the interlocking joints.
- Snake Chains: Made of tightly joined wavy rings that form a smooth, cylindrical tube. Snake chains trap oils deeply within their grooves. If knotted, they require a prolonged soak in warm soapy water before applying oil, as the tight mesh resists surface lubrication.
- Box Chains: Composed of square, interlocking links. They rarely knot, but when they do, the rigid geometry means the links can bend at sharp angles. Never force a box chain link; if it resists, use a 20x loupe to ensure a corner isn't wedged against a flat edge.
- Herringbone Chains: Flat, fluid chains made of short, parallel links. Herringbone is notorious for 'kinking' rather than knotting. If your herringbone chain looks tangled, inspect it closely. If the metal is folded sharply, it is kinked. Do not pull it. Lay it flat and use the back of a spoon to gently burnish (rub) the kink flat against the table.
What NOT to Do: Common Beginner Mistakes
'The most common damage I see in micro-chains isn't from everyday wear; it's from the owner trying to yank a knot apart with tweezers. Tweezers crush the soft alloys of 18k gold and sterling silver, weakening the link long before it snaps.'
— Master Bench Jeweler
Avoid these critical errors to protect your jewelry's structural integrity:
- Using Metal Tweezers: Standard cosmetic tweezers have serrated grips that will scratch precious metals and crush delicate solder joints.
- Pulling Tension: Yanking the ends of the chain causes 'work hardening.' When metal is bent or stressed repeatedly, it becomes brittle and will snap.
- Using Teeth or Saliva: Aside from being unhygienic, the enzymes and acids in saliva do not break down metal friction, and the pressure from your teeth will easily warp soft gold links.
Prevention: Storing and Wearing Best Practices
Once you have successfully untangled your necklace, implement these storage protocols to ensure it never happens again.
The Straw Method for Travel
When packing for travel, thread one end of the necklace through a plastic or silicone drinking straw, then clasp it. The rigid straw prevents the chain from coiling in on itself, making tangles physically impossible.
The Plastic Wrap Technique
For flat chains like herringbone or omega, lay the necklace flat on a sheet of press-and-seal plastic wrap, and fold the wrap over it. The slight tackiness of the plastic holds the chain perfectly flat, preventing the links from flipping and kinking inside your luggage.
When to Take It to a Professional Jeweler
While most knots can be solved at home, there are scenarios where DIY intervention will result in a broken chain. If the knot has been pulled so tight that the links are visibly deformed, or if the metal has work-hardened and become stiff, stop immediately.
Taking a severely compromised chain to a professional bench jeweler is a wise investment. In 2026, the cost for a jeweler to professionally untangle and ultrasonically clean a micro-chain typically ranges from $15 to $35. If a link does snap during the process, modern laser welding technology can repair chains as thin as 0.5mm without leaving a visible solder seam, usually costing between $45 and $85 depending on the metal karat and complexity. Knowing when to step back and hand the piece to an expert is the hallmark of true jewelry care.


