How to Wear a Lariat Necklace: Troubleshoot Slipping & Knots
Learn how to wear a lariat necklace without slipping or tangling. Expert troubleshooting tips for knotting, chain gauges, and securing the drop.


The lariat necklace is a masterclass in minimalist elegance, but it comes with a notorious reputation for being difficult to manage. If you have ever spent your entire evening discreetly readjusting a Y-drop chain that refuses to stay centered, or untangling a delicate snake chain that kinked at the slide, you are not alone. Understanding how to wear a lariat necklace requires more than just draping it over your head; it requires a basic understanding of jewelry physics, chain metallurgy, and hardware troubleshooting.
In this comprehensive guide, we move past basic styling advice and dive deep into the mechanics of the lariat. We will troubleshoot the most common points of failure—from asymmetrical slipping to permanent chain memory—and provide actionable, jeweler-approved solutions to keep your necklace secure, centered, and pristine.
The Physics of the Slip: Why Lariats Lose Center
The primary frustration with any lariat necklace is the shifting center of gravity. A standard lariat consists of a base chain and a drop (the tail). When the drop is significantly heavier than the base chain, gravity constantly pulls the slide and the tail toward the heavier side, causing the necklace to slip off-center.
Diagnosing Weight Distribution
To fix the slip, you must balance the micro-weights of the chain. If your lariat features a heavy gemstone or metal tassel at the end of the drop, the base chain needs a counterweight.
- The Counterweight Hack: Add a small, dense metal bead (like a 4mm tungsten or sterling silver rondelle) to the base chain exactly at the nape of the neck. This anchors the back and prevents the heavier front drop from pulling the slide sideways.
- Chain Gauge Selection: According to jewelry manufacturing standards at Rio Grande, a delicate 1.0mm (18-gauge) cable chain lacks the structural rigidity to support a heavy slide. Upgrading the base chain to a 1.5mm (14-gauge) rope chain adds just enough gram weight to the back of the neck to counterbalance a standard 3-inch drop.
How to Wear a Lariat Necklace: 4 Secure Knotting Techniques
Not all lariats rely on a metal slide. Cord, leather, and silk lariats require specific knotting techniques to ensure they stay secure without damaging the organic materials.
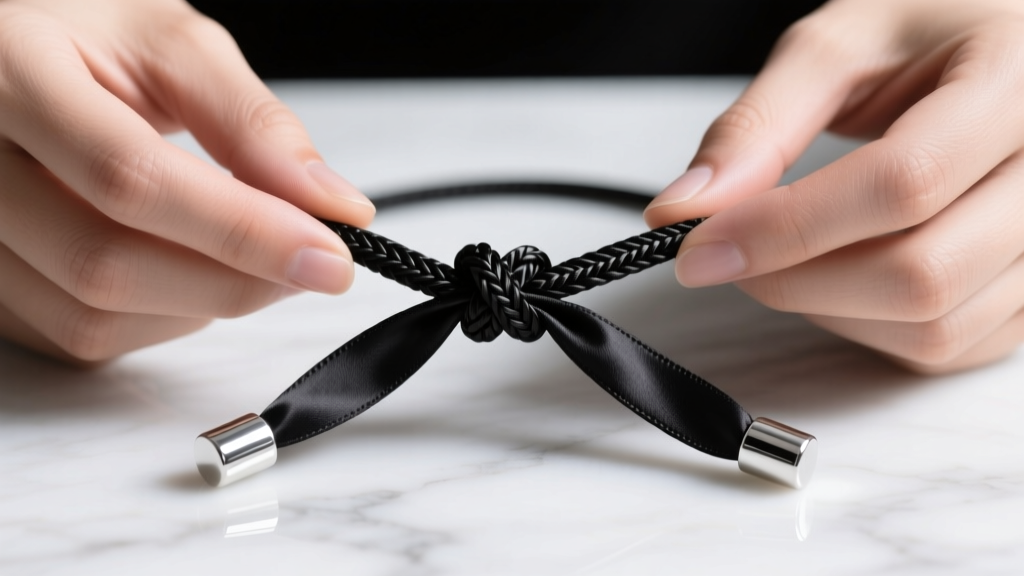
1. The Simple Loop (For Silk and Satin Cords)
Thread the right tail through the loop formed by the left side, pulling it gently. This creates a slip-knot effect that tightens with movement but won't abrade delicate 2mm silk cords. Warning: Never pull a silk slip-knot completely tight; the friction will fray the fibers over time.
2. The Lark's Head (For Leather and Suede)
Fold the lariat in half to find the center. Drape the center fold over the front of your neck, bring the two tails around to the back, and thread them through the center loop. Pull tight. This distributes tension evenly across the leather, preventing the stress-fractures that cause suede lariats to snap.
3. The Asymmetric Drape (No Knot)
Simply thread one end through the slide or ring and let both ends hang parallel. To prevent this from slipping entirely off, ensure the slide has a high-friction interior (see the hardware hacks below) or tie a microscopic overhand knot at the very tip of the shorter tail to act as a physical stopper.
4. The Double-Wrap Choker
For extra-long lariats (36 inches or more), wrap the chain twice around the neck before threading the drop. This creates a layered choker effect and uses the friction of the wrapped chains to lock the drop in place, eliminating the need for a slide entirely.
Troubleshooting Common Lariat Failures
When styling fails, the culprit is usually the hardware. Use this diagnostic table to identify and fix your specific lariat issues.
| Problem | Root Cause | Hardware / Style Solution |
|---|---|---|
| Slide moves freely / won't stay put | Slide hole diameter is too large for the chain gauge. | Insert a 1.5mm inner-diameter silicone O-ring (available at Fire Mountain Gems) inside the metal slide to increase friction. |
| Chain kinks sharply at the slide | 90-degree bending under tension; common in box and snake chains. | Switch to a rounded bail slide, or replace the chain with a 14-gauge rope chain which resists permanent memory kinking. |
| Silk tassel frays at the binding | Friction against wool or silk garments. | Apply a micro-drop of jeweler's flexible epoxy to the thread binding, or upgrade to a metal cone end-cap. |
| Lobster clasp unfastens randomly | The lever catches on hair or sweater threads. | Upgrade to an 8mm x 3mm neodymium magnetic tube clasp for a seamless, snag-free connection. |
Matching the Drop Length to Your Neckline
Understanding how to wear a lariat necklace also means understanding spatial proportions. The drop length must complement, not fight, the architecture of your clothing.
The V-Neck Sweet Spot (3 to 4-Inch Drop)
A V-neck creates a natural geometric frame. A short 3-inch drop with a small geometric pendant (like a 6mm bar or teardrop) sits perfectly in the negative space without touching the fabric hem. If the drop is longer than 4 inches, it will visually clash with the V-neck's apex.
The Crew Neck Clearance (6 to 8-Inch Drop)
Crew necks sit high on the collarbone. A short drop will look cramped and may catch on the ribbed collar. Opt for a 6 to 8-inch drop that clears the fabric entirely, resting on the sternum. Heavier chains (like a 2.0mm Figaro) work best here to lay flat against the cotton or wool.
The Off-the-Shoulder Drama (10+ Inch Drop)
With bare shoulders, you have a massive canvas. A dramatic 10-inch drop, perhaps ending in a layered fringe or a heavy raw-crystal pendant, draws the eye vertically and elongates the torso.
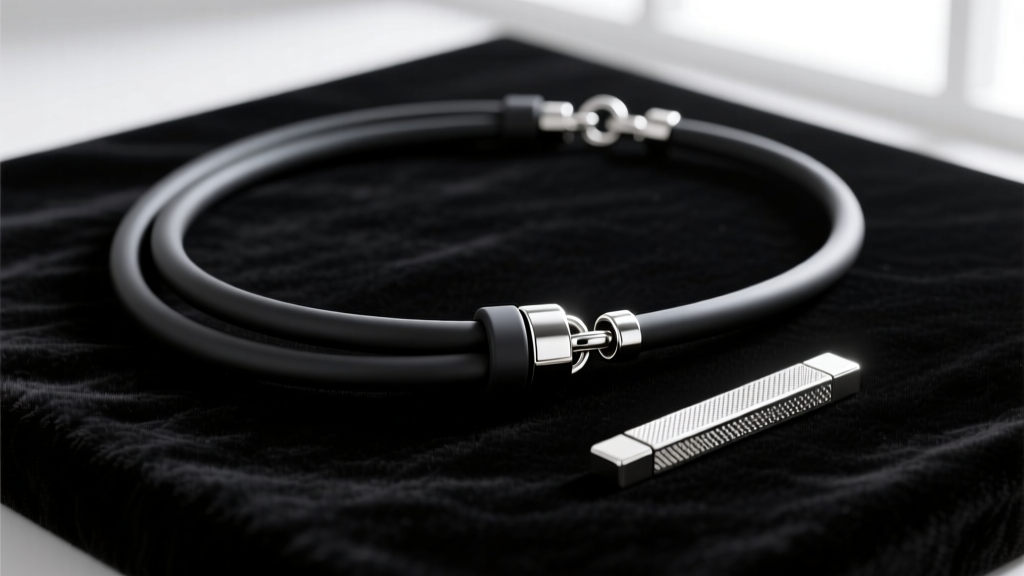
Hardware Hacks: Upgrading Your Lariat's Slide
If you have inherited or purchased a lariat that simply refuses to behave, the issue is likely the slide finding. Traditional metal-on-metal slides rely on perfect tolerances that wear down over time.
"The secret to a high-end custom lariat isn't just the gemstone; it's the internal architecture of the slide. A silicone-lined toggle or a micro-screw tension slide transforms a frustrating piece of jewelry into a reliable daily wear." — Master Bench Jeweler
The Silicone Retrofit: If your chain slides too easily through a metal tube, purchase a pack of jewelry-grade silicone tubing. Cut a 2mm slice, stretch it over the chain, and position it inside the slide. This provides a customizable, invisible friction grip that won't tarnish your silver or scratch your gold.
The Tension Screw Slide: For high-value diamond or sapphire lariats, look for slides featuring a micro-screw on the side. This allows you to manually tighten the slide against the chain after positioning it, guaranteeing it will not move a single millimeter throughout the day.
Maintenance: Preventing Chain Memory and Tangles
Lariat necklaces are uniquely prone to tangling because the loose drop acts like a pendulum, wrapping around the base chain when stored in a drawer.
Proper Storage Protocol
Never store a lariat in a flat jewelry box. The drop will inevitably weave through the links of the base chain. Always store lariats hanging from a multi-tier jewelry arbor. If you must travel with a lariat, thread the drop through a plastic drinking straw before clasping it; this rigid barrier physically prevents the chain from looping and knotting.
Removing Micro-Kinks
If your box chain or snake chain has developed permanent bends near the slide due to poor weight distribution, do not try to bend them back with your fingers—this will snap the soldered links. Instead, use a handheld jewelry steamer. The intense, localized heat and pressure will relax the metal's memory, allowing the links to fall back into their natural, flat alignment. For silver chains, a gentle polish with a treated rouge cloth afterward will restore the high-shine finish lost during the steaming process.


