How to Make and Style a Floating Illusion Magic Necklace
Learn how to craft, string, and style a floating illusion magic necklace with expert tips on wire gauges, crimping, and neckline pairing.

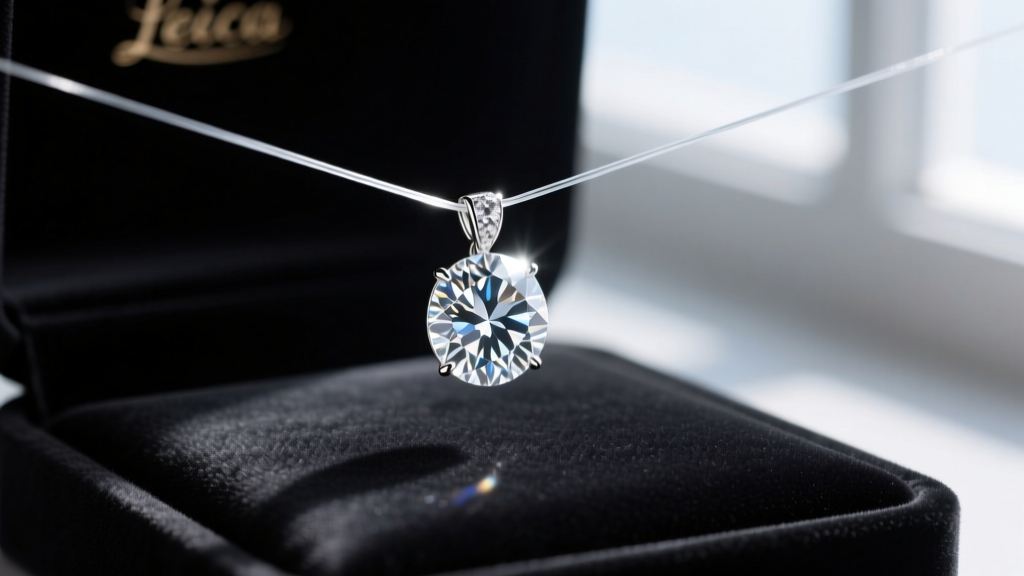
The term 'magic necklace' is widely used in the jewelry industry to describe the illusion necklace—a minimalist design where gemstones or pendants appear to float magically on the skin. Achieved by using ultra-fine, transparent monofilament or micro-beading wire, this style strips away the visual weight of traditional metal chains, allowing the centerpieces to command absolute attention. Whether you are a bespoke jewelry designer or an advanced DIY enthusiast, mastering the mechanics of the illusion necklace requires precision engineering, an understanding of tensile materials, and flawless crimping techniques.
In this comprehensive guide, we break down the exact materials, step-by-step stringing methods, and professional styling frameworks needed to create a flawless magic necklace that drapes perfectly and withstands daily wear.
The Anatomy of an Illusion Necklace
The 'magic' of this necklace relies entirely on the structural integrity and optical properties of the stringing material. Unlike standard chain necklaces, an illusion necklace must balance near-invisibility with enough tensile strength to support the weight of the pendant without stretching or snapping. According to material specifications from the Soft Flex Company, the most common failure mode in illusion necklaces is using a wire gauge that is too thin for the pendant's mass, leading to micro-kinks that eventually cause the wire to snap.
Material Comparison: Wire vs. Monofilament
| Material | Diameter | Tensile Strength | Visibility | Best Application |
|---|---|---|---|---|
| 49-Strand Micro Beading Wire | 0.015 in (0.38mm) | 20 lbs | Low (Catches light) | Pendants under 15 grams |
| 49-Strand Standard Beading Wire | 0.024 in (0.61mm) | 40 lbs | Medium | Heavy gemstone drops & multi-stone |
| Fluorocarbon Fishing Line | 0.012 in (0.30mm) | 8 lbs | Extremely Low (Near invisible) | Ultra-lightweight crystals & pearls |
For a true 'magic' effect, fluorocarbon line is optically superior because its refractive index is nearly identical to water, making it disappear against the skin. However, it cannot be crimped with metal tubes; it requires specialized surgical knots or heat-fused micro-beads. For most fine jewelry applications, the 0.015-inch 49-strand micro-beading wire remains the industry standard, offering an excellent compromise between drape, strength, and discretion.
Step-by-Step Guide to Stringing a Floating Pendant
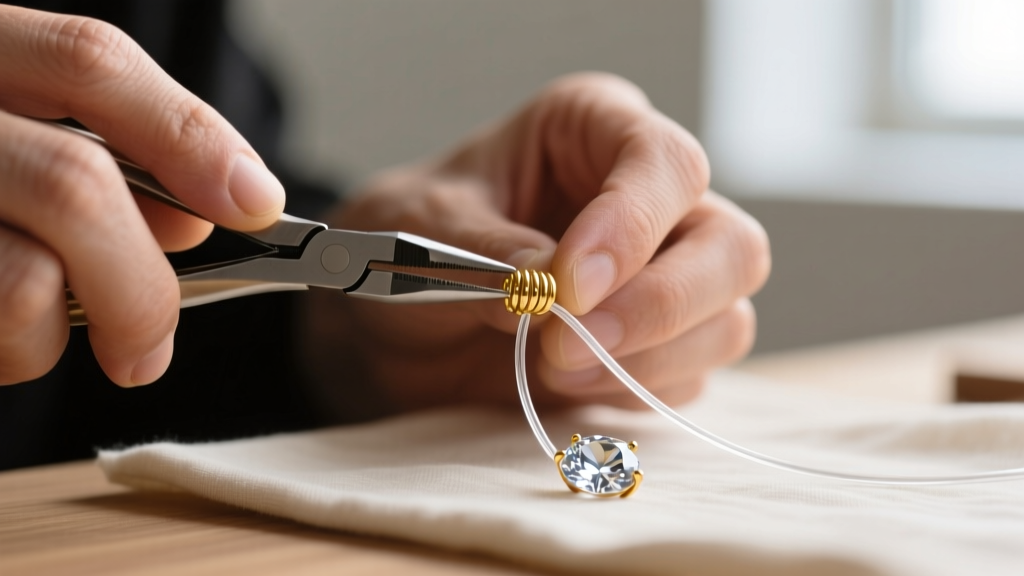
Creating a seamless illusion requires specialized micro-tools. Standard crimping pliers will crush 1mm crimp tubes unevenly, leaving sharp edges that can scratch the wearer's skin or sever the wire. You must use a micro-crimping tool, such as the specialized pliers offered by Beadalon, designed specifically for 1x1mm or 2x2mm crimp beads.
Step 1: Preparation and Measurement
Cut a 24-inch length of your chosen 0.015-inch beading wire. This allows ample room for the clasp, the crimping process, and the final drape. Slide your clasp (a 5mm spring ring or a discrete magnetic tube clasp works best for illusion necklaces) onto the wire, followed by a 1x1mm sterling silver or gold-filled micro crimp tube.
Step 2: The First Anchor Crimp
Pass the short tail of the wire back through the crimp tube, creating a small loop around the clasp. Pull the wire taut, leaving exactly a 1.5-inch tail. Place the crimp tube into the U-shaped notch of your micro-crimping pliers and squeeze firmly to fold the tube inward. Then, move the folded crimp into the outer round notch and squeeze again to roll it into a perfect, smooth bead. Trim the excess tail flush against the crimp using precision flush cutters.
Step 3: Threading the Pendant and Spacing
Thread your pendant onto the wire. If you are creating a multi-drop magic necklace, you must measure the exact spacing between stones. Slide a micro crimp tube down to the desired anchor point, crimp it securely to lock the spacing, and then thread the next stone. Repeat this process, ensuring the wire remains relaxed; pulling the wire too tight during crimping will cause the necklace to stiffen and lose its natural, fluid drape.
Step 4: Finishing the Clasp
Once all elements are strung, thread the opposite end of the wire through your second clasp component and a final micro crimp tube. Pass the wire back through the crimp and the last few millimeters of the pendant's bail or adjacent stone. Pull the wire until the necklace drapes perfectly without sagging, crimp securely, and trim the tail.
Advanced Techniques: Multi-Drop and Asymmetric Magic
The true artistry of the magic necklace emerges when you move beyond a single solitaire. Multi-drop illusion necklaces, featuring three to five gemstones spaced across the collarbone, require meticulous weight distribution. According to gemological drilling standards outlined by the Gemological Institute of America (GIA), top-drilled briolettes are vastly superior to center-drilled beads for illusion necklaces. A top-drilled bail allows the stone to hang perfectly flat against the chest, whereas a center-drilled bead will continuously flip and tangle on a single-strand wire.
For asymmetric designs—where a single diamond rests off-center on the clavicle—use a slightly heavier 0.018-inch wire. The off-center weight distribution creates a constant lateral pull on the wire, which can cause thinner gauges to warp or kink over time. Counterbalance the visual weight by using a slightly heavier, more visible clasp on the opposite side of the neck to act as a physical counterweight, keeping the pendant anchored in its intended asymmetric position.
Troubleshooting Common 'Magic' Failures
Even experienced jewelers encounter structural issues when working with invisible stringing materials. Here is how to diagnose and fix the most common problems:
- The Spinning Pendant: If your floating solitaire constantly flips upside down, the bail is likely too wide for the wire, or the center of gravity is off. Fix this by adding two microscopic 1mm silicone bead stoppers on either side of the bail to lock it in place, or switch to a V-shaped floating bail that naturally centers the stone.
- Wire Kinking: Kinks occur when the wire is bent at a sharp angle, usually during the crimping process or from improper storage. Never use standard round-nose pliers on beading wire. If a kink occurs, you must cut the wire and restring; attempting to bend a kink out of 49-strand wire will weaken the nylon coating and expose the inner steel strands to moisture and skin oils.
- The Slipping Crimp: If your spacing crimps slide along the wire, you are likely using smooth metal tubes on a highly polished wire. Switch to textured or 'stardust' crimp beads, which have an interior grit that bites into the nylon coating of the beading wire, providing a permanent, slip-free anchor.
Styling Your Magic Necklace for Different Necklines
The styling impact of a magic necklace relies entirely on its length and the neckline of the garment. Because the wire is nearly invisible, the pendant must interact harmoniously with the skin and fabric.
The Plunging V-Neck
For deep V-necklines, opt for an 18-inch to 20-inch princess or matinee length. The pendant should sit exactly 1.5 to 2 inches above the apex of the V-neck. This creates a continuous vertical line that elongates the torso. A single, elongated diamond or emerald-cut briolette works best here, mimicking the geometry of the neckline.
The Boatneck and Off-Shoulder
Boatnecks expose a wide canvas of the collarbone and upper chest. This is the ideal scenario for a 15-inch choker-length multi-drop magic necklace. Space three to five small (3mm to 5mm) round brilliant gemstones evenly across the clavicle. The wide neckline provides the necessary contrast to make the floating stones pop, creating a modern, ethereal aesthetic that heavy metal chains cannot achieve.
The Crisp Button-Down
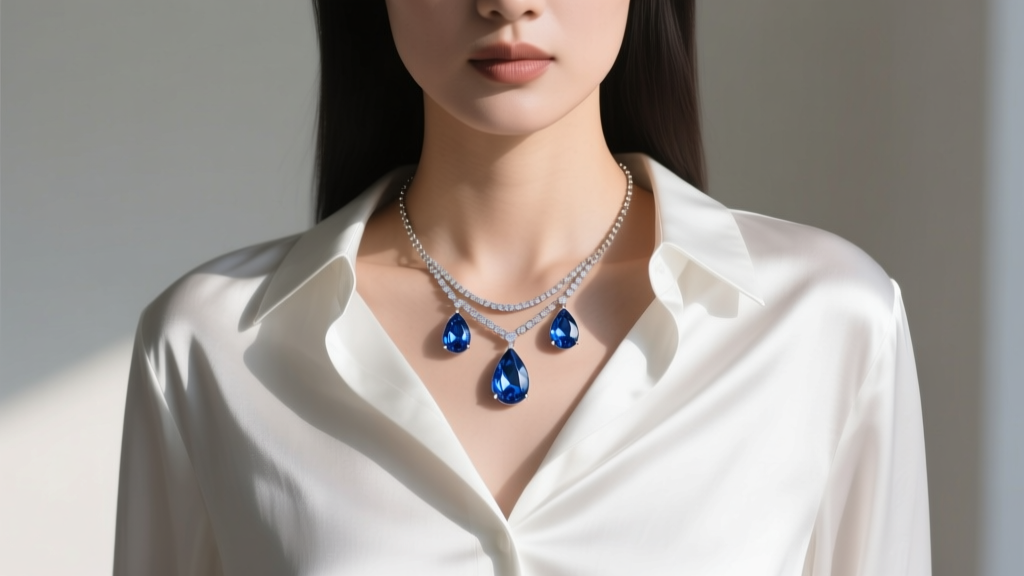
When wearing a collared shirt, leave the top two buttons undone and layer a 16-inch magic necklace with a single, bold colored gemstone (like a sapphire or ruby). The stark white of the cotton or silk acts as a reflector board, bouncing light up into the floating stone and maximizing its brilliance. Ensure the pendant rests directly on the skin, not on the fabric, to maintain the illusion of bareness.
Conclusion
Crafting a magic necklace is an exercise in precision and restraint. By selecting the correct wire gauge, mastering the micro-crimp, and understanding the physics of gemstone bails, you can create a piece of jewelry that defies gravity and expectations. Whether you are stringing a single diamond for a minimalist everyday piece or engineering a complex multi-drop collar for evening wear, the illusion necklace remains one of the most elegant and technically rewarding projects in modern jewelry design.


