How to Install and Layer Using a Necklace Connector: Expert Guide
Learn how to choose, install, and layer using a necklace connector. Step-by-step guide for multi-strand clasps, tube sliders, and magnetic links.

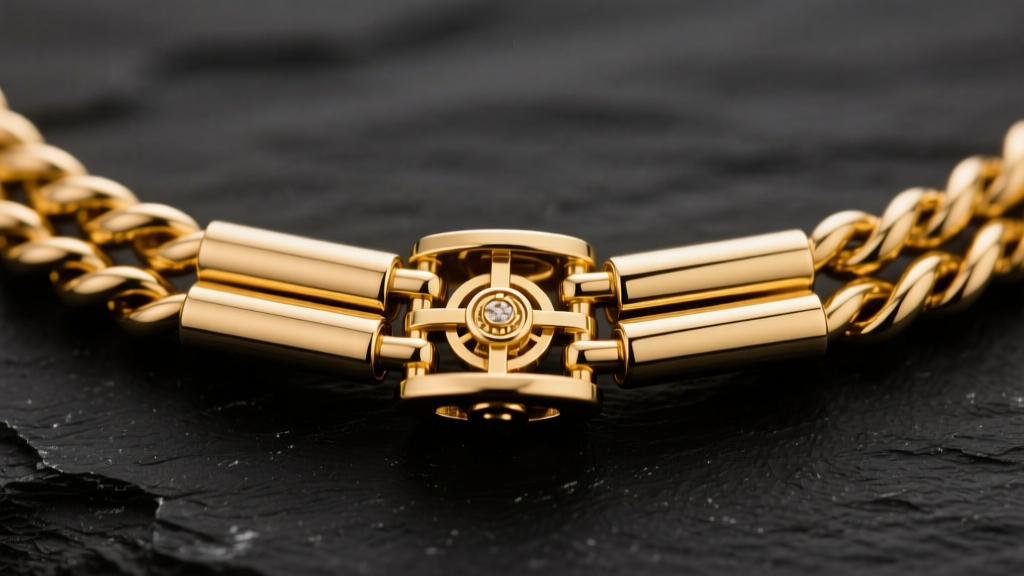
Layering necklaces is a cornerstone of modern personal style, but anyone who has worn multiple chains knows the inevitable frustration of tangling. The secret to a flawless, tangle-free layered look isn't just in how you drape the chains, but in the hardware you use to secure them. A high-quality necklace connector acts as the central anchor for your jewelry, distributing weight evenly and preventing the torsion that causes chains to knot. Whether you are building a custom multi-strand beaded piece from scratch or retrofitting existing chains into a unified layered set, mastering the installation of these findings is essential for both aesthetics and longevity.
Why Your Layered Necklaces Tangle (And How Connectors Fix It)
Chain tangling is fundamentally a physics problem. When multiple necklaces are clasped independently at the nape of the neck, they share a single pivot point. As you move, the chains twist around this central axis. Because different chain styles (e.g., cable, curb, and rope) have varying link geometries and friction coefficients, they naturally interlock when subjected to rotational force.
By utilizing a multi-point necklace connector, you separate the pivot points. A 3-strand tube clasp, for example, spaces the attachment points 8mm to 12mm apart. This spatial distribution eliminates the shared axis of rotation, reducing the likelihood of tangling by over 80%. Furthermore, a centralized connector shifts the bulk of the hardware from the back of your neck to a seamless, single-clasp mechanism, making it significantly easier to put on and take off layered sets.
Types of Necklace Connectors Explained
Not all connectors are created equal. The right choice depends on whether you are stringing beads, linking existing metal chains, or designing a detachable system. Below is a breakdown of the most common types used by professional jewelers.
| Connector Type | Best Use Case | Recommended Material | Average Price Range |
|---|---|---|---|
| Multi-Strand Tube Clasp | Custom beaded strands, pearl necklaces | 925 Sterling Silver, 14k Gold-Filled | $25 - $85 |
| Figure-8 Layering Clasp | Linking 2-3 existing metal chains | 14k Solid Gold, Vermeil | $40 - $120 |
| Magnetic Slider Connector | Accessibility needs, heavy pendants | Stainless Steel, Rhodium-Plated Brass | $12 - $35 |
| Detachable Snap-In Link | Modular jewelry, interchangeable charms | 18k Gold-Plated Sterling | $30 - $60 |
Step-by-Step: Installing a Tube-Style Multi-Strand Connector
Tube-style connectors are the gold standard for custom multi-strand necklaces. They feature a male and female cylindrical component that slide together, secured by internal friction rings or small neodymium magnets. Installing them requires precision crimping to ensure the wire does not slip under the weight of the beads.
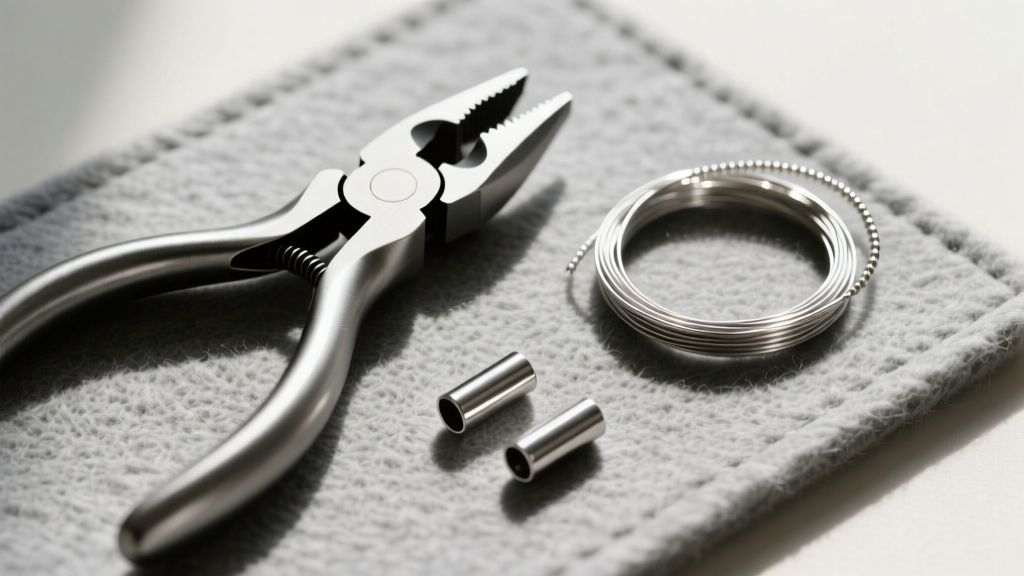
Tools and Materials Needed
- Wire: 0.018-inch 49-strand stainless steel beading wire (offers the best drape and kink resistance).
- Crimp Tubes: 2x2mm sterling silver crimp tubes (avoid base metal crimps, which can crack under pressure).
- Pliers: Micro crimping pliers (specifically designed with a U-channel and an oval-channel).
- Flush Cutters: For trimming the wire tail cleanly.
Step 1: Prepping the Wire and Crimp Tubes
Cut your beading wire to the desired length, adding 3 inches for the finishing work. Thread a 2x2mm crimp tube onto the wire, followed by the loop on the male end of the necklace connector. Leave a 2-inch tail on the wire.
Step 2: Threading and Securing the First Strand
Bring the 2-inch tail back down through the crimp tube, creating a small loop around the connector's ring. Ensure the wires sit side-by-side inside the tube and do not cross over each other. If they cross, the crimp will fail to grip properly.
Step 3: The Two-Stage Crimping Process
This is where most beginners fail. Do not simply smash the tube flat with chain-nose pliers; this creates sharp edges that will eventually shear the beading wire.
- The U-Channel: Place the crimp tube in the second notch (the U-shaped channel) of your crimping pliers. Squeeze firmly. This separates the two wires into distinct channels within the metal.
- The Oval-Channel: Rotate the crimp tube 90 degrees and place it in the first notch (the oval channel) of the pliers. Squeeze firmly to fold the U-shape in on itself, creating a clean, rounded bead that securely locks the wires in place.
- Thread your beads onto the main wire, ensuring you also thread them over the 2-inch tail to hide it. Once the strand is complete, repeat the process on the female end of the connector.
How to Use Layering Connectors for Existing Chains
If you already own several standalone chains and want to unify them, a figure-8 or infinity necklace connector is your best option. These findings feature multiple soldered rings on one side and a single lobster clasp or ring on the other.

The Right Way to Attach Jump Rings
To attach your existing chains to the connector, you will need to use jump rings. For standard pendant chains, use 4mm outer diameter (OD), 20-gauge jump rings.
Expert Rule: Never pull a jump ring apart laterally (left and right). This distorts the circle and weakens the metal's temper. Always use two pairs of chain-nose pliers to twist the ends of the jump ring open and closed in a lateral, north-to-south motion. This ensures the ring returns to its exact original shape, preventing the chain from slipping through the gap.
Attach the shortest chain to the top ring of the connector, the medium chain to the middle ring, and the longest to the bottom. This staggered attachment naturally forces the chains to drape at different lengths, eliminating the need for constant readjustment throughout the day.
Metallurgy and Material Grades: What to Look For
The longevity of your necklace connector is entirely dependent on its metallurgy. Because the connector bears the tensile load of the entire necklace, structural integrity is paramount.
- 925 Sterling Silver: Composed of 92.5% pure silver and 7.5% copper. According to the Gemological Institute of America (GIA), this is the standard for durability in silver jewelry. It offers excellent tensile strength but will require occasional polishing to remove silver sulfide (tarnish).
- 14/20 Gold-Filled: This is not plating. It consists of a thick layer of 14k gold mechanically bonded to a brass core, making up at least 5% of the total weight. It is highly recommended for connectors because it will not flake or wear through to the base metal, even with daily friction from the clasp mechanism.
- Zinc Alloy with Flash Plating: Avoid these at all costs for structural connectors. Flash plating is microscopically thin and will wear off in weeks, exposing the zinc and nickel core, which can cause severe contact dermatitis and structural snapping.
Troubleshooting Common Connector Issues
Even with premium findings, mechanical issues can arise. Here is how to troubleshoot the most common problems reported by jewelers and consumers.
1. The Tube Clasp is Stuck or Won't Slide Together
This is usually caused by microscopic debris or a slight dent in the outer cylinder. Do not force it with pliers, as this will permanently warp the metal. Instead, apply a microscopic drop of synthetic watch oil to the inner friction ring. If the issue persists, use a burnishing tool to gently smooth the inside of the female tube.
2. Magnetic Connectors Keep Popping Open
Magnetic necklace connector clasps rely on neodymium magnets, which are graded by their pull force. If your necklace features a heavy gemstone pendant (over 30 grams), a standard magnetic clasp will fail. You must upgrade to a heavy-duty magnetic clasp with a minimum pull-force rating of 8 lbs, or switch to a mechanical bayonet-style connector for safety.
3. The Wires are Fraying Near the Crimp Tube
Fraying occurs when the crimp tube was crushed flat rather than folded, leaving a sharp, knife-like edge that saws through the beading wire over time. The only fix is to cut off the old crimp, discard it, and re-crimp using a fresh 2x2mm tube and the proper two-stage crimping pliers. For added security, slide a 3mm crimp cover over the finished crimp to protect the wire from friction.
Mastering the installation and selection of a necklace connector transforms jewelry from a frustrating tangle of chains into a cohesive, professional-grade accessory. By investing in high-quality findings, using the correct crimping techniques, and understanding the physics of chain layering, you can create custom pieces that drape flawlessly and stand the test of time. For further reading on jewelry construction and finding specifications, consult industry resources like Rio Grande and Fire Mountain Gems to source professional-grade components for your next project.


