J.Crew Chunky Necklace Repair, Care & Styling Fixes
Fix tarnishing, broken clasps, and cloudy stones on your J.Crew chunky necklace with expert troubleshooting and repair hacks.

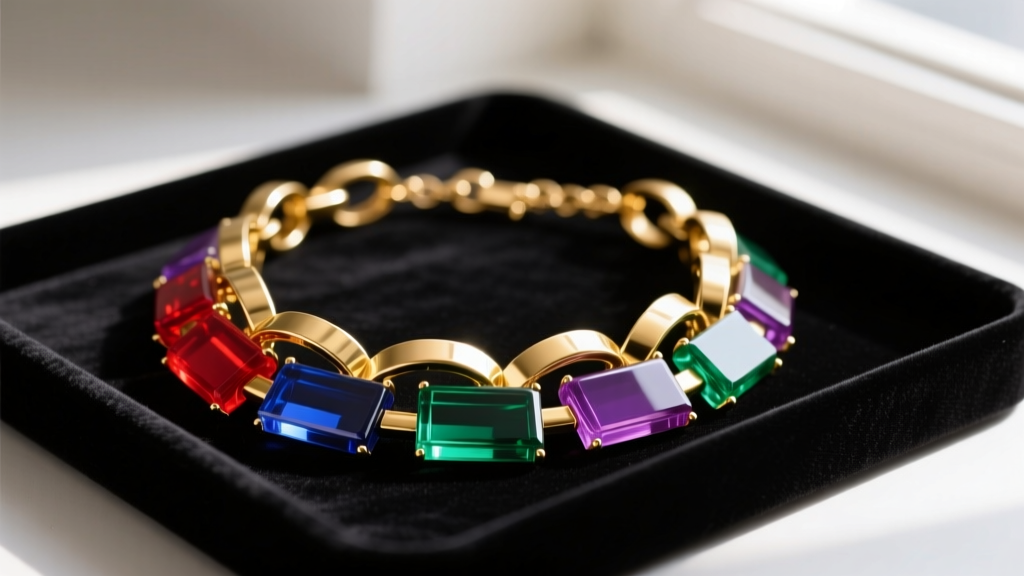
As we navigate the 2026 vintage and archival fashion market, statement pieces from J.Crew’s golden era of bold jewelry (roughly 2010–2018) remain highly sought after. The iconic J.Crew chunky necklace—characterized by its vibrant enamel florals, massive resin cabochons, and intricate crystal bibs—defined a decade of maximalist styling. However, whether you are buying second-hand or pulling a cherished piece from long-term storage, these statement necklaces present unique structural and material challenges. Fashion jewelry of this scale was designed for visual impact, not necessarily for lifelong structural integrity.
This comprehensive troubleshooting guide addresses the most common failure points of heavy fashion necklaces, providing actionable, expert-level solutions for hardware repair, metallurgical conservation, and acrylic restoration.
The Anatomy of a Statement Piece: Why They Fail
To troubleshoot a J.Crew chunky necklace, you must first understand its construction. These pieces typically feature a base metal alloy—often Zamak (a zinc, aluminum, magnesium, and copper alloy) or cast brass—which is then electroplated with a thin layer of gold-tone or silver-tone finish. The "stones" are rarely genuine gemstones; instead, they utilize cast acrylic, epoxy resin, or glass rhinestones set in pronged or glued bezels.
The primary engineering flaw in many of these heavy collars and bib necklaces is the weight-to-hardware mismatch. A fully beaded resin bib necklace can easily weigh between 120 and 180 grams. Suspending this weight from a standard 5mm brass jump ring and a lightweight lobster clasp creates immense shear stress, leading to inevitable hardware failure, clasp slippage, and neck strain.
Troubleshooting Hardware: Clasp and Jump Ring Failures
If your necklace frequently unclasps, or if the chain has snapped near the clasp, the original findings are simply inadequate for the pendant's mass. Standard brass jump rings used in fashion jewelry are often 20-gauge or 18-gauge and are not soldered shut. Under the 150g pull of a chunky collar, these rings will slowly pull apart.
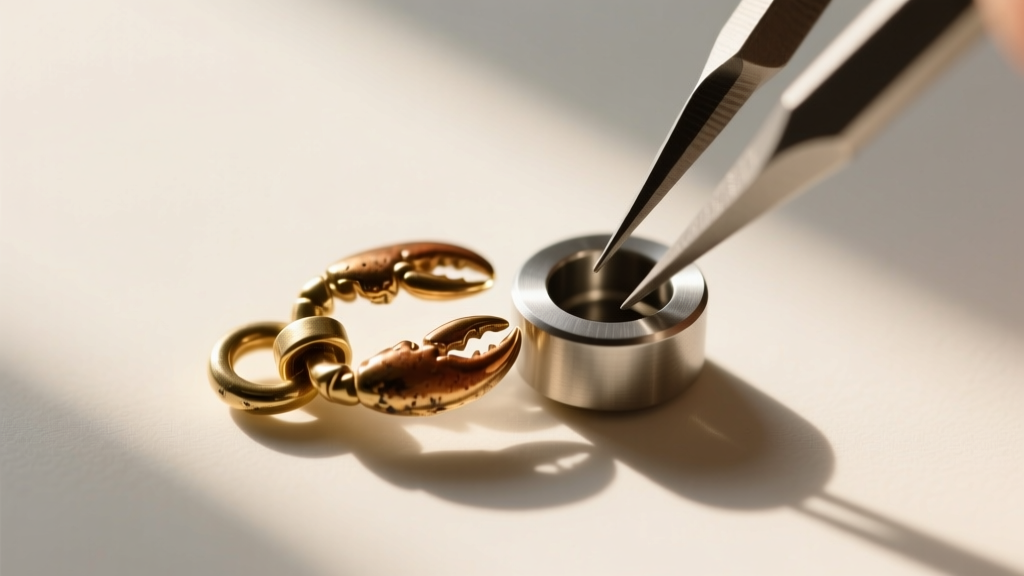
Upgrading the Hardware
Do not attempt to simply bend the original brass jump ring back into shape; the metal has already suffered from fatigue and will snap. Instead, perform a complete hardware upgrade:
- Replace Jump Rings: Swap the original rings for 16-gauge or 14-gauge 316L stainless steel split rings. According to jewelry supply standards outlined by Rio Grande, stainless steel offers vastly superior tensile strength and will not oxidize against the skin.
- Upgrade the Clasp: Remove the lightweight lobster clasp. For heavy bib necklaces, install a 14mm or 18mm neodymium magnetic tube clasp crafted from surgical steel. Magnetic clasps distribute the pulling force evenly and prevent the "creep" that causes traditional clasps to slide to the front of the neck.
- Tools Required: Use two pairs of smooth-jawed chain-nose pliers to open and close rings. Never use serrated pliers, as they will mar the plating on the adjacent chain links.
Solving the "Green Skin" and Tarnish Problem
One of the most frequent complaints regarding vintage J.Crew statement necklaces is the green or black discoloration left on the collarbone. This is not an allergic reaction to nickel (though nickel allergies are a separate concern); it is a chemical reaction between the copper content in the brass or Zamak base metal and the lactic acid and salts in human sweat.
Once the microscopic electroplated gold layer wears away from friction, the raw copper is exposed. To troubleshoot and prevent this, you must create a physical barrier between the metal and the skin.
Conservation and Sealing Techniques
"Fashion jewelry conservation relies on microcrystalline waxes to halt oxidation without altering the optical properties of the metal plating." — Principles of Modern Jewelry Conservation.
- Deep Cleaning: Before sealing, remove existing oxidation. Create a paste of baking soda and a few drops of distilled water. Gently rub the back of the necklace plates with a soft microfiber cloth. Rinse quickly with distilled water and dry immediately with a hair dryer on a cool setting to prevent water spots.
- Apply Renaissance Wax: Avoid generic clear nail polishes, which can yellow, crack, and become impossible to remove without stripping the gold plating. Instead, apply a thin, even coat of Renaissance Wax (a museum-grade microcrystalline wax) to the back of the metal plates. Let it cure for 10 minutes, then buff gently.
- Polyurethane Alternative: For high-friction areas, a specialized jewelry shield spray or a brush-on water-based polyurethane sealant provides a more durable, flexible barrier than wax, lasting up to six months of regular wear.
Restoring Cloudy Acrylic and Resin Elements
The vibrant "stones" in a J.Crew chunky necklace are usually cast acrylic or epoxy resin. Acrylic has a Mohs hardness of approximately 3, making it incredibly susceptible to micro-scratches. Over time, contact with skin oils, lotions, and improper storage causes these stones to become cloudy, dull, and scratched.
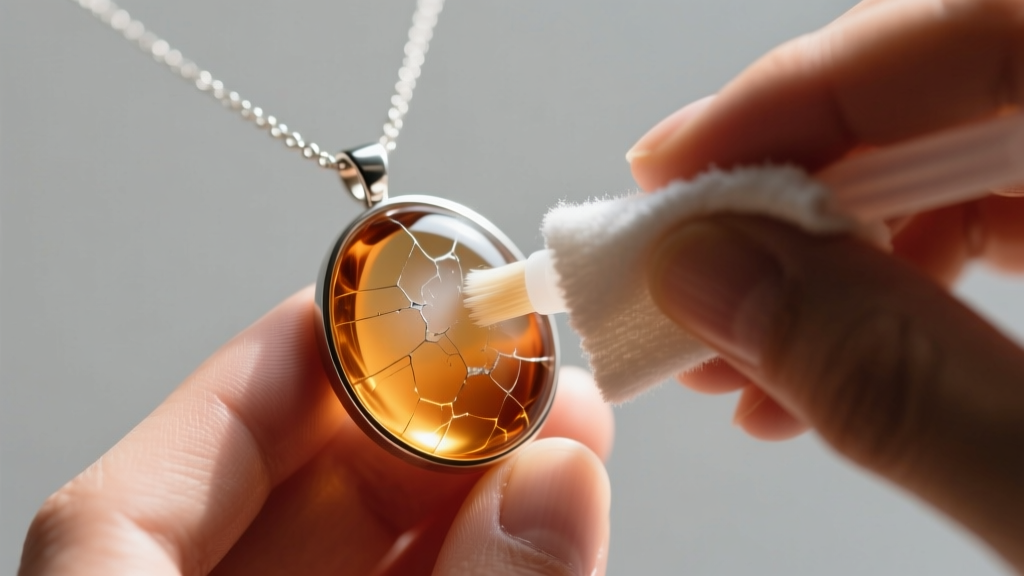
The Polishing Protocol
Never use standard jewelry polishing cloths or silver dip solutions on acrylic or resin; the mild abrasives and chemicals will permanently etch and cloud the plastic. Instead, utilize a dedicated plastic polishing system, such as the Novus Plastic Polish Kit.
| Product Grade | Target Issue | Application Method |
|---|---|---|
| Novus #1 (Clean) | Lotion buildup, surface dust, light haze | Spray on, wipe with clean microfiber |
| Novus #2 (Fine Scratch) | Cloudiness, fine hairline scratches, dullness | Apply with damp cloth, buff in circular motions |
| Novus #3 (Heavy Scratch) | Deep gouges, severe abrasion from storage | Use sparingly, follow immediately with #2 |
For deeper insights into material hardness and why acrylic scratches so easily when stored alongside glass rhinestones (Mohs 5.5+), refer to the GIA Gem Encyclopedia. Always store your chunky necklaces flat or individually wrapped in acid-free tissue paper to prevent the heavier glass and metal elements from grinding into the softer acrylic stones.
Styling Fixes: Balancing Visual Weight
A common styling "problem" with the J.Crew chunky necklace is that it can easily overpower the wearer or clash with complex garment patterns. Because these necklaces possess immense visual gravity, they require specific neckline architectures to function correctly.
- The Canvas Rule: Treat the necklace as the primary focal point. Pair it with solid-colored, matte fabrics. Crepe, cotton poplin, and fine-gauge merino wool provide the best non-reflective backdrops.
- Neckline Geometry: Deep V-necks and wide scoop necks are mandatory. The negative space of a V-neck frames the triangular geometry of a bib collar. Avoid crew necks, turtlenecks, or ruffled collars, which create visual clutter and physically compete with the necklace's hardware.
- The Earring Subtraction: When wearing a 150-gram statement collar, drop earrings should be eliminated. Opt for simple, flush-set stud earrings or small, textured gold hoops that sit tightly against the earlobe to maintain balance without causing sensory overload.
Summary Checklist for Longevity
Maintaining an archival J.Crew chunky necklace requires a shift in how you view fashion jewelry. By treating these pieces as semi-fine collectibles rather than disposable accessories, you can extend their lifespan indefinitely. Upgrade the hardware to surgical steel, seal the base metals with microcrystalline wax, polish the acrylics with specialized compounds, and always store them flat. With these troubleshooting protocols in place, your statement pieces will remain structurally sound and visually striking for years to come.


