How to Clean and Care for Your Juliette Siesta Key Necklace
Learn expert cleaning and maintenance tips for your Juliette Siesta Key necklace. Preserve the intricate details and metal finish with our detailed guide.


Understanding the Anatomy and Materials of the Juliette Siesta Key
The Juliette Siesta Key necklace is more than just a piece of jewelry; it is a symbolic accessory characterized by its intricate, vintage-inspired silhouette and coastal charm. Whether your specific piece is crafted from solid 14k gold, 925 sterling silver, or features a luxurious 14k gold vermeil finish, its distinct design requires specialized maintenance. The anatomy of a skeleton key pendant includes the bow (the decorative top loop), the shaft (the central stem), and the bit (the intricate, grooved teeth at the bottom). These deep crevices, often measuring between 1.5mm and 3mm in width, are notorious for trapping sebum, dead skin cells, cosmetic residues, and environmental dust. Furthermore, the delicate bail that connects the key to the chain is a high-friction area prone to premature wear if not properly maintained. Understanding these structural nuances is the first step in preserving the necklace's heirloom quality for decades to come.
The Daily Wear Protocol: Prevention is Your Best Defense
Before reaching for cleaning solutions, establishing a strict daily wear protocol will drastically reduce the need for deep cleaning. The golden rule of jewelry care is Last On, First Off. Your Juliette Siesta Key necklace should be the final accessory you put on after applying cosmetics, and the first thing you remove when you get home.
Chemical Threats to Avoid
- Sunscreen and Lotions: Ingredients like oxybenzone and heavy emollients create a cloudy, stubborn film over the metal, particularly settling into the key's bit and bow crevices.
- Chlorine and Bromine: Swimming pools and hot tubs contain halogens that can permanently discolor sterling silver and weaken the structural integrity of gold alloys by attacking the copper and zinc mixed within the karat gold.
- Sulfur and Humidity: Coastal environments, while fitting for the 'Siesta' aesthetic, contain high humidity and trace sulfur. When sulfur reacts with the copper in sterling silver, it forms silver sulfide—the black tarnish that dulls your pendant.
Step-by-Step Deep Cleaning Guide for Intricate Key Pendants
When your necklace loses its luster or you notice buildup in the grooves of the key's teeth, it is time for a deep clean. Avoid ultrasonic cleaners, as the high-frequency vibrations can loosen the solder joints at the bail or damage any delicate enamel accents the Siesta Key design might feature.
Step 1: The Distilled Water Pre-Soak
Fill a small glass bowl with lukewarm distilled water. Do not use tap water, as the chlorine and dissolved minerals can leave microscopic water spots on polished metal. Add exactly one drop of phosphate-free, mild dish soap (such as Dawn Platinum). Phosphate-free formulas are critical because phosphates can leave a hazy residue on semi-precious stones or enamel. Submerge the necklace for exactly 3 to 5 minutes to soften hardened sebum and cosmetic buildup.
Step 2: Targeted Agitation
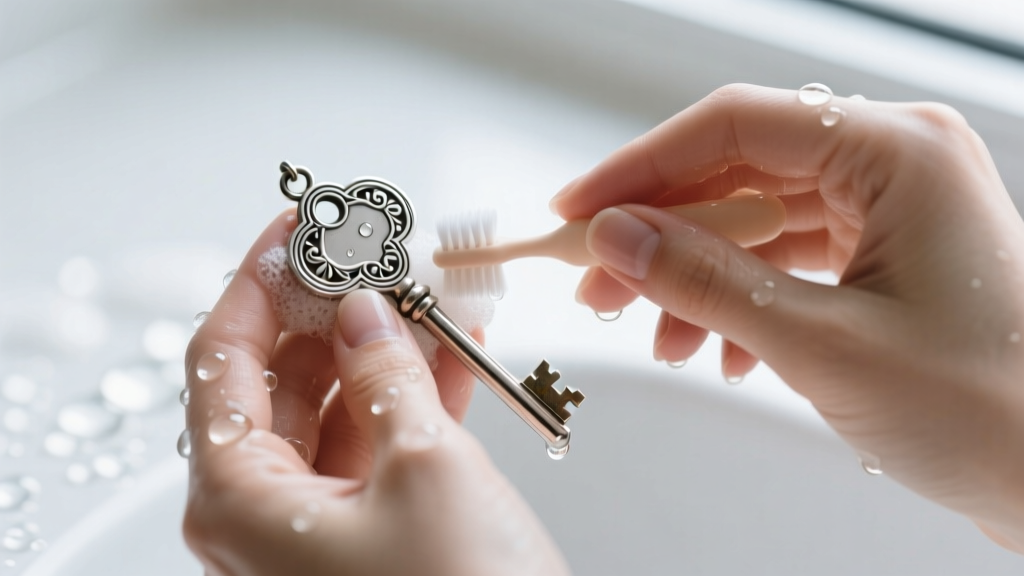
Remove the necklace and lay it flat on a clean microfiber towel. Using an ultra-soft baby toothbrush (adult toothbrushes are too abrasive and will cause micro-scratches on high-polish gold), gently brush the shaft and the bow. Use a circular motion to lift debris from the surface.
Step 3: The Crevice Detail
For the deep grooves of the key's bit (the teeth), a toothbrush may not reach the bottom. Take a standard wooden toothpick—never use metal pins or needles, which will gouge the silver or gold—and gently scrape the softened debris from the crevices. The wood is hard enough to dislodge dirt but soft enough to yield before scratching the metal.
Step 4: Rinsing and Controlled Drying
Rinse the necklace under a gentle stream of lukewarm distilled water. To dry, pat the chain gently with a lint-free microfiber cloth. Critical Step: Because water will remain trapped in the key's intricate cutouts, use a hairdryer on the cool, low-airflow setting, held six inches away, to blow the moisture out of the crevices. Trapped moisture against sterling silver will accelerate localized oxidation.
Cleaning Agents: What to Use and What to Avoid
Choosing the wrong chemical agent can strip gold vermeil or pit sterling silver. Refer to this quick reference guide before applying any substance to your Juliette Siesta Key necklace.
| Agent Type | Safe for Use? | Reasoning & Expert Notes |
|---|---|---|
| Mild Dish Soap (Phosphate-Free) | Yes | Safe for all metals and stones; effectively breaks down body oils without harsh abrasives. |
| Baking Soda Paste | No | Highly abrasive. Will cause micro-scratches on high-polish finishes and strip gold vermeil layers. |
| Commercial Silver Dip | No | Contains thiourea and strong acids that can strip gold plating and degrade solder joints at the bail. |
| Isopropyl Alcohol (70%) | Conditional | Safe for solid gold/silver to remove sticky residue, but will degrade epoxy adhesives if stones are set. |
| Toothpaste | No | Contains silica abrasives designed to strip plaque; will permanently dull the mirror finish of the key. |
Polishing Nuances: Vermeil vs. Solid Gold vs. Sterling Silver
The polishing technique you employ must be dictated by the exact metallurgy of your Juliette Siesta Key necklace. According to the Federal Trade Commission guidelines, gold vermeil must consist of a sterling silver base coated with at least 2.5 microns of 10k or higher gold. This layer is exceptionally thin.
"Never use chemically treated jewelry polishing cloths (often infused with jeweler's rouge or anti-tarnish chemicals) on gold vermeil pieces. The mild abrasives in the cloth will act like sandpaper, stripping the 2.5-micron gold layer down to the silver base in just a few aggressive polishing sessions."
If your necklace is solid 14k gold or solid sterling silver, you may safely use a high-quality, untreated microfiber polishing cloth or a specialized Sunshine cloth to buff out light surface scratches and restore the mirror shine. Always polish in the direction of the metal's grain, using light pressure. For the intricate cutouts of the key, fold the cloth into a tight point to reach the inner edges of the bow without rounding off the sharp, vintage-inspired details.
Proper Storage Techniques to Prevent Tarnish and Scratches
How you store the Juliette Siesta Key necklace when it is not adorning your neck is just as important as how you clean it. The Jewelers of America organization consistently emphasizes that environmental control is the most effective way to halt the tarnishing process.
The Ideal Storage Environment
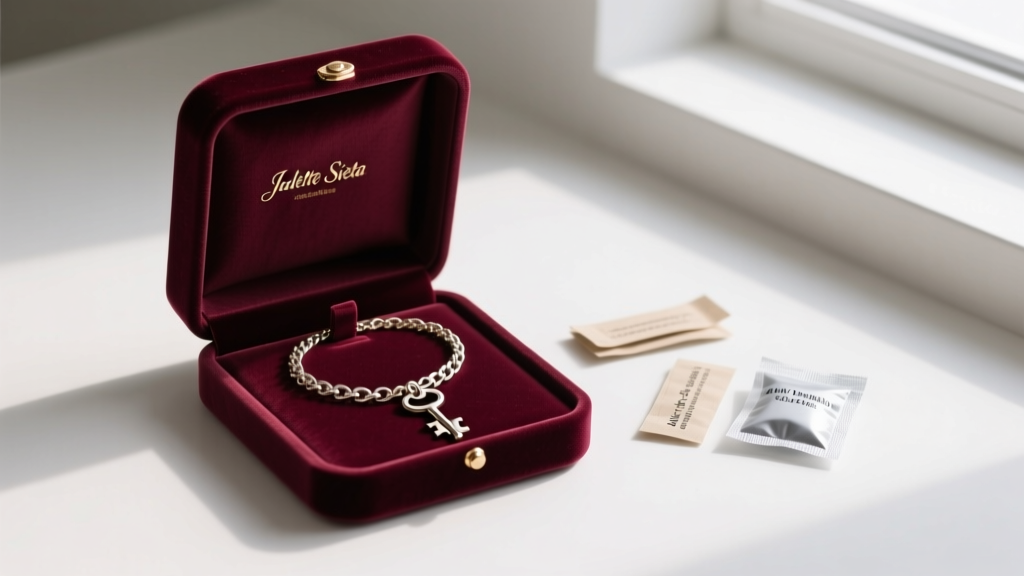
- Individual Pouches: Never toss your key necklace into a communal jewelry box. The harder metals and gemstones of other pieces will scratch the key's polished shaft. Store it in a dedicated, soft flannel or velvet pouch.
- Anti-Tarnish Strips: Place a 3M Anti-Tarnish strip or a Pacific SilverCloth tab inside the pouch or jewelry box drawer. These strips absorb airborne sulfur and hydrogen sulfide gases before they can react with the silver base of your necklace.
- Moisture Control: If you live in a high-humidity coastal area, include a small, jewelry-safe silica gel desiccant packet in your storage drawer to keep the ambient relative humidity below 50%, drastically slowing the oxidation process.
- Chain Management: Fasten the clasp before storing to prevent the chain from tangling. Lay the necklace flat; hanging it for long periods can stretch delicate cable chains over time due to the weight of the solid key pendant.
When to Seek Professional Jewelry Repair
While meticulous at-home care will keep your Juliette Siesta Key necklace looking pristine, structural maintenance requires a professional eye. Every 12 to 18 months, take the piece to a certified bench jeweler for a structural audit. The jeweler will inspect the jump ring connecting the pendant to the chain, ensuring it remains perfectly flush and soldered. They will also check the spring ring or lobster clasp for internal spring fatigue, and examine the bail for friction wear caused by the chain rubbing against it. Addressing these micro-failures early prevents the devastating loss of a beloved, sentimental pendant.


