From Necklace Clipart to Reality: 2026 Custom Pendant Buying Guide
Learn how to translate 2D necklace clipart into stunning custom jewelry. Our 2026 buying guide covers CAD conversion, metal choices, and pricing.

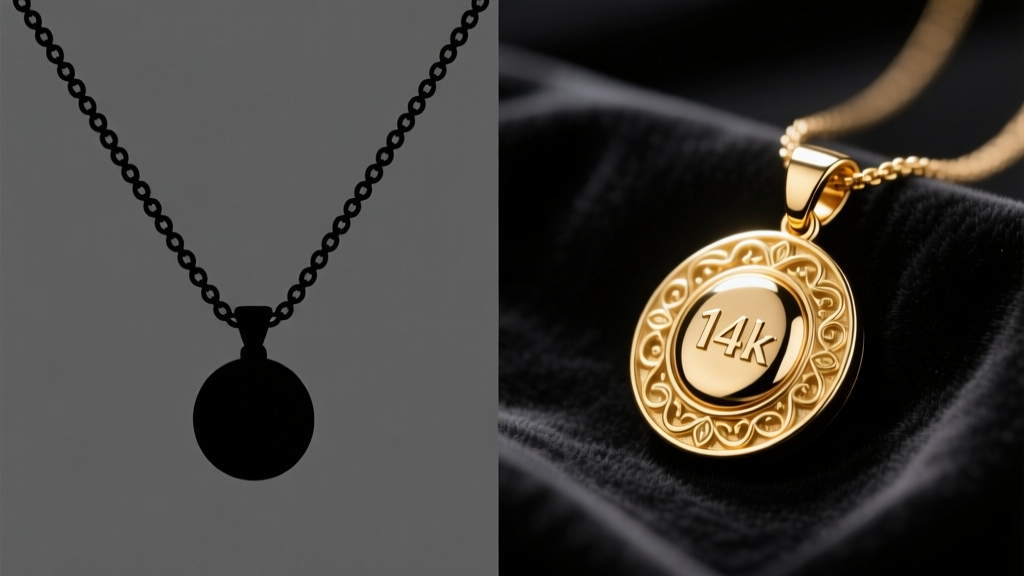
When you first search for necklace clipart to inspire your custom jewelry project, you are likely met with hundreds of flat, 2D vector illustrations. While these graphics are fantastic for mood boards, graphic design, or conceptual sketching, translating a 2D vector into a tangible, wearable heirloom requires a deep understanding of metallurgy, 3D spatial geometry, and casting physics. In 2026, AI-assisted CAD tools and advanced castable resins have made custom manufacturing more accessible than ever, but the fundamental rules of jewelry making remain unchanged. This comprehensive buying guide will walk you through exactly what to look for when commissioning a custom pendant based on 2D artwork, ensuring your vision survives the transition from screen to precious metal.
The Gap Between 2D Vectors and 3D Wearables
The most common mistake buyers make when working from necklace clipart is ignoring the Z-axis (depth). A vector image has only height and width. A delicate, 1-millimeter line in a 2D drawing might look elegant, but if a jeweler attempts to cast that exact proportion in sterling silver, the piece will likely warp, bend, or snap under the tension of daily wear.
According to manufacturing standards outlined by major jewelry suppliers like Stuller, minimum wall thicknesses are non-negotiable for structural integrity. For sterling silver, you need a minimum thickness of 1.0mm to 1.2mm. For 14k or 18k gold, you can push the limits slightly to 0.8mm, while platinum requires at least 0.6mm due to its immense density and tensile strength. When you hand a flat vector to a CAD designer, their first job is to interpret these 2D lines and assign appropriate 3D volumes that respect these metallurgical limits without ruining the aesthetic of your original clipart.
Why Standard Clipart Fails in Casting
Standard vector graphics often feature intersecting lines, floating elements, and microscopic gaps that a human eye ignores but a CNC mill or 3D printer will catastrophically misinterpret. Furthermore, clipart frequently includes "undercuts"—shapes that trap the mold material, making it impossible to extract a wax pattern without tearing it. A skilled CAD artist must manually close these gaps, merge overlapping boolean meshes, and draft the edges (adding a slight taper) so the piece can be cleanly cast and finished.
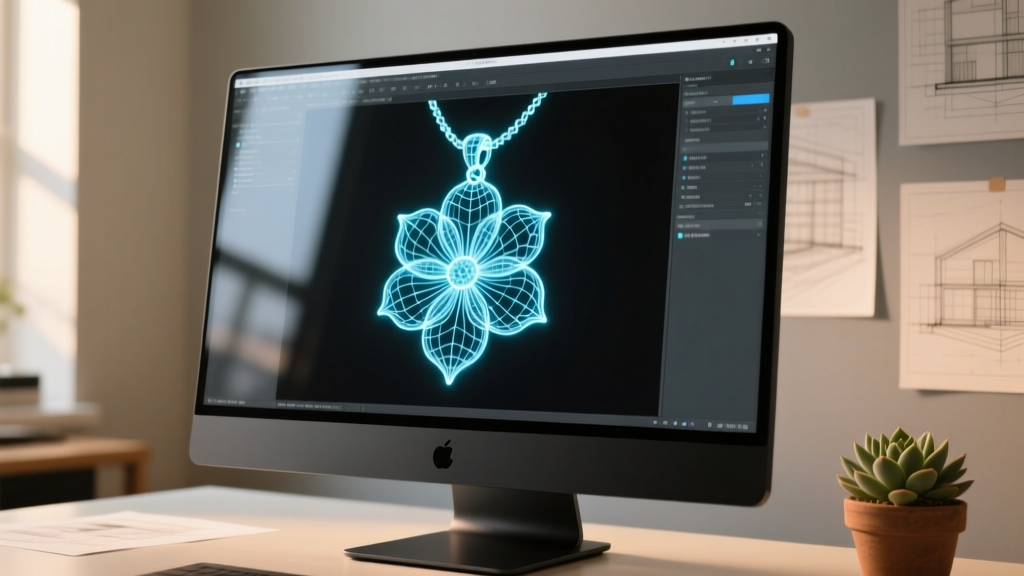
Step-by-Step: Commissioning a Custom Piece from a Vector
If you have secured the rights to a specific piece of necklace clipart and want to bring it to life, here is the exact manufacturing pipeline you should expect from a reputable custom jeweler in 2026:
- Vector Cleanup & Extrusion: The designer imports your SVG or EPS file into software like Rhino 3D or MatrixGold. They clean up stray nodes, ensure all paths are closed, and extrude the flat shape into a base 3D solid.
- Drafting & Beveling: Sharp 90-degree edges are rarely comfortable against the skin and are prone to denting. The designer will add subtle doming or edge-beveling to the clipart design to give it a premium, tactile feel.
- Bail Engineering: The loop (bail) that connects the pendant to the chain is often an afterthought in 2D art. The jeweler must engineer a hidden or integrated bail with an inner diameter of at least 3.5mm x 4.5mm to accommodate standard 2mm to 3mm chains (like rope or Figaro styles).
- Castable Resin Printing: The finalized STL file is printed using a specialized castable wax resin, such as Formlabs Castable Wax 40 or BlueCast X-One, which leaves zero ash residue during the burnout cycle.
- Investment & Burnout: The resin model is encased in a phosphate-bonded investment powder (like SatinCast 20) and placed in a kiln. The temperature is slowly raised to 1350°F to melt out the wax, leaving a perfect negative cavity.
Material & Sizing Matrix: What to Look For
Not all metals behave the same way when translating 2D art into 3D forms. Metal shrinkage during the cooling phase of the casting process means the final piece will be slightly smaller than the CAD model. A master caster accounts for this by scaling the digital model up before printing. Below is a comparison matrix to help you choose the right metal for your specific clipart design complexity.
| Metal Alloy | Min. Thickness | Casting Shrinkage | Best For (Clipart Style) | Relative Base Cost |
|---|---|---|---|---|
| 925 Sterling Silver | 1.0mm - 1.2mm | ~1.6% | Bold, chunky, high-relief designs | 1x (Baseline) |
| 14k Yellow/White Gold | 0.8mm - 1.0mm | ~1.3% to 1.5% | Intricate filigree, medium-relief | 6x to 8x |
| 18k Yellow Gold | 0.9mm - 1.1mm | ~1.5% to 1.7% | Smooth, polished, minimalist vectors | 9x to 11x |
| Platinum (950/5 Ru) | 0.6mm - 0.8mm | ~1.0% to 1.2% | Ultra-fine detail, micro-pavé settings | 15x to 20x |
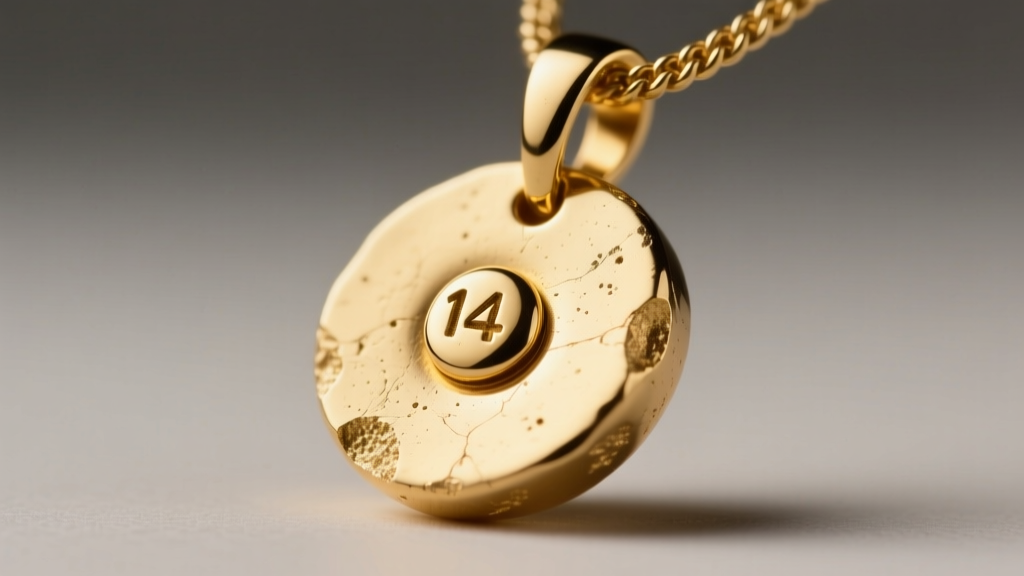
Evaluating Custom Jewelers: Red Flags & Green Lights
When shopping for a jeweler to execute your necklace clipart design, their communication during the quoting phase will tell you everything you need to know about their expertise. Here is how to separate the master craftsmen from the order-takers.
Red Flags to Avoid
- "We can print it exactly as drawn." If a jeweler promises to cast a 0.3mm silver wire based on your 2D vector without warning you about structural failure, they lack fundamental casting knowledge.
- No STL File Ownership: Some jewelers hold the 3D CAD files hostage. In 2026, industry standard dictates that you own the STL/OBJ files once the CAD fee is paid.
- Ignoring the Sprue: The sprue is the channel where molten metal enters the mold. If the jeweler doesn't discuss where the sprue will be attached (and subsequently filed off), it might ruin a critical detail of your clipart design.
Green Lights to Look For
- Provides Renderings with Scale: They should provide photorealistic CAD renders next to a physical object (like a coin) or on a digital neck bust to verify proportions.
- Discusses Finishing Techniques: As noted by the Gemological Institute of America (GIA), the final polish drastically alters a piece's appearance. A good jeweler will ask if you want a high-polish mirror finish, a matte satin brush, or a sandblasted texture to highlight the recessed areas of your vector art.
- Accounts for Metal Loss: Reputable casters like Hoover & Strong factor in the metal lost during the tumbling and hand-polishing stages, ensuring the final weight matches your quoted price.
Pricing Expectations for Vector-Based Pendants
Translating necklace clipart into fine jewelry is a multi-step labor process. Here is a realistic breakdown of what you should expect to pay in the current market for a standard 25mm x 20mm pendant:
The CAD & Modeling Fee: $150 to $450. This covers the designer's time to translate your 2D SVG into a watertight 3D mesh, engineer the bail, and account for metal shrinkage.
3D Printing & Spruing: $35 to $75. This includes the castable wax resin and the labor to attach it to the wax tree.
Casting & Metal Cost: Highly variable. A 5-gram 14k gold pendant might cost $400-$600 in raw metal and casting fees, whereas the same design in platinum could exceed $1,200.
Finishing & Assembly: $75 to $150. This covers cutting off the sprue, filing, pre-polishing with tripoli, final polishing with jeweler's rouge, and ultrasonic cleaning.
By understanding the physical limitations and manufacturing realities behind your favorite 2D designs, you can confidently commission a custom pendant that honors the original art while standing the test of time as a durable, wearable masterpiece.


