How to Layer Necklaces Without Tangling: The Ultimate Guide
Learn how to layer necklaces without tangling using exact length gaps, tangle-resistant chain weaves, and smart hardware solutions for a flawless look.


The Physics of Necklace Tangling: Why It Happens
Before mastering how to layer necklaces without tangling, it is crucial to understand the mechanics behind the dreaded 'necklace rat's nest.' Tangling is not merely bad luck; it is a matter of physics, specifically kinetic friction and fluid dynamics. When multiple lightweight metal chains rest against the collarbone, body movement creates continuous micro-vibrations. If the chains are of similar lengths and weights, they behave like parallel fluids, sliding over one another until their microscopic links catch and braid together.
Furthermore, the center of gravity plays a massive role. A lightweight 1.5mm cable chain lacks the mass to anchor itself against the skin, making it highly susceptible to wrapping around a neighboring chain. By manipulating variables like length differentials, chain weave rigidity, and pendant weight, you can effectively neutralize the friction that causes knots. According to jewelry manufacturing principles outlined by Rio Grande, the structural integrity of a chain's weave dictates its flexibility and, consequently, its propensity to knot.
The Golden Rule: Calculating Exact Length Differentials
The most common mistake beginners make is layering chains with less than an inch of difference between them. To prevent overlapping links from catching, you must adhere to the Two-Inch Minimum Rule. However, this rule applies to the effective drop, not just the stamped chain length.
If your first chain is 16 inches with no pendant, and your second chain is 18 inches but features a 2-inch pendant, their effective drops are identical (16 inches and 20 inches, wait—no, 16 and 18+2=20. Let's correct that: If chain A is 16 inches, and chain B is 18 inches with a 1-inch pendant, the pendant rests at 19 inches. The gap is 3 inches. If chain B is 16 inches with a 2-inch pendant, it rests at 18 inches. The gap is 2 inches). Always calculate the total hanging length, including the clasp, the chain, and the pendant bail.
Visualizing the Drop
Use the following framework to map out your layers based on standard jewelry industry measurements, as referenced in Blue Nile's Necklace Education Guide:
| Layer Position | Standard Chain Length | Recommended Pendant Drop | Effective Total Length |
|---|---|---|---|
| Top (Choker) | 14 - 15 inches | None or < 0.5 inches | 14 - 15.5 inches |
| Middle (Princess) | 16 - 17 inches | 0.5 - 1 inch | 16.5 - 18 inches |
| Bottom (Matinee) | 20 - 22 inches | 1 - 2 inches | 21 - 24 inches |
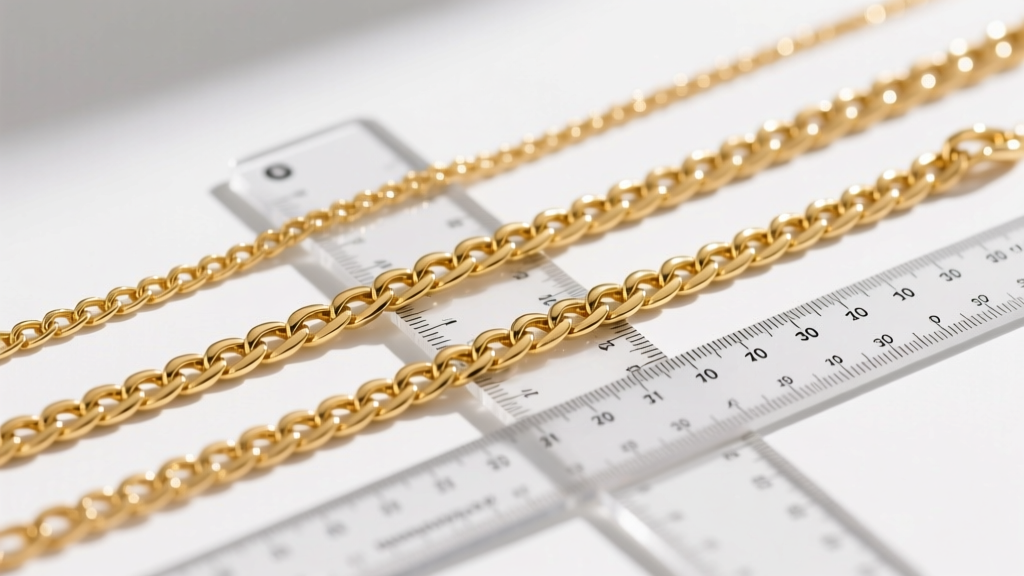
Tangle-Resistant Chain Weaves vs. High-Risk Weaves
Not all chains are created equal. The physical geometry of the chain links determines how easily they can interlock with neighboring chains. When learning how to layer necklaces without tangling, selecting the right weave is just as important as getting the lengths right.
Low-Risk Weaves (Tangle-Resistant)
- Box Chains: Composed of square, interlocking links that create a rigid, semi-solid structure. A 2.0mm box chain is virtually impossible to tangle with a delicate 1.0mm cable chain because its links are too large and flat to catch on smaller links.
- Wheat (Spiga) Chains: These feature woven, teardrop-shaped links that point in a single direction. The tight, braided surface offers no open gaps for other chains to slip through.
- Rope Chains: The twisted, helical structure of a rope chain (especially in 2.5mm widths or thicker) provides a textured surface that naturally repels fine, smooth chains.
High-Risk Weaves (Tangle Magnets)
- Snake Chains: While beautiful and smooth, snake chains act like a single, continuous thread of liquid metal. They will effortlessly wrap around and strangle any neighboring chain.
- Herringbone Chains: Flat and fluid, these chains fold easily and are notorious for catching on the microscopic gaps of cable chains.
- Fine Cable Chains (under 1.2mm): The uniform, open oval links act like tiny grappling hooks. Never layer two fine cable chains together unless they are separated by a rigid spacer.
Hardware Hacks: Clasps, Spacers, and Weights
If you are determined to layer chains of similar lengths or delicate weaves, you must rely on specialized jewelry hardware to maintain order.
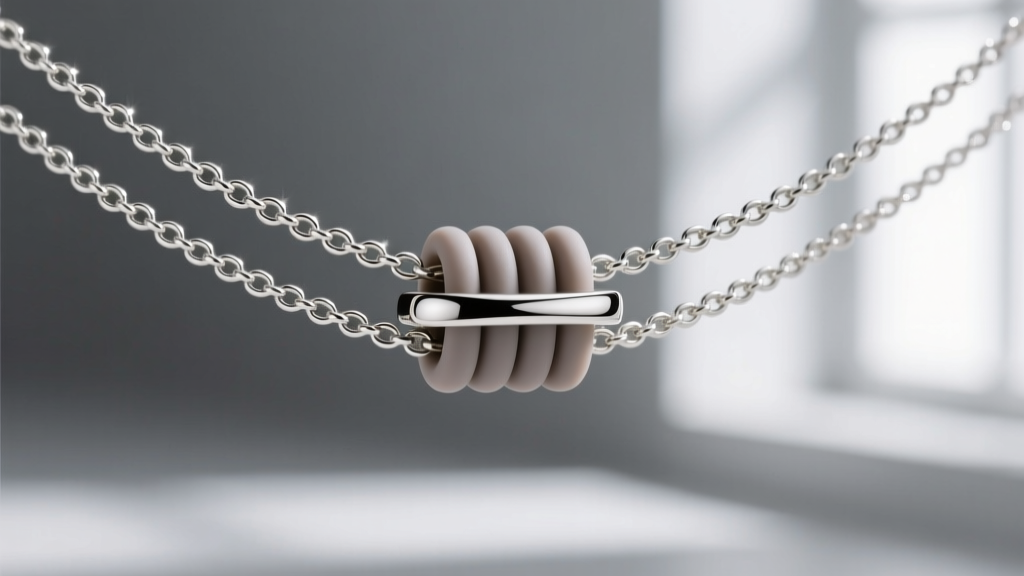
1. Multi-Strand Spacer Clasps: These are small silicone or metal tubes featuring three to five parallel channels. You thread the ends of your chains through the channels before attaching them to a single master clasp. This forces the chains to remain perfectly parallel at the nape of the neck, eliminating the primary friction point where tangling originates.
2. Pendant Anchoring: A lightweight chain will float and tangle; a weighted chain will anchor. By attaching a solid pendant (ideally weighing between 4 to 8 grams) to your longest chain, you create a plumb-bob effect. Gravity pulls the longest chain taut against the sternum, preventing it from swinging upward and wrapping around the middle layer.
3. Magnetic Master Clasps: Upgrading your individual lobster clasps to a single, multi-strand magnetic clasp not only makes putting on layered necklaces easier but keeps the back of the neck organized, reducing the chance of the chains twisting before they even reach your collarbone.
Step-by-Step Layering Framework for Beginners
Follow this exact sequence when putting on your jewelry to ensure structural integrity throughout the day.
- Step 1: Anchor the Bottom Layer. Put on your longest, heaviest chain first. Ensure the pendant sits perfectly centered on your chest. This is your foundation.
- Step 2: Add the Textural Middle. Apply your middle-length chain. If your bottom chain is a smooth box chain, make the middle chain a textured rope or wheat chain. Contrasting textures create physical barriers that prevent sliding.
- Step 3: Secure the Top Delicate Layer. Place your shortest, most delicate chain (like a 14-inch fine cable with a tiny solitaire diamond) last. Because it is the shortest, it rests on a different plane of the collarbone, naturally avoiding the longer chains below it.
Expert Stylist Tip: Always apply your perfumes, hairsprays, and body oils before putting on layered necklaces. Chemical residues increase the surface tackiness of gold and silver, exponentially increasing the friction that leads to knotting.
Troubleshooting: What to Do When They Still Knot
Even with perfect length differentials, high-activity days can result in tangles. Never pull at a knotted cluster of chains; this will tighten the links and potentially snap delicate soldering points.
Instead, use the Talc and Pin Method. Lay the tangled mass flat on a hard, dark surface. Sprinkle a small amount of baby powder or cosmetic talc over the knot. The powder acts as a dry lubricant, neutralizing the metal-on-metal friction. Take a single sewing pin or a specialized jewelry knot-picker, and gently work the tip into the center of the knot. Do not pull the chains outward; instead, push the links inward toward the center of the knot to create slack. Once the central link is loose, the rest of the chains will easily slide apart.
By combining precise length mathematics, strategic weave selection, and proper hardware, you can master the art of the layered necklace look without ever having to spend ten minutes untangling your jewelry box again.


