How to Make a Bead Necklace With Clasp: 2026 Trends
Learn how to make a bead necklace with clasp using pro techniques. Explore 2026 beaded jewelry trends, wire gauges, and styling.

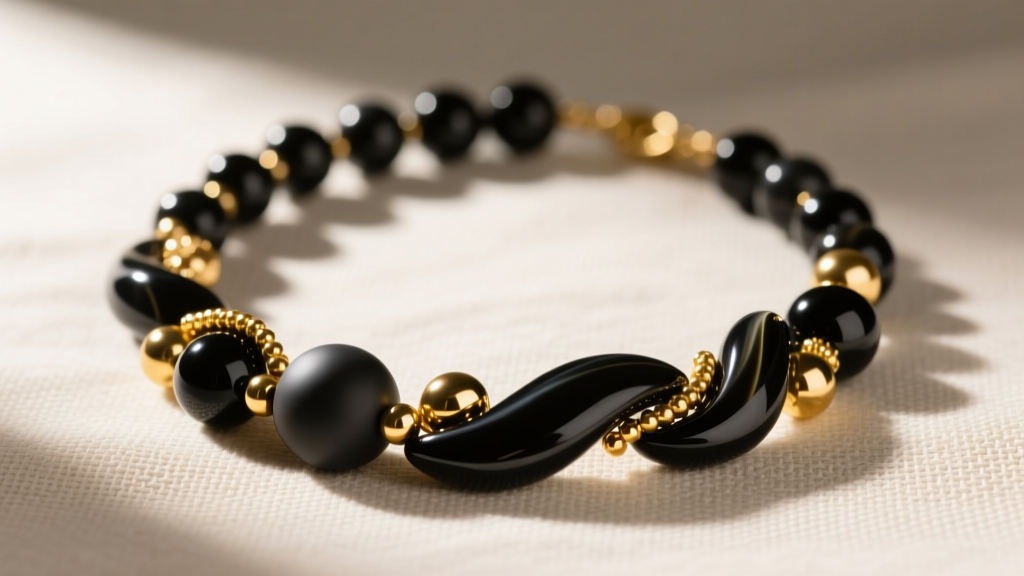
The resurgence of beaded jewelry in high fashion has completely transformed how we view this classic accessory. No longer relegated to childhood crafts or casual summer wear, beaded necklaces have claimed their space on 2026 runways, championing a mix of 'quiet luxury' minimalism and bold, mixed-media dopamine dressing. For jewelry enthusiasts and independent designers, understanding how to make a bead necklace with clasp hardware that rivals fine jewelry standards is essential. This guide bridges the gap between high-end trend analysis and professional-grade stringing techniques, ensuring your creations are as durable as they are stylish.
The 2026 Aesthetic: Why Beaded Necklaces Are Dominating
In 2026, the jewelry market is defined by a desire for tactile, personalized pieces that contrast with the cold perfection of mass-produced metals. According to recent industry analyses, consumers are gravitating toward organic textures, asymmetric bead placements, and the integration of semi-precious gemstones with high-karat gold accents. The modern beaded necklace relies heavily on negative space—strategic gaps between clusters of beads—and the use of matte finishes over high-gloss. Furthermore, the hardware itself has become a focal point. Oversized, sculptural clasps are no longer hidden at the nape of the neck; they are worn front-and-center as functional pendants. Mastering the technical execution of these designs requires moving beyond basic elastic cord and embracing professional stringing materials.
Selecting Your Materials: Wire Gauges and Bead Specifications
The most common failure mode in amateur beaded jewelry is wire fatigue leading to catastrophic breakage. To prevent this, professionals use multi-strand, nylon-coated stainless steel beading wire. The number of strands and the wire diameter must be matched precisely to the weight and hole size of your chosen beads.
Material Grade and Gauge Guide
Choosing the right foundation is critical. According to stringing experts at Soft Flex Company, a 49-strand wire offers the best drape, mimicking the fluid movement of a fine metal chain. Here is a technical breakdown of how to pair your wire with your beads:
| Bead Material & Weight | Recommended Wire Gauge | Strand Count | Crimp Tube Size |
|---|---|---|---|
| Seed Beads, Lightweight Glass, Freshwater Pearls | 0.015" (0.38mm) | 49-strand | 2x2mm |
| Semi-Precious Stones, Crystal, Medium Gemstones | 0.018" (0.46mm) | 49-strand | 2x2mm |
| Heavy Gemstones, Large Metal Beads, Focal Pendants | 0.024" (0.61mm) | 49-strand | 2x3mm |
Pro Tip: Always use sterling silver or 14k gold-filled crimp tubes rather than round crimp beads. Tubes have a larger surface area and fold more securely around the wire without creating sharp, jagged edges that can cut the nylon coating over time. For a deep dive into gemstone hardness and how it affects bead drilling, the GIA Gem Encyclopedia is an invaluable resource for understanding why materials like opal require larger, smoother drill holes compared to quartz.
How to Make a Bead Necklace With Clasp: The Professional Method
Creating a secure, professional finish requires specific tools and a meticulous sequence. The secret to a necklace that lasts a lifetime without sagging or snapping lies in the use of wire guardians (also known as French wire) and micro crimping pliers.
Step-by-Step Execution
- Measure and Cut: Cut your 49-strand beading wire to your desired finished length plus 6 inches. This extra length is necessary for securing the clasp hardware on both ends.
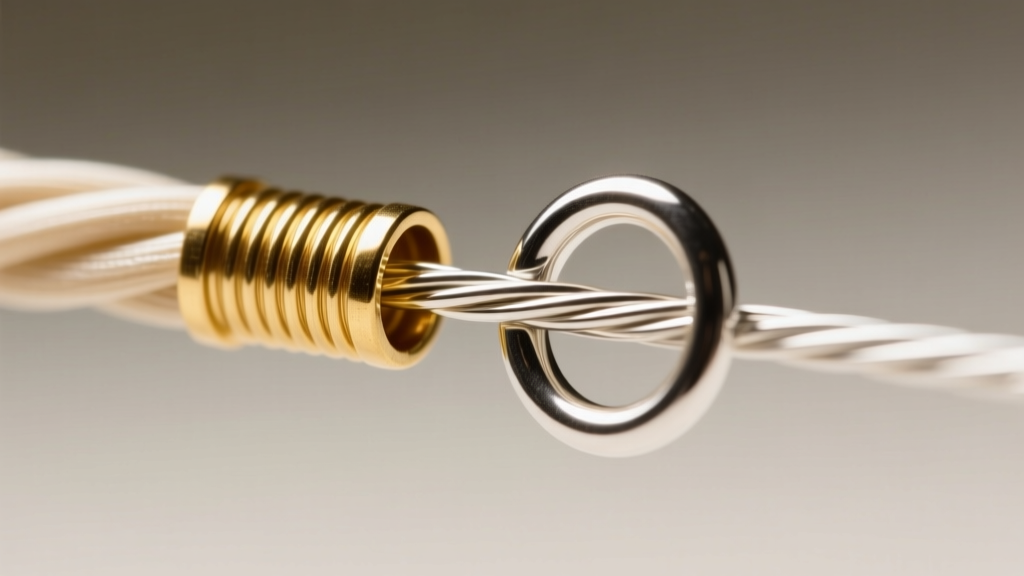
- Thread the First End: Slide a 2x2mm crimp tube onto the wire, followed by a sterling silver wire guardian. The wire guardian is a tiny, horseshoe-shaped metal finding that protects the wire from the friction of the clasp jump ring.
- Attach the Clasp: Pass the wire through the jump ring attached to your clasp (or the clasp loop itself), then thread it back through the wire guardian. Pull the wire taut so the guardian forms a perfect, tight loop around the jump ring.
- Secure the Crimp: Thread the tail of the wire back through the crimp tube and the first 3-4 beads of your design. Using the first notch of your micro crimping pliers, compress the tube into a 'U' shape, trapping the two wires on opposite sides. Use the second, rounded notch to fold the 'U' in half, creating a clean, rounded bead.
- String Your Design: Thread your beads according to your 2026 trend-inspired pattern. Keep the tension relaxed; the wire should have a slight amount of 'give' so the necklace drapes naturally. If strung too tightly, the wire will kink and eventually snap.
- Finish the Opposite End: Repeat steps 2-4 on the opposite side. Before crimping the final tube, use a pair of chain-nose pliers to pull the wire tail taut, ensuring there is no slack in the necklace, but leaving enough flexibility for movement.
- Trim and Conceal: Trim the excess wire tail flush with the final bead using flush cutters. If possible, route the tail through a bead with a large hole or use a crimp cover to hide the secured tube.
Clasp Selection: Merging Functionality With High-End Style
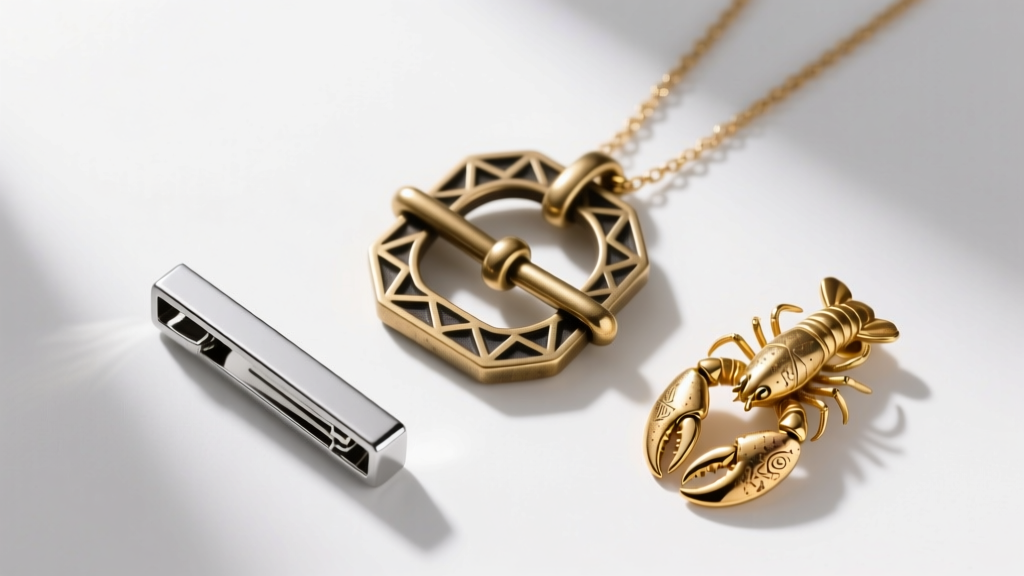
The clasp is the anchor of your design. In 2026, the trend is moving away from hidden, utilitarian hardware toward bold, visible closures. Brands like Beadalon offer a variety of findings that cater to both structural integrity and aesthetic appeal.
Clasp Types and Use Cases
- Toggle Clasps: Ideal for heavy gemstone necklaces. The weight of the beads keeps the T-bar securely locked inside the ring. Toggles are highly trendy when cast in textured, organic shapes and worn at the front of the collarbone.
- Lobster Claw Clasps: The standard for lightweight, delicate seed bead or pearl necklaces. They offer a secure lock but can be difficult to operate with one hand. Always pair them with an extender chain for adjustable layering.
- Magnetic Clasps: Perfect for accessibility and ease of use. Modern neodymium magnetic clasps are incredibly strong and feature sleek, cylindrical designs that blend seamlessly into minimalist bead patterns.
- Box Clasps with Safety Latches: Reserved for high-end, multi-strand gemstone pieces. They provide maximum security and a clean, uninterrupted line in the beadwork.
Styling and Layering Your Custom Beaded Creations
Once you have mastered how to make a bead necklace with clasp hardware, the final step is styling. The 2026 layering protocol relies on contrasting textures and varying lengths by exactly 2 to 3 inches to prevent tangling. Pair a 16-inch choker made of matte black onyx beads with a 19-inch strand of irregular, baroque freshwater pearls. Introduce a 22-inch oxidized silver chain with a single, heavy focal pendant to anchor the look. By controlling the exact lengths and clasp placements during the stringing process, you ensure that your layered stack sits perfectly on the décolletage without twisting or bunching. This level of bespoke customization is exactly what defines the modern, luxury beaded jewelry movement.


