How to Make a Bead Necklace: A Professional Step-by-Step Guide
Learn how to make a bead necklace with our expert step-by-step guide. Master wire gauges, crimping techniques, and professional finishing.

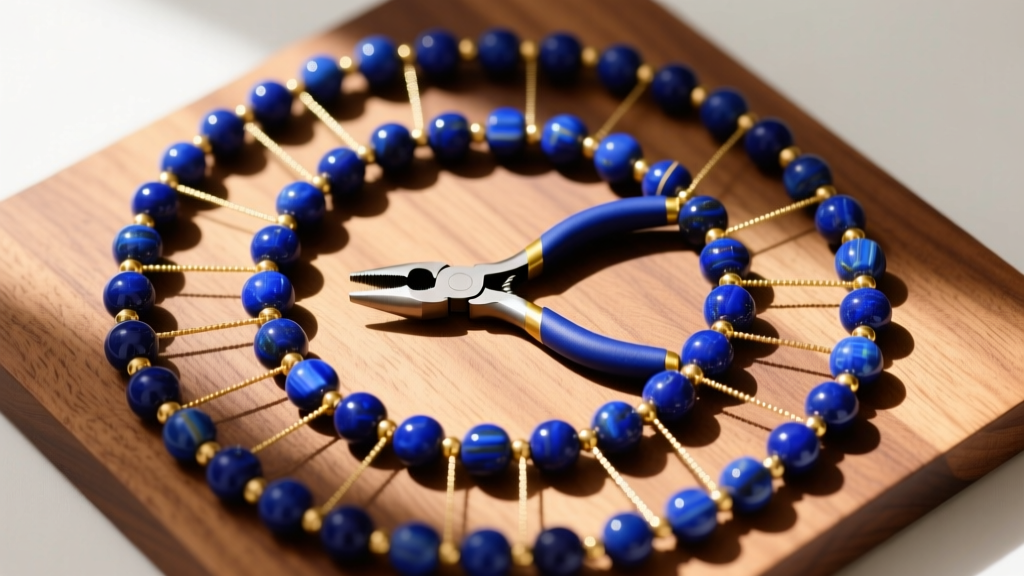
The Anatomy of a Professional Bead Necklace
Most jewelry beginners start their crafting journey using elastic cords or standard nylon fishing line. While these materials are fine for casual children's crafts, they inevitably lead to snapped necklaces, degraded elasticity, and lost gemstones. If you want to know how to make a bead necklace that rivals high-end boutique jewelry in both durability and drape, you must transition to flexible beading wire and professional crimping techniques.
A professionally finished beaded necklace relies on tensile strength, precise tension management, and secure mechanical fastenings. In this comprehensive guide, we will bypass the amateur shortcuts and dive deep into the exact material grades, wire gauges, and crimping mechanics used by master jewelers to create heirloom-quality beaded necklaces.
Essential Tools and Material Grades
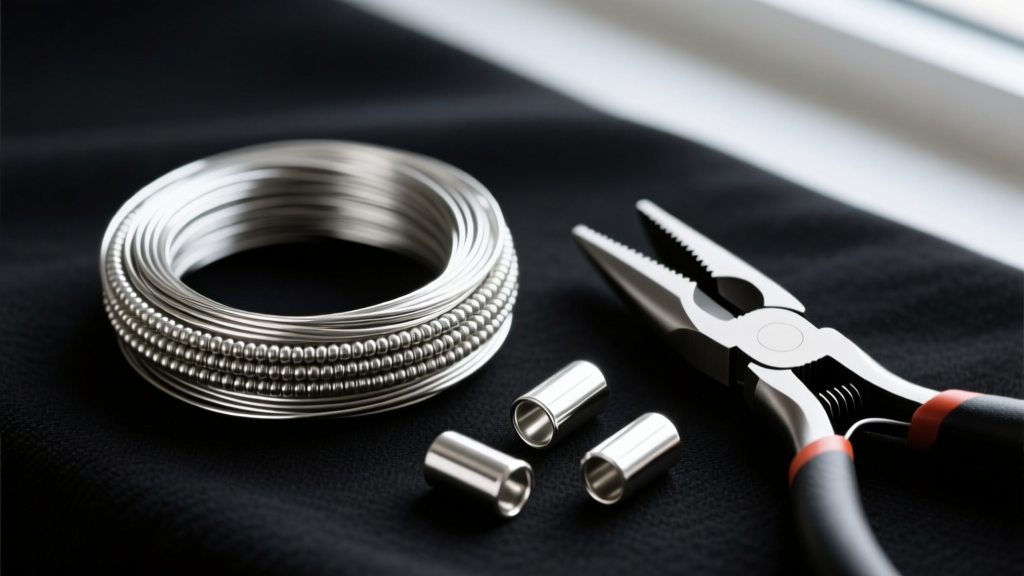
Before stringing a single bead, you must assemble the correct toolkit. Using base-metal findings or improper pliers is the primary reason homemade jewelry fails. Below is the definitive toolkit required for professional-grade bead stringing.
| Tool / Material | Specification / Grade | Purpose | Est. Price Range |
|---|---|---|---|
| Flexible Beading Wire | 49-Strand, Stainless Steel | Core stringing material providing high drape and tensile strength | $15 - $28 |
| Crimp Tubes | 2x2mm Sterling Silver or 14k Gold-Filled | Secures wire to the clasp without slipping or degrading | $8 - $14 |
| Micro-Crimping Pliers | Ergonomic, 2-notch precision jaw | Folds the crimp tube into a secure, rounded U-shape | $12 - $22 |
| Wire Guards (French Wire) | 14k Gold-Filled or Sterling, 1.5mm diameter | Protects the wire loop from friction and clasp wear | $5 - $12 |
| Flush Cutters | Micro-flush, carbon steel | Trims wire perfectly flush without leaving sharp, poking tails | $10 - $18 |
Selecting the Right Beading Wire Gauge
According to the Soft Flex Company wire guide, choosing the correct wire diameter is critical for both the structural integrity and the physical drape of your necklace. Wire that is too thick will make the necklace stiff and unyielding, while wire that is too thin will snap under the weight of heavy stones.
- 0.012-inch (Fine): Best for lightweight seed beads, small freshwater pearls, and delicate illusion necklaces. Requires beads with very small hole sizes.
- 0.015-inch (Standard): The most versatile gauge. Ideal for Swarovski crystals, standard glass beads, and medium-weight semi-precious stones like amethyst or turquoise.
- 0.018-inch (Heavy): Necessary for large, heavy gemstones, metal beads, and chunky artisan glass. Provides maximum tensile strength to prevent sagging.
- 0.024-inch (Chunky): Reserved for extremely heavy, large-hole beads like African trade beads or massive carved jade pendants.
Step-by-Step: How to Make a Bead Necklace
With your materials graded and selected, it is time to execute the assembly. This process prioritizes tension management and secure finishing.
Step 1: Planning and Sizing on a Bead Board
Never string beads blindly. Use a flocked, multi-channel bead design board to lay out your pattern. The flocking prevents beads from rolling and allows you to visualize the color gradient. Pro-Tip: When using large, chunky beads, the outer circumference of the necklace will be significantly larger than the inner circumference. A necklace that measures 18 inches on the inside track of a bead board might actually wear like a 16-inch choker once the large beads are strung. Always measure based on the inner curve of the bead channel.
Step 2: Stringing and Tension Management
Cut your 49-strand beading wire approximately 4 inches longer than your desired finished length. This extra tail is crucial for the crimping process. As you string your beads, pay close attention to tension. If you pull the wire too tightly between beads, the necklace will lack 'drape' and will stick out stiffly from the collarbone. Conversely, leaving too much slack will expose the wire between the beads. The wire should be taut enough to keep the beads kissing, but loose enough that the strand can easily form a fluid 'U' shape when held by the ends.
Step 3: The Crimping Technique (The Most Critical Step)
Crimping is where 90% of beginners fail, leading to clasps slipping off and beads scattering across the floor. Base-metal round crimp beads often crack or slip under pressure. Always use 2x2mm sterling silver or gold-filled tubes. Follow the mechanics outlined in Beadalon's official crimping guide for the perfect fold:
- Thread the End: Pass the wire through a crimp tube, then through a wire guard (French wire), then through the jump ring of your clasp, and finally back down through the crimp tube and the first two beads of your necklace.
- Adjust the Slack: Use chain-nose pliers to gently pull the tail wire, ensuring the beads are snug but not overly tight. The wire guard should form a neat, rounded loop at the top.
- The First Notch (The U-Shape): Place the crimp tube into the second notch (the one closest to the handle) of your micro-crimping pliers. Squeeze firmly. This will dent the tube and separate the two wires inside, creating a 'U' or 'C' shape.
- The Second Notch (The Fold): Rotate the crimp 90 degrees so the 'U' is standing vertically. Place it into the first notch (closest to the tip) of the pliers and squeeze. This folds the 'U' in on itself, securely trapping both wires inside a neat, rounded barrel.
- Trim the Tail: Use micro-flush cutters to snip the excess tail wire as close to the crimp as possible, ensuring no sharp ends poke through the adjacent bead.
Advanced Finishing: Wire Guards and Clasps
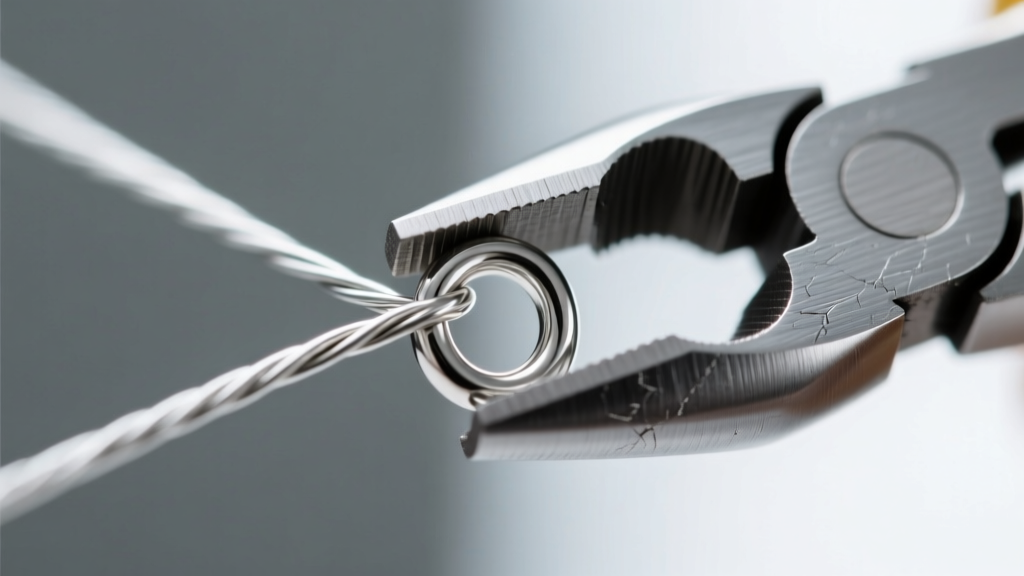
While you can technically loop the bare wire directly through a clasp, doing so creates a severe structural vulnerability. Over time, the friction of the clasp moving against the steel wire will cause the wire to fray and eventually snap. To prevent this, professional jewelers use wire guards (also known as French wire or wire protectors). These tiny, horseshoe-shaped metal tubes take the brunt of the friction, extending the lifespan of the necklace by decades. Always match the metal finish of your wire guard to your clasp and crimp tubes for a cohesive, high-end aesthetic.
Troubleshooting Common Beading Mistakes
The Necklace is Too Stiff
If your finished necklace feels rigid and refuses to lay flat against the chest, you have either used a wire gauge that is too thick for your bead size, or you strung the beads too tightly. To fix this, you must cut the crimp, remove a few beads to introduce slack, and re-crimp. Always test the drape by draping the strand over your wrist before committing to the final crimp.
The Crimp Keeps Slipping
Slippage occurs for two reasons: using cheap, plated base-metal crimp beads that lack the malleability to fold properly, or failing to pass the tail wire back through the crimp tube and the first bead. The friction of the wire passing through the adjacent bead acts as a secondary anchor point. If your beads have holes too small to accommodate two passes of 0.015-inch wire, you must use a smaller wire gauge or larger-hole spacer beads at the termination points.
Conclusion
Learning how to make a bead necklace professionally is less about artistic talent and more about material science and mechanical precision. By investing in 49-strand beading wire, sterling silver crimp tubes, and mastering the two-step micro-crimping technique, you elevate your jewelry from fragile crafts to durable, wearable art. Take your time with the tension, respect the wire gauges, and your handmade necklaces will stand the test of time.


