How to Make a Braided Herringbone Necklace: Step-by-Step Guide
Learn how to craft a stunning braided herringbone necklace with our step-by-step guide. Master tension, bead choices, and tubular stitching.

Introduction to the Braided Herringbone Stitch
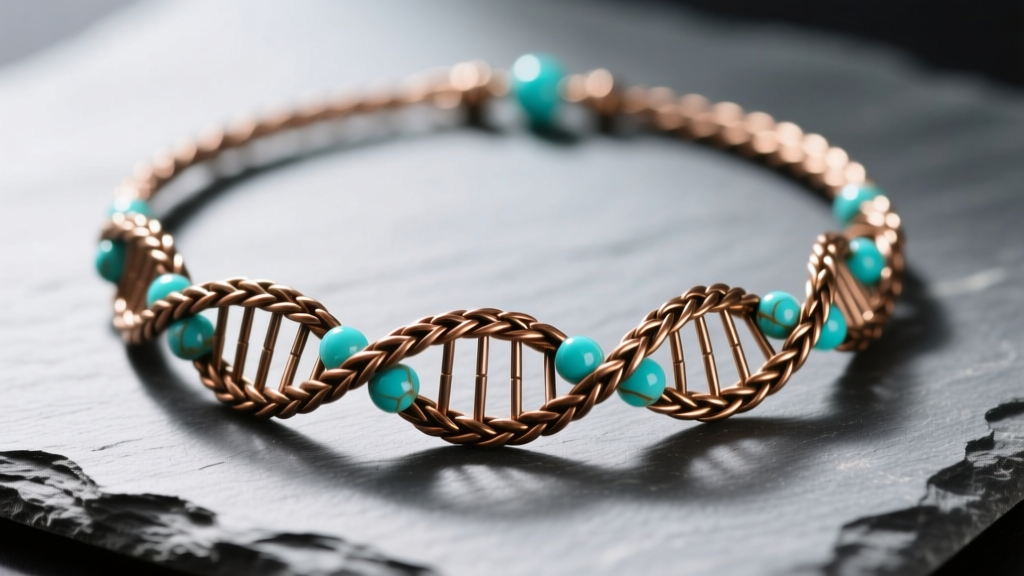
The braided herringbone necklace is a masterclass in structural bead weaving. Unlike flat Ndebele stitch, which creates a geometric, zigzagging fabric, the tubular variation is worked in the round to create a hollow rope. By introducing a specific thread-path torque, the tube naturally spirals, resulting in a DNA-like braided helix. This technique transforms standard seed beads into a fluid, rope-like chain that drapes beautifully around the neckline.
Creating a twisted tubular herringbone rope requires precision. The interlocking V-shapes of the herringbone stitch rely entirely on consistent thread tension and uniform bead geometry. In this comprehensive guide, we will break down the exact material grades, tension metrics, and step-by-step thread paths required to engineer a professional-grade braided herringbone necklace from your beading table.
Essential Tools and Material Specifications
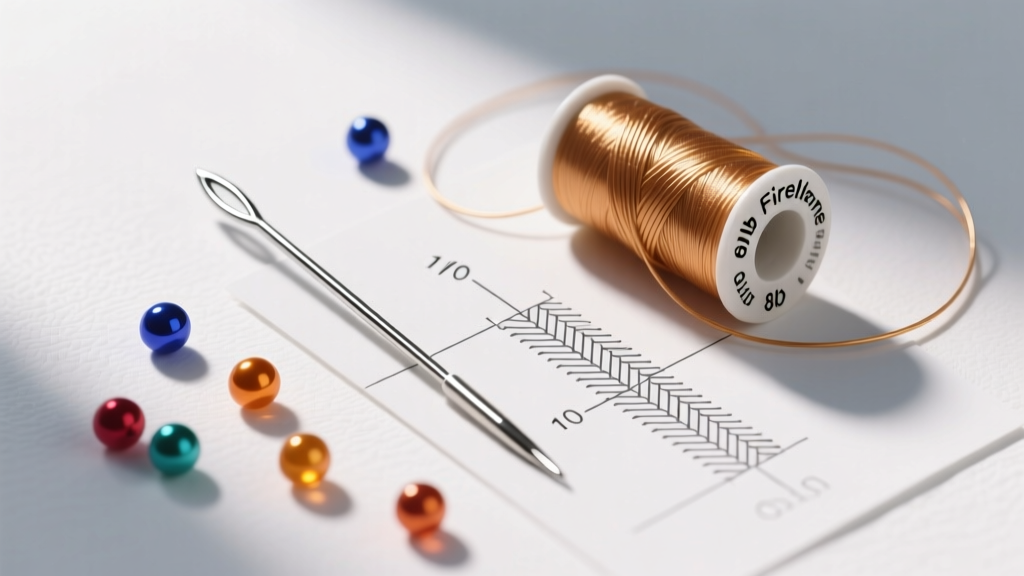
Before picking up your needle, you must select materials that support the structural demands of the herringbone stitch. Using round seed beads or improper thread weights will cause the braid to warp, pucker, or expose the core thread.
| Material Category | Specification | Why It Matters for Herringbone |
|---|---|---|
| Seed Beads | 11/0 Miyuki Delicas or Toho Treasures | Cylindrical Japanese beads ensure uniform stacking. Round Czech beads will cause the V-stitches to collapse and the braid to warp. |
| Thread | 8lb Fireline (0.008" diameter) | Gel-spun polyethylene offers high tensile strength without stretching. Nylon threads (like Nymo) stretch over time, ruining the rope's drape. |
| Needle | Size 10 English Beading Needle | Size 10 is thin enough to pass through 11/0 Delicas multiple times but thick enough to prevent the needle from bending under high tension. |
| Findings | 6mm Ribbon Crimps & 2mm Jump Rings | Herringbone ropes are hollow and flexible; ribbon crimps provide a wide, secure grip without crushing the tubular structure. |
Step 1: Creating the Foundation Ring
Every tubular herringbone structure begins with a base ring. The number of beads in this ring dictates the circumference of your necklace. For a standard braided herringbone necklace rope, a base of 8 to 12 beads is ideal.
Executing the Base
- Cut a 6-foot length of 8lb Fireline thread. Do not use longer lengths, as gel-spun threads are prone to micro-fraying when dragged repeatedly through beads.
- Pick up 8 cylinder beads (e.g., 4 of Color A, 4 of Color B for a high-contrast spiral).
- Slide them down, leaving a 6-inch tail.
- Pass your needle through all 8 beads again to form a circle.
- Tie a double surgeon’s knot using the working thread and the tail. This knot is bulkier than a standard square knot and will not slip through the wide holes of cylinder beads.
Step 2: Building the First Tubular Herringbone Rounds
The first few rounds establish the vertical columns that define the herringbone stitch. Unlike peyote stitch, which builds horizontally, herringbone builds vertically in paired columns.
Pick up two beads (one of Color A, one of Color B). Pass your needle down through the next single bead in your foundation ring. Then, pass your needle up through the following bead in the foundation ring. Pull the thread taut. The two new beads will naturally tilt toward each other, forming a "V" shape at the top of the two foundation beads.
Repeat this process all the way around the ring. When you reach the end of the round, you must "step up." Pass your needle up through the first bead of the foundation ring and the first bead of the new round you just added. This step-up is non-negotiable; it shifts your working position to the top of the new round, preparing you for the next layer.
Step 3: The Twist Technique (Creating the Braid)
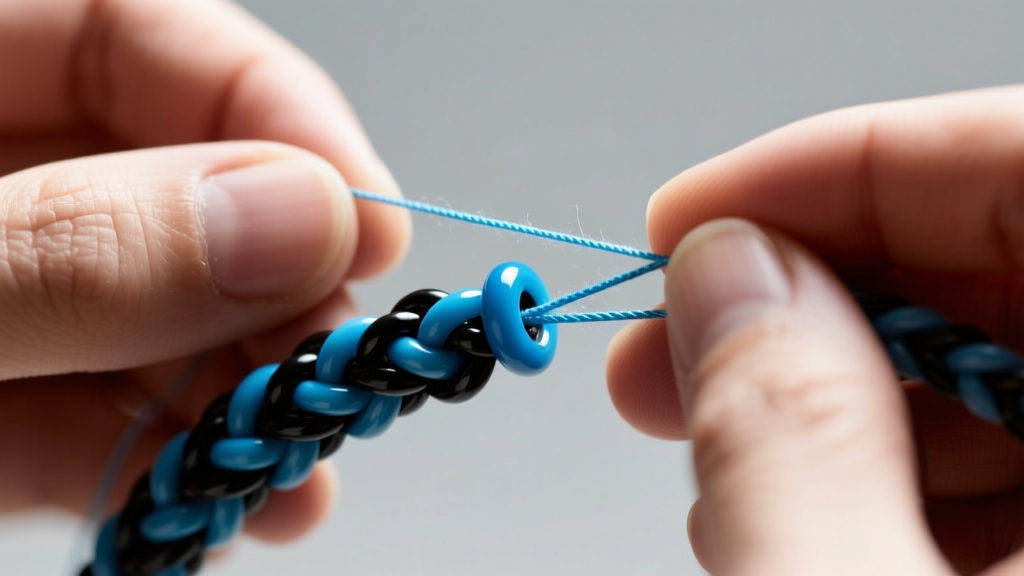
This is where the magic happens. A standard tubular herringbone rope is straight. To create a braided herringbone necklace, you must introduce a structural torque. According to advanced bead weaving methodologies documented by Interweave Beading, this twist is achieved by altering the exit angle of your thread path.
The Diagonal Thread Path
When you pick up your two beads and pass down through the next column, do not pull the thread straight down. Instead, pull it at a slight diagonal. More importantly, when you pass up to start the next stitch, pass your needle through the side of the adjacent bead in the previous round, rather than straight up through the top.
This diagonal thread path forces the newly added V-stitches to sit at a 15-to-20-degree angle relative to the column below them. As you stack round upon round, this slight angular deviation compounds, forcing the entire tube to spiral into a tight, braided helix. Maintain a strict 5-to-7-ounce pulling tension. If you pull harder than 8 ounces, the Fireline will cut into the bead coating; if you pull lighter than 4 ounces, the braid will look loose and sloppy.
Step 4: Adding Structural Support and Clasps
Because the braided herringbone stitch creates a hollow tube, the ends are highly susceptible to crushing if clamped directly by jewelry pliers. You must transition the hollow beadwork into a solid core before attaching findings.
Finishing the Ends
- Internal Reinforcement: Weave your needle back down into the rope for about half an inch. Pass through the inner threads in a zig-zag pattern to create a dense internal web of thread. This acts as a shock absorber.
- Thread Exit:Exit your thread through the very top edge bead of the rope.
- Ribbon Crimp Application: Slide a 6mm ribbon crimp over the end of the rope. The reinforced thread web will prevent the beads from collapsing inward when you squeeze the crimp shut with chain-nose pliers.
- Clasp Attachment: Use a 2mm stainless steel jump ring to connect the ribbon crimp loop to a lobster clasp on one end, and a custom beaded toggle or extender chain on the other.
For visual learners looking to refine their finishing techniques, Beadaholique's beading tutorials offer excellent macro-video demonstrations on securing tubular beadwork into metal findings without compromising the weave.
Troubleshooting Common Tension and Warping Issues
Even experienced bead weavers encounter structural anomalies when engineering a braided herringbone necklace. Here is how to diagnose and fix the most common failure modes:
- The Rope is Stiff and Board-Like: Your tension is too tight (exceeding 8 oz). Herringbone requires a micro-millimeter of "play" between beads to allow the rope to articulate and drape. Relax your grip and focus on smooth, fluid pulls rather than hard yanks.
- The Braid is Spiraling in the Wrong Direction: You are likely stepping up inconsistently. Always ensure your thread exits from the highest bead of the current round before picking up new beads. If you skip the step-up, the spiral will invert and warp.
- Thread Visibility Between Beads: This occurs when the thread color contrasts with the beads and the tension is slightly loose. Switch to a thread color that exactly matches your dominant bead color, or use a size 12 needle to carefully "bury" the thread deeper into the bead holes during your final weave-in.
- Needle Breakage: If your size 10 English needle keeps snapping at the eye, you are forcing it through a bead hole that already contains three or more passes of 8lb Fireline. Switch to a thinner size 12 Tulip beading needle for the final few rounds and the tie-off process.
Conclusion
Mastering the braided herringbone necklace is a milestone in any bead weaver's journey. By combining the geometric precision of the Ndebele stitch with the engineered torque of a diagonal thread path, you can create a piece of jewelry that is as structurally fascinating as it is visually striking. Stick to high-quality cylinder beads, respect your thread tension metrics, and take the time to properly reinforce your hollow ends. The result will be a durable, fluid, and breathtaking braided rope that elevates any neckline.


