Mastering Necklace Photos: Technical Lighting & Macro Guide
Learn the technical secrets to capturing flawless necklace photos. Discover macro lens choices, focus stacking, and lighting setups for metals and gems.

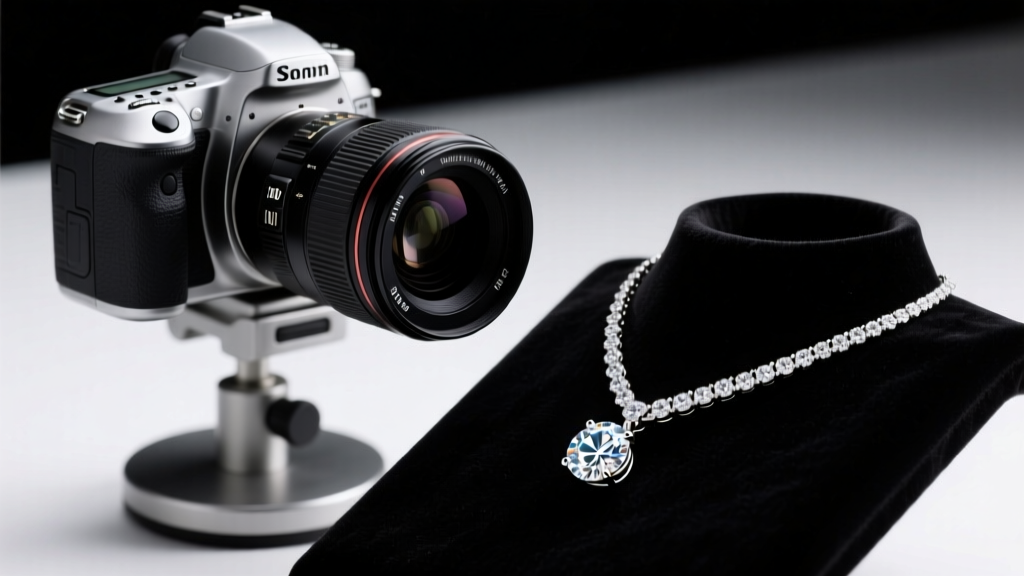
The Optical Challenges of Jewelry Photography
Capturing professional-grade necklace photos is widely considered one of the most demanding disciplines in commercial macro photography. Unlike flat lay apparel or matte-finish ceramics, necklaces present a trifecta of optical nightmares: highly reflective metallic surfaces, multifaceted gemstones that refract light unpredictably, and a three-dimensional topography that severely limits depth of field. When shooting at 1:1 magnification, the laws of physics work against you. The inverse square law dictates that light falls off exponentially over short distances, meaning the clasp of a 16-inch chain might be perfectly exposed while the pendant plunges into deep shadow. Furthermore, shooting at narrow apertures like f/22 to force the entire piece into focus introduces severe diffraction, robbing the image of critical micro-contrast and making diamond pavé look like muddy glass. To produce high-end necklace photos in 2026, photographers must abandon single-shot methodologies and embrace advanced focus stacking, cross-polarization, and precise color calibration.
Essential Gear: Lenses and Sensors for 2026
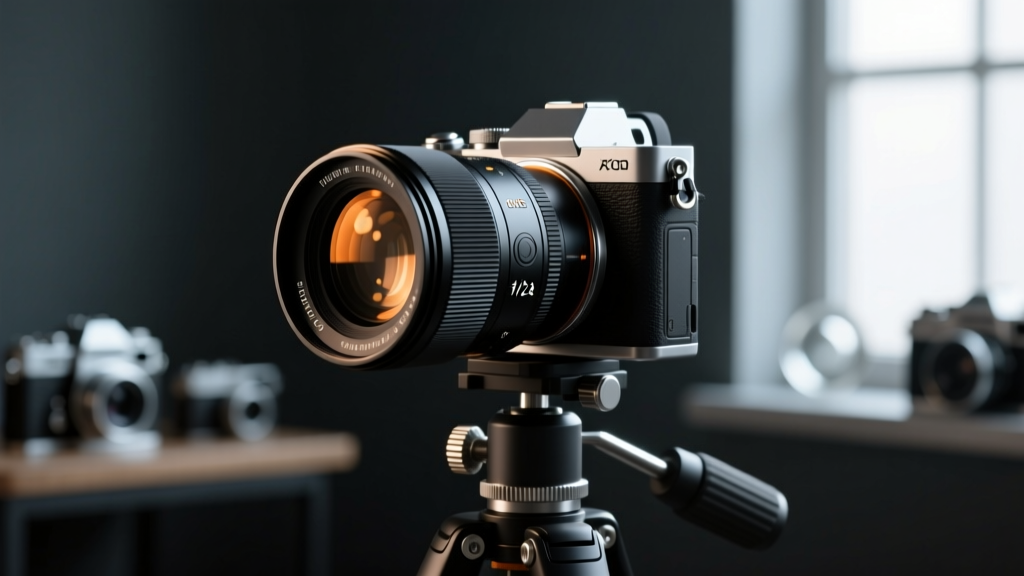
The foundation of any successful jewelry shoot is the glass. Standard 50mm macro lenses introduce perspective distortion, making the top of the necklace appear disproportionately larger than the bottom. According to technical guidelines from B&H Photo Video, a focal length between 90mm and 105mm is the industry standard for maintaining natural proportions and providing adequate working distance between the front element and the light modifiers.
Focal Length and Sensor Resolution
For full-frame mirrorless systems, lenses like the Sony FE 90mm f/2.8 Macro G OSS or the Nikon Z MC 105mm f/2.8 VR S offer edge-to-edge sharpness and 1:1 reproduction ratios. In 2026, the baseline sensor resolution for commercial jewelry photography has shifted to 60 megapixels and above. This extreme pixel density is not necessarily for final output—most e-commerce platforms compress images to 2048 pixels on the long edge—but rather to allow aggressive cropping while retaining the microscopic facets of a gemstone cut. High-megapixel sensors also demand flawless technique; even a 1/60th-second shutter speed on a tripod can introduce micro-vibrations. Always utilize an electronic first-curtain shutter or fully electronic silent shutter, paired with a heavy-duty copy stand rather than a standard tripod, to eliminate mechanical shake.
The Role of Focus Stacking
Because shooting at f/2.8 yields a depth of field measured in millimeters, and stopping down past f/11 degrades image quality via diffraction, focus stacking is mandatory. Using a motorized macro rail (such as the Cognisys StackShot), the camera is moved in precise 0.05mm increments. A sequence of 40 to 80 images is captured from the tip of the clasp to the lowest point of the pendant, ensuring every link and facet is tack-sharp when blended in post-production.
Lighting Setups: Taming Specular Highlights
Lighting polished gold or platinum requires managing specular highlights. If you point a bare strobe at a silver chain, the result is a blown-out white streak that destroys the metal's texture. The goal is to create soft, graduated gradients that reveal the curvature of the links.
Diffusion and the Tent Method
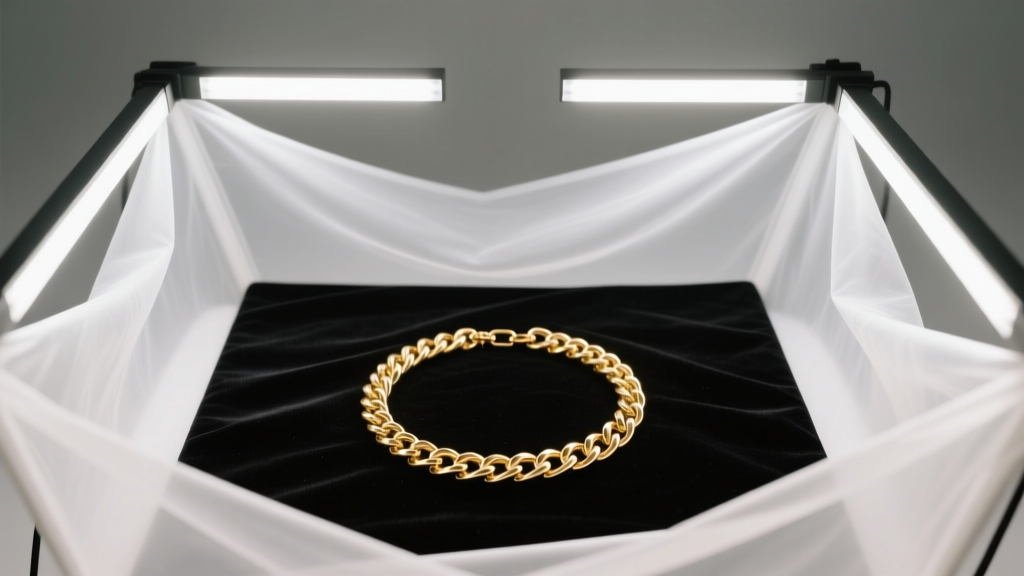
The most reliable method for shooting necklaces is using a diffusion tent or a custom-built acrylic box. By wrapping the subject in a seamless white environment, the metal reflects the white diffusion material, resulting in a clean, bright, and evenly exposed surface. However, a pure white reflection can look flat. Expert photographers introduce 'negative fill'—strips of black foam core placed just outside the diffusion tent—to create sharp, dark reflection lines on the edges of the metal. These black lines define the shape and give the jewelry a three-dimensional, premium appearance.
Cross-Polarization for Glare Elimination
When photographing necklaces with large, flat-cut gemstones or highly polished enamel, standard diffusion is not enough. Cross-polarization is a technical lighting technique where linear polarizing film is placed over your continuous light sources, and a circular polarizer (CPL) is attached to your camera lens. By rotating the lens polarizer 90 degrees to the light polarizers, you completely block all surface glare. This allows the camera to see 'through' the reflections and capture the true, saturated color of the gemstone and the underlying metal texture. The Gemological Institute of America (GIA) frequently utilizes variations of polarized lighting in their gemological imaging to accurately document inclusion types without surface glare interference.
Lighting Modifiers and Color Accuracy
Not all light sources are created equal when rendering the subtle color differences between a D-color diamond and an F-color diamond, or the deep green of an emerald. You must use continuous LED panels with a Color Rendering Index (CRI) of 95 or higher. Below is a technical comparison of lighting setups for necklace photography.
| Lighting Type | CRI Requirement | Best Use Case | Drawbacks |
|---|---|---|---|
| Continuous LED Panels | 95+ (TLCI 95+) | Focus stacking, cross-polarization, video | Lower power output requires longer exposures |
| Studio Strobes | N/A (Flash spectrum) | Freezing motion, high-power single shots | Cannot use with standard cross-polarization film |
| Ring Lights | 80-90 | Quick social media content | Creates unnatural, circular catchlights in gems |
| Fiber Optic Spotters | Halogen/LED | Adding precise 'sparkle' to diamond facets | Too harsh for overall base lighting |
Styling and Suspension Techniques
How a necklace sits during the shoot dictates the final image's elegance. Laying a chain flat on a surface often results in tangled links and a lack of volume. To achieve the 'invisible bust' look, where the necklace appears to be draped over a mannequin without the mannequin being visible, photographers use a combination of museum wax and monofilament fishing line. Museum wax is a non-damaging, conservation-grade adhesive used to stand the clasp upright and create natural-looking drapes in the chain. For pendants, a piece of 0.2mm fishing line can be tied to the bail and pulled taut outside the frame to keep the pendant perfectly centered and facing the lens. Acrylic risers and bent silver wire armatures are also employed to give the chain a three-dimensional sweep, mimicking the natural curve of a human collarbone.
Post-Processing: Focus Blending and Color Calibration
The technical work continues long after the shutter stops clicking. The raw files from a focus stack must be aligned and blended. While Adobe Photoshop's native 'Auto-Blend Layers' has improved, dedicated software like Helicon Focus remains the industry standard for jewelry, as its Method C (Pyramid) algorithm handles the high-contrast edges of diamond facets without creating the 'halo' artifacts common in standard blending. Color calibration is equally critical. A physical color target, such as the Calibrite ColorChecker Passport, must be photographed in the first frame of every new lighting setup. This allows you to create a custom DNG camera profile, ensuring that the warm undertones of 18k yellow gold or the cool, icy blue of a sapphire are rendered with absolute scientific accuracy across your entire catalog.
Common Mistakes and Technical Troubleshooting
Even seasoned photographers encounter issues when shooting necklace photos. Here is a troubleshooting framework for common technical failures:
- Dusty or Scratched Metal: At 1:1 magnification, a single fingerprint looks like a greasy crater. Always wear lint-free cotton gloves and use a compressed air blower (never canned air, which propels liquid propellant) immediately before the exposure sequence.
- Color Casts in Silver: Sterling silver acts like a mirror and will reflect the color of your studio walls or your clothing. If your silver looks slightly blue or green, you are reflecting the environment. Ensure your shooting area is entirely neutralized with white or grey cards.
- Loss of Diamond 'Fire': If diamonds look flat and lack dispersion (fire), your lighting is too large and too soft. Introduce a bare, pinpoint LED spot or a fiber optic light source from a steep angle to trigger the internal refraction and dispersion of the facets.
- Stacking Artifacts: If you see ghosting or transparent edges around the pendant in your final stacked image, the subject moved during the sequence, or the lighting flickered. Ensure all continuous lights are set to a flicker-free mode and that the studio is free of heavy foot-traffic vibrations.
Mastering the technical aspects of jewelry photography transforms a simple product snapshot into a high-converting piece of visual merchandising. By respecting the physics of light, investing in precision macro optics, and adhering to strict color management workflows, you can consistently produce necklace photos that rival top-tier luxury campaigns.


