How to Match Chains and Necklace Pendants: A Step-by-Step Guide
Learn how to perfectly match chains and necklace pendants. This step-by-step guide covers bail sizes, metal grades, and layering techniques.


The Hidden Mechanics of Pendant Pairing
Selecting the perfect chain for your favorite necklace pendants is rarely as simple as sliding one onto the other and calling it a day. A mismatched pairing can lead to premature metal wear, awkward visual proportions, or a pendant that constantly flips backward against your collarbone. Whether you are working with a heavy gemstone statement piece or a minimalist metallic charm, understanding the structural relationship between the chain and the pendant's bail is crucial for longevity and aesthetics.
This comprehensive, step-by-step guide will walk you through the exact measurements, metallurgical compatibilities, and visual balancing techniques required to flawlessly match chains and necklace pendants. By treating your jewelry assembly with the same precision a master jeweler uses at the bench, you can elevate your everyday wear and protect your investment.
Step 1: Measure the Bail and Chain Thickness
The most common point of failure when styling necklace pendants is a physical mismatch between the chain's width and the bail's inner diameter. The bail—the loop at the top of the pendant that the chain threads through—dictates the maximum thickness of the chain you can use. Forcing a thick chain through a narrow bail will cause severe friction, eventually wearing through the metal of the bail and resulting in a lost pendant.
Conversely, threading a very thick chain through an oversized bail can cause the pendant to slide awkwardly and fail to lay flat against the chest. To achieve a secure, smooth glide, the chain width should ideally take up 60% to 80% of the bail's inner diameter.
Bail Inner Diameter vs. Maximum Chain Width
| Bail Inner Diameter | Ideal Chain Width Range | Best Chain Styles | Recommended Pendant Weight |
|---|---|---|---|
| 2.0mm - 3.0mm | 0.8mm - 1.5mm | Cable, Wheat, Delicate Rope | Under 3 grams |
| 3.5mm - 5.0mm | 2.0mm - 3.5mm | Box, Curb, Rolo, Figaro | 3 to 8 grams |
| 6.0mm - 8.0mm | 4.0mm - 6.0mm | Thick Curb, Miami Cuban, Mariner | 8 to 20 grams |
| 9.0mm+ | 7.0mm+ | Heavy Cuban, Custom Link | 20+ grams (Statement) |
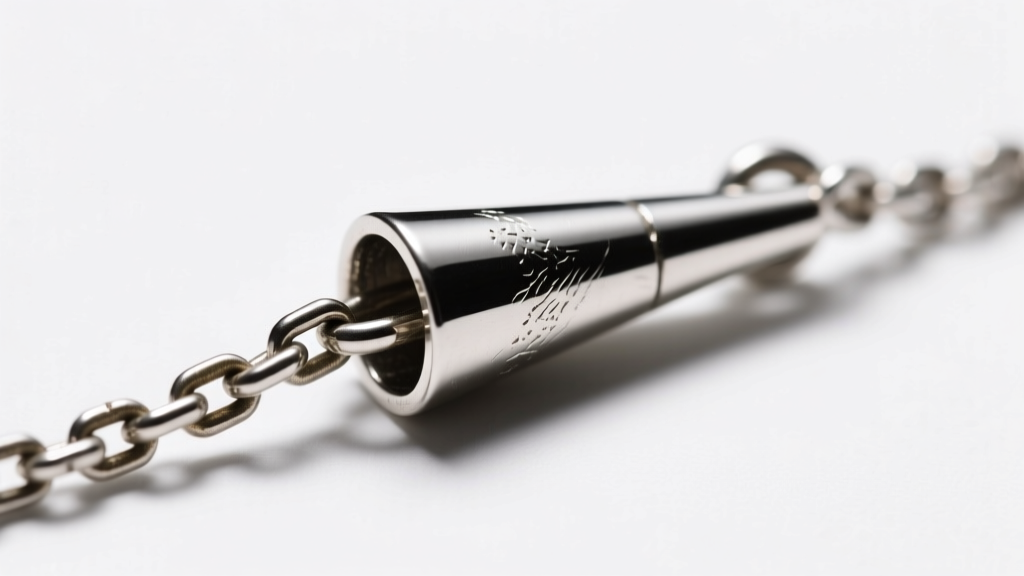
Step 2: Match Metal Hardness and Galvanic Compatibility
Beyond physical dimensions, the metallurgical properties of your chain and pendant must be compatible. When two dissimilar metals rest against each other in the presence of moisture (like human sweat), they can trigger galvanic corrosion. This electrochemical process causes the less noble metal to degrade rapidly.
For example, pairing a solid 14k gold chain with a brass or copper-heavy base metal pendant will cause the base metal to pit and tarnish aggressively. Always match your chain metal to the pendant's primary alloy. If you are mixing metals for aesthetic reasons, ensure there is a physical barrier, such as an enamel coating or a ceramic insert inside the bail, to prevent direct metal-on-metal contact.
Furthermore, consider the Mohs hardness scale when dealing with gemstone necklace pendants. According to the Gemological Institute of America (GIA), softer stones like opal (Mohs 5.5-6.5) or turquoise (Mohs 5-6) can be easily scratched by the interior of a rough or poorly finished metal bail. For these delicate stones, ensure the bail is lined with a smooth, high-polish finish or a protective bezel setting that isolates the stone from the chain's friction.
Step 3: Balance Visual Weight and Proportions
Aesthetics matter just as much as mechanics. A heavy, oversized pendant on a gossamer-thin chain looks visually unstable and puts dangerous tensile stress on the chain links. On the flip side, a massive, heavy chain will dwarf a delicate pendant, rendering it invisible.
The golden rule of jewelry proportion is the 1/3 Rule: The visual width of the chain should be roughly one-third the width of the pendant at its broadest point. This creates a harmonious taper that draws the eye naturally down to the focal point.
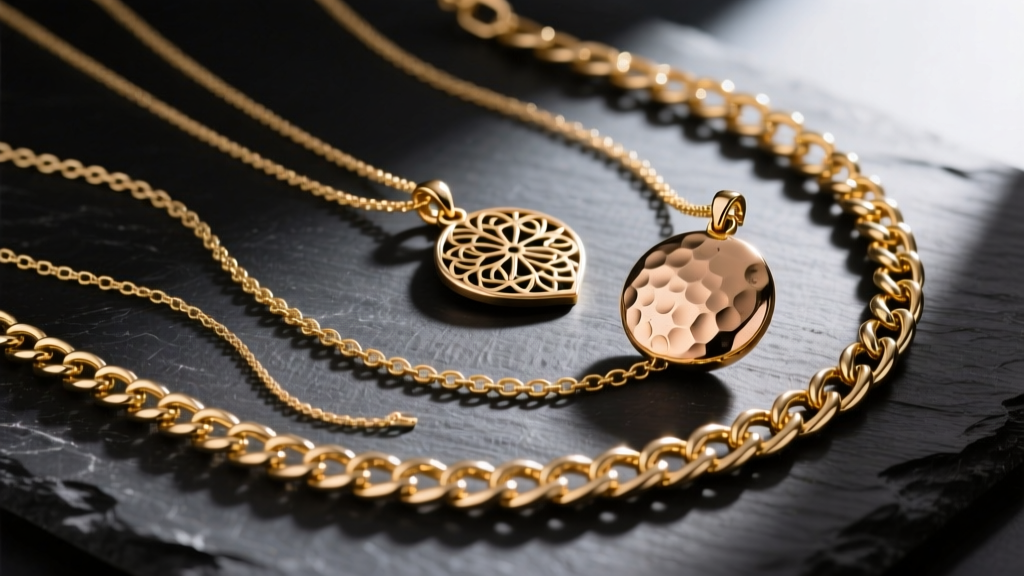
Layering Necklace Pendants Successfully
When layering multiple necklace pendants, you must stagger both the chain lengths and the chain thicknesses to prevent tangling. Tangling occurs when chains of the exact same thickness and link structure interlock with one another.
- Base Layer (16 inches): Use a 1mm to 1.5mm chain with a small, lightweight charm (under 2g).
- Middle Layer (18 inches): Step up to a 2mm to 3mm chain with a medium-sized pendant (3g to 6g).
- Statement Layer (20-22 inches): Use a 4mm+ chain with a heavy, oversized pendant (10g+).
By varying the link styles—for instance, pairing a smooth box chain with a twisted rope chain—you drastically reduce the surface friction that causes knots.
Step 4: Thread and Secure the Pendant Safely
If your pendant features a fixed bail, you simply thread the chain through. However, many high-end necklace pendants utilize a removable jump ring or a hinged bail to allow for versatility. Opening and closing these components incorrectly is the leading cause of lost jewelry.
According to professional bench jewelers at Rio Grande, you should never pull a jump ring apart laterally like a door hinge. This ovalizes the ring, weakens the metal's crystalline structure, and prevents it from ever closing flush again.
"Always use two pairs of chain-nose pliers to open a jump ring. Grip the ring on either side of the split, and twist one hand toward you while pushing the other hand away. This lateral twist maintains the perfect circular geometry of the ring, ensuring a seamless, secure closure when you twist it back."
Once the pendant is threaded, ensure the split of the jump ring rests at the back of the chain, not facing forward where it could catch on fabrics or hair.
Troubleshooting Common Pendant Issues
Even with perfect measurements, you may encounter functional quirks when wearing necklace pendants. Here is how to troubleshoot the most common annoyances:
The Pendant Constantly Flips Backward
This is a center-of-gravity issue. If the bail is positioned too far forward on the pendant, or if the chain is too light to act as a counterweight, the pendant will rotate upside down. The Fix: Have a jeweler solder a small, discreet counterweight loop to the back bottom of the pendant, or switch to a slightly heavier chain that provides enough downward tension to keep the bail seated correctly.
The Clasp Keeps Sliding to the Front
Lightweight chains with heavy pendants often suffer from the clasp migrating to the center of the chest. The Fix: Thread a tiny, clear silicone earring back or a specialized rubber chain stopper onto the chain directly behind the clasp. This adds just enough friction against the skin and clothing to anchor the clasp at the nape of the neck.
The Bail is Wearing Down
If you notice a deep groove forming inside the bail, the chain is acting like a saw. The Fix: Stop wearing the piece immediately. Take it to a jeweler to have the bail re-tipped or replaced. To prevent this in the future, ensure your chain is properly polished and free of microscopic burrs that can occur on lower-quality mass-produced links.


