How to Measure a Necklace Chain for Repair, Resizing, and Upkeep
Learn how to measure a necklace chain for repair, resizing, and ultrasonic cleaning. Expert tips on gauge, width, and maintenance sizing.

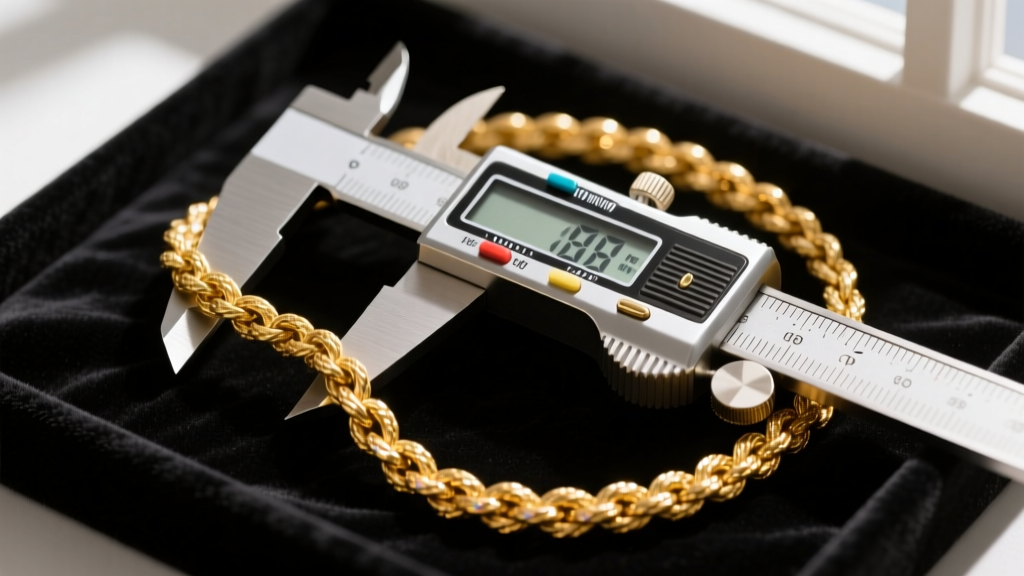
When it comes to jewelry maintenance, most guides focus exclusively on polishing cloths and ultrasonic solutions. However, proper upkeep begins long before the cleaning process. Understanding how to measure a necklace chain is a foundational skill for any jewelry owner or bench jeweler. Whether you are ordering a replacement clasp, preparing a piece for laser soldering, or selecting the correct mesh basket for an ultrasonic cleaner, precise measurements dictate the success of your maintenance routine. A chain that is improperly measured can lead to lost pendants, structural failure during cleaning, or mismatched repair components.
In this comprehensive guide, we bridge the gap between dimensional metrology and jewelry care, providing you with the exact frameworks needed to maintain, repair, and clean your necklaces with professional precision.
The Maintenance Connection: Why Chain Dimensions Matter
Why does a bench jeweler care about the exact millimeter width of your cable chain? Because metal fatigue and wear patterns are directly tied to dimensional tolerances. Over years of daily wear, precious metals like 14k and 18k gold experience microscopic abrasion. According to the Gemological Institute of America (GIA), friction against clothing and skin gradually wears down the contact points between chain links, leading to a phenomenon known as 'chain stretch.'
If a standard 20-inch chain measures 21.5 inches without any added links, it has stretched by 7.5%. This is a critical maintenance red flag. It indicates that the wire gauge has thinned to the point of structural compromise, requiring immediate annealing, reinforcement, or replacement before a catastrophic snap occurs. By knowing how to measure your necklace chain accurately, you can track this stretch over time and intervene before you lose a valuable pendant.
Step-by-Step Guide: How to Measure a Necklace Chain
To achieve bench-jeweler accuracy, you must move beyond flexible sewing tape measures. You will need a digital vernier caliper (accurate to 0.01mm) and a standard steel ruler. Here is the professional protocol for dimensional assessment.
1. Measuring Total Length (End-to-End)
Lay the necklace completely flat on a non-abrasive surface, such as a neoprene mat or velvet pad. Ensure there are no twists in the links, as a twisted rope or figaro chain can artificially shorten the measurement by up to 5%.
- Include the Clasp: Always measure from the very tip of the jump ring on one end to the very tip of the clasp on the other.
- Do Not Pull Taut: Apply zero tension. Pulling the chain taut measures the 'stretched' state rather than the true resting length, which can mask early signs of metal fatigue.
2. Measuring Chain Width and Gauge
Width is the most critical metric for ordering replacement parts and selecting cleaning equipment. Using your digital caliper, gently close the jaws around the widest part of a single link.
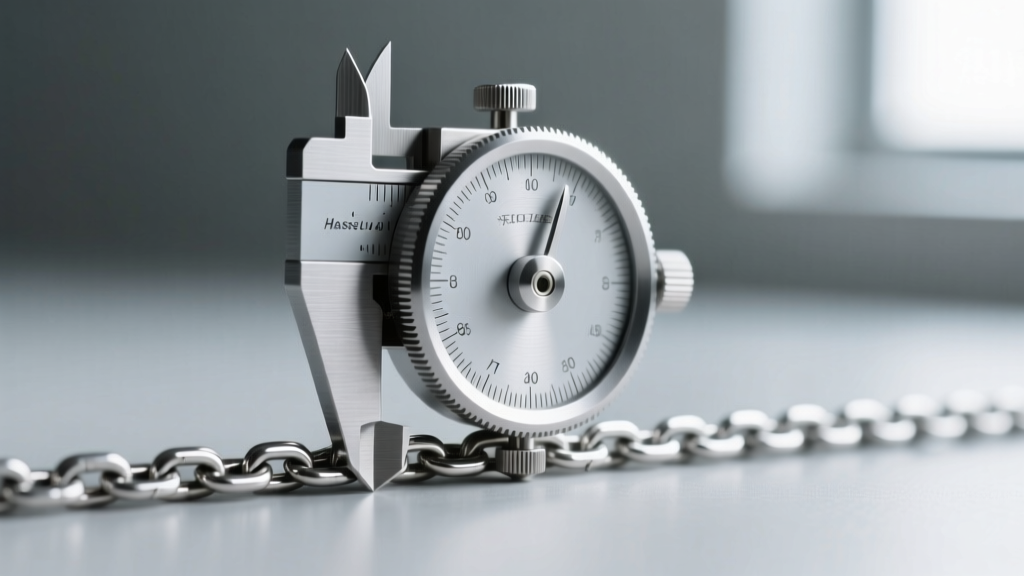
For round chains like box or snake chains, the width and thickness are identical. For flat chains like figaro or herringbone, you must measure both the face width and the edge thickness. Record these in millimeters, as the global jewelry supply industry (including major suppliers like Rio Grande) relies on metric measurements for findings and repair wire.
3. Determining the Wire Gauge
If you are sending a chain out for soldering, the jeweler needs to know the wire gauge to select the correct solder grade (hard, medium, or easy). While you can estimate this by measuring the cross-section of an open link, it is best left to a professional with a micrometer, as worn links will yield inaccurate gauge readings.
Troubleshooting Common Measurement Errors
Even experienced collectors make mistakes when assessing their jewelry. Below is a breakdown of common measurement errors and how they negatively impact the maintenance and repair process.
| Common Mistake | Maintenance Consequence | Pro Technique |
|---|---|---|
| Using a fabric sewing tape | Yields +/- 3mm variance; leads to ordering incorrectly sized replacement clasps. | Use a rigid steel ruler or digital caliper on a flat plane. |
| Measuring a twisted chain | Results in an artificially short reading; masks chain stretch and metal fatigue. | Run links through your fingers to untwist before laying flat. |
| Ignoring the clasp length | Causes the chain to sit higher on the neckline after a clasp replacement. | Always measure end-to-end, including all jump rings and the clasp. |
| Guessing width in inches | Results in purchasing the wrong ultrasonic basket mesh, risking chain loss. | Always convert to millimeters (1 inch = 25.4mm) for findings. |
Sizing for Ultrasonic Cleaning and Repair Baskets
One of the most overlooked aspects of jewelry care is matching your chain's dimensions to your cleaning equipment. Ultrasonic cleaners use high-frequency sound waves to cavitate dirt out of microscopic crevices. However, if the chain is delicate, the vibrations can cause links to unhook or snap, especially if the chain is already suffering from metal fatigue.
To protect delicate pieces, bench jewelers use stainless steel mesh suspension baskets. If you do not know how to measure a necklace chain's width accurately, you risk dropping a 1.2mm cable chain into a basket with a 2.0mm mesh grid. The chain will slip through the bottom and sink to the transducer plate, potentially damaging both the jewelry and the machine.
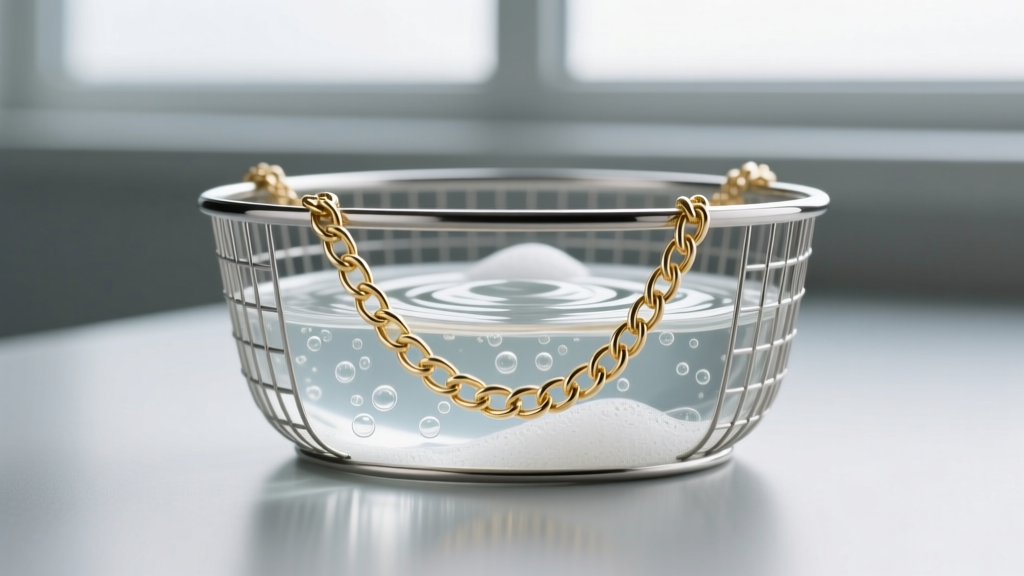
The Mesh-to-Width Rule: The mesh openings of your cleaning basket should be no larger than 50% of your chain's total width. For a 2mm chain, use a basket with a maximum 1mm mesh (roughly 18-20 mesh count). For ultra-fine chains under 1mm, always use a solid-walled Teflon beaker rather than a wire basket to prevent any chance of loss during cavitation.
Clasp Replacement and Jump Ring Sizing
Clasps are the highest-wear components on any necklace. According to Jewelers of America, spring ring and lobster claw clasps should be inspected every six months for spring tension and jump ring integrity. When it is time to replace a worn clasp, dimensional accuracy is paramount.
'A replacement clasp should never be the exact width of the chain. If a 3mm chain is fitted with a 3mm lobster claw, the lateral stress on the jump ring will cause it to pull open. The clasp body must be at least 1.5 times the width of the chain, and the connecting jump ring must be sized to allow free articulation without gapping.' — Master Bench Jeweler Guidelines
Use your calipers to measure the chain width, then multiply by 1.5 to find your minimum clasp width. Furthermore, measure the wire thickness of the chain to ensure the replacement jump ring's inner diameter (ID) is large enough to accommodate the chain link, while the wire gauge of the jump ring matches or exceeds the chain's structural integrity.
When to Seek Professional Jewelry Maintenance
While knowing how to measure a necklace chain empowers you to order replacement parts and safely clean your jewelry at home, certain maintenance tasks require professional intervention. If your measurements reveal that a hollow rope chain has stretched by more than 5%, or if a herringbone chain shows lateral kinking that cannot be flattened by hand, do not attempt DIY repairs. Hollow chains require specialized laser welding and internal resin supports that only a fully equipped bench jeweler can provide. By combining your precise measurements with professional expertise, you ensure your necklaces remain secure, brilliant, and structurally sound for generations.


