Morse Code Necklace DIY: A Step-by-Step Beading Guide
Learn how to craft a custom morse code necklace DIY with our step-by-step guide. Discover the best beads, wire gauges, and finishing techniques.

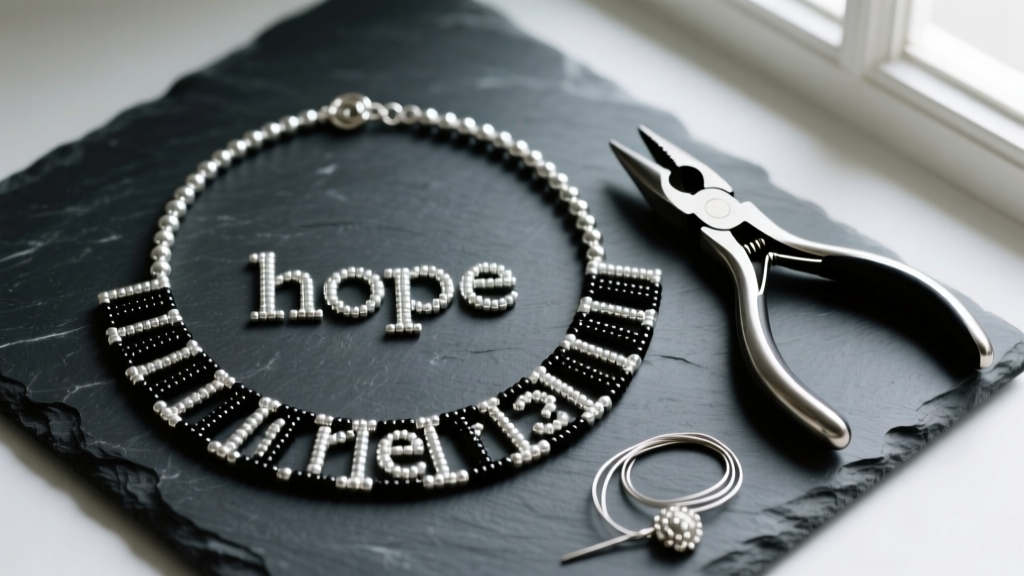
In 2026, the shift toward mindful, hyper-personalized jewelry has made hidden message pieces more popular than ever. A morse code necklace DIY project is the perfect intersection of sentimentality and craftsmanship. Unlike mass-produced trinkets, a handmade morse code piece allows you to encode a deeply personal mantra, a loved one's name, or a private joke into a wearable, minimalist design. However, the difference between a flimsy craft project and a fine jewelry piece lies entirely in your material selection and finishing techniques.
This comprehensive guide will walk you through the exact materials, measurements, and professional stringing methods required to create a durable, high-quality morse code necklace that withstands daily wear.
Materials & Tools: Choosing the Right Components
The most common failure point in DIY beaded necklaces is the degradation of the stringing material and the fraying of low-quality seed beads. To ensure your necklace lasts, you must source precision-manufactured components.
The Beads: Dots, Dashes, and Spacers
For a refined look, avoid standard craft-store seed beads, which vary wildly in size. Instead, use Miyuki 11/0 Delica beads. Delicas are cylindrical, meaning they lock together with uniform spacing, which is critical for the readability of morse code.
- Dots (Dits): Use 2mm metallic or glass seed beads (11/0 round or Delica).
- Dashes (Dahs): Use 4mm metallic tubes, 4mm glass bugle beads, or 3mm x 4mm oval gemstone beads. The length contrast between the dot and dash must be visually obvious.
- Spacers: Use 11/0 Delica beads in a neutral color (like matte black or gunmetal) to separate letters, and 8/0 rounds to separate words.

Stringing Material & Findings
Do not use cotton thread or standard nylon for a necklace meant to be worn against the skin; body oils and friction will snap it within months. Opt for a 49-strand micro-woven stainless steel beading wire coated in nylon, such as Soft Flex or Beadalon.
- Wire Diameter: 0.015-inch (0.38mm) is the sweet spot. It is flexible enough to drape beautifully around the collarbone but thick enough to resist kinking.
- Crimp Tubes: Use 2mm x 2mm sterling silver or gold-filled crimp tubes, not round crimp beads. Tubes provide a larger surface area for the wire to grip.
- Clasp & Jump Rings: A 5mm spring ring or lobster clasp, paired with 4mm wire guardians to protect the wire from snapping at the clasp loop.
Translating Your Message: The Morse Code Chart
Before cutting any wire, you must map out your design. Morse code relies on the timing and spacing of signals. In jewelry translation, a single spacer bead equals the pause between dots/dashes, three spacer beads equal the pause between letters, and five spacer beads equal the pause between words.
| Word | Morse Code Translation | Bead Sequence Example |
|---|---|---|
| LOVE | .-.. --- ...- . | Dot-Dash-Dot-Dot (space) Dash-Dash-Dash (space) Dot-Dot-Dot-Dash (space) Dot |
| HOPE | .... --- .--. . | Dot-Dot-Dot-Dot (space) Dash-Dash-Dash (space) Dot-Dash-Dash-Dot (space) Dot |
| STILL | ... - .. .-.. .-.. | Dot-Dot-Dot (space) Dash (space) Dot-Dot (space) Dot-Dash-Dot-Dot (space) Dot-Dash-Dot-Dot |
Pro Tip: Always use a verified translator like the Morse Code World Translator to double-check your spelling. A single misplaced dash changes 'HOPE' (.... --- .--. .) to a string of nonsensical characters.
Step-by-Step Assembly: Stringing the Code
With your materials prepped and your pattern written down, it is time to assemble the necklace. Work on a velvety beading mat to prevent the tiny Delica beads from rolling away.
Step 1: Cut and Prep the Wire
Cut a 24-inch length of your 0.015-inch 49-strand beading wire. This will yield a standard 16-inch to 18-inch choker/princess length necklace, leaving ample tail room for adjustments and crimping. Slide on your first 2mm crimp tube, followed by a wire guardian. Loop the wire back through the crimp tube and the guardian, leaving a 3-inch tail. Do not crimp it yet; you will need to adjust the tension at the very end.
Step 2: Stringing the Pattern
Begin threading your beads according to your chart. The physical act of stringing requires intense focus. Use a bead stopper at the opposite end of your working wire to ensure no beads slide off if you accidentally tilt your mat.
- Letter Spacing: Thread one 11/0 spacer bead between every dot and dash within the same letter.
- Word Spacing: Thread three 11/0 spacer beads between distinct letters, and a 3mm metallic accent bead between entirely different words.
Step 3: Achieving the Perfect Drape
Once all beads are on the wire, remove the bead stopper. Thread the second wire guardian and crimp tube onto the tail end. Loop the wire back through the crimp, the guardian, and the first three spacer beads on that side. Hold the necklace up by the clasp loops. The beads should move freely. If they are packed too tightly, the necklace will stiffen and stick out awkwardly from the collarbone. If they are too loose, the bare wire will show. Adjust the tension until the beads glide smoothly but leave no more than 1mm of exposed wire between them.
Finishing Techniques: Professional Crimping
The crimp is the structural anchor of your DIY necklace. A poorly crushed crimp will eventually slip, causing the necklace to unravel and the beads to scatter.
- Positioning: Ensure the two strands of wire inside the crimp tube are lying side-by-side, not crossed over each other. Crossing creates a weak point that will saw through the nylon coating over time.
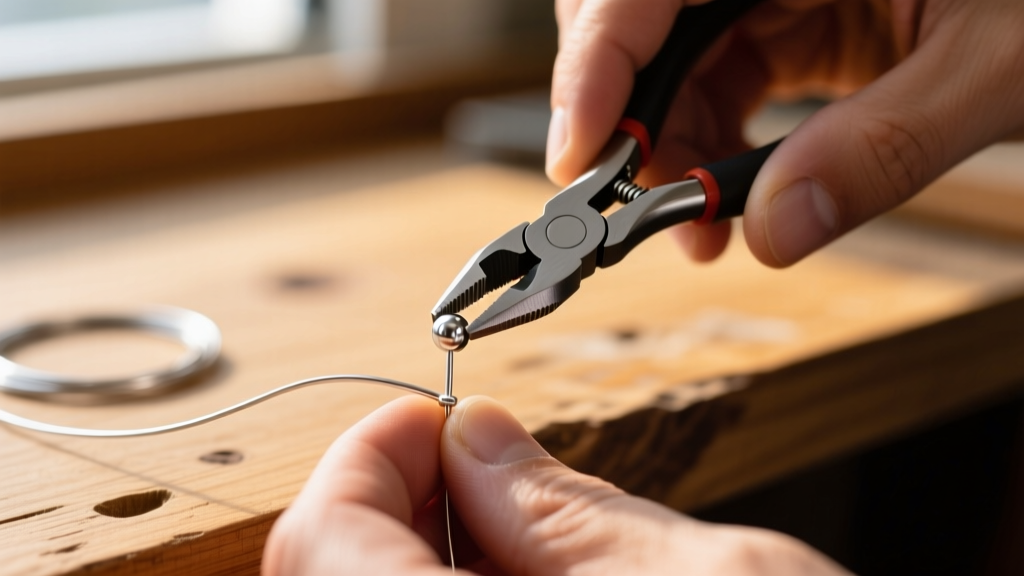
- The Micro-Crimper: Use a specialized micro-crimping plier (available from suppliers like The Beadsmith). Place the tube in the back notch of the pliers and squeeze firmly to create a 'U' shape, separating the two wires.
- Folding: Move the tube to the front notch of the pliers and squeeze again to fold the 'U' in on itself, creating a tight, rounded bead-like finish.
- Trimming: Use flush cutters to snip the excess wire tail as close to the crimp as possible without nicking the main strand.
Troubleshooting Common DIY Beading Mistakes
Even experienced jewelers run into issues when working with micro-beads. Here is how to solve the most frequent problems:
Wire Kinking
If your 49-strand wire develops a sharp kink while stringing, do not try to bend it back into place; the structural integrity of the steel core is compromised. Cut the wire at the kink, re-thread the beads onto a fresh piece of wire, and start over. To prevent this, always unspool wire by letting it roll off the side of the spool, never by pulling it straight up.
Bead Fraying
If you notice the metallic coating of your 'dash' beads rubbing off onto the wire, it means the bead holes have rough edges. This is common with cheap, mass-produced glass or metal tubes. Always inspect your beads by looking through the hole toward a light source. If the edges look jagged, use a bead reamer to smooth the hole, or switch to a higher-grade supplier like Miyuki or Toho.
Clasp Slippage
If your jump ring keeps pulling open, you are likely using standard round wire jump rings. For a secure finish on a morse code necklace, always use soldered jump rings or oval-shaped jump rings, which distribute tension away from the split.
By mastering these precise techniques, your morse code necklace DIY project will transcend a simple craft and become a lasting, professional-grade piece of personalized jewelry.