Necklace Beads DIY: Step-by-Step Gemstone Wire & Crimp Guide
Learn professional necklace beads DIY techniques. This step-by-step guide covers 49-strand wire, crimping, and gemstone tension management.

Why Most DIY Beaded Necklaces Fail (And How to Fix It)
If you have ever experienced the heartbreak of a shattered gemstone necklace snapping and scattering across a hardwood floor, you already know the limitations of basic stringing materials. When exploring a necklace beads DIY project, most beginners default to elastic cords or cheap nylon threads. While these materials are fine for lightweight glass beads or casual bracelets, they are a structural liability for heavy semi-precious gemstones. Elastic degrades when exposed to UV light and skin oils, while monofilament nylon suffers from micro-fractures at the crimp site due to bending stress.
To create heirloom-quality, professional-grade beaded jewelry, you must upgrade your structural foundation. This guide will walk you through the exact material science, tooling, and step-by-step assembly required to build a durable, high-end gemstone necklace using 49-strand stainless steel micro-wire and professional crimping techniques. By the end of this tutorial, your handmade pieces will rival the structural integrity of fine jewelry store displays.
The Material Science of Beading Wire
Not all beading wires are created equal. The gold standard for heavy gemstone necklaces is 49-strand stainless steel wire encased in a nylon sheath. According to manufacturing specifications from Beadalon, a 49-strand wire offers superior drape and flexibility compared to 19-strand or 7-strand alternatives. The higher strand count means the wire can bend repeatedly without suffering metal fatigue, which is the primary cause of wire snapping near the clasp.
For standard 8mm gemstone beads with 1mm drilled holes, a 0.018-inch (0.46mm) diameter wire is the optimal choice. It provides enough tensile strength to support up to 4 ounces of bead weight while remaining thin enough to pass through the bead holes twice—a necessity for certain finishing techniques. If you are using heavy, large-hole focal beads like 14mm turquoise or agate, you can step up to a 0.024-inch thickness, provided the bead holes are reamed to at least 1.2mm.
The Beading Wire Thickness Matrix
| Wire Type | Strand Count | Diameter | Best Use Case |
|---|---|---|---|
| Standard | 7-Strand | 0.012" - 0.018" | Lightweight seed beads, pearls, temporary stringing |
| Professional | 19-Strand | 0.015" - 0.024" | Medium-weight crystal, glass, and small gemstones |
| Master | 49-Strand | 0.012" - 0.030" | Heavy semi-precious stones, high-drape necklaces, daily wear |
Essential Tools for Professional Crimping
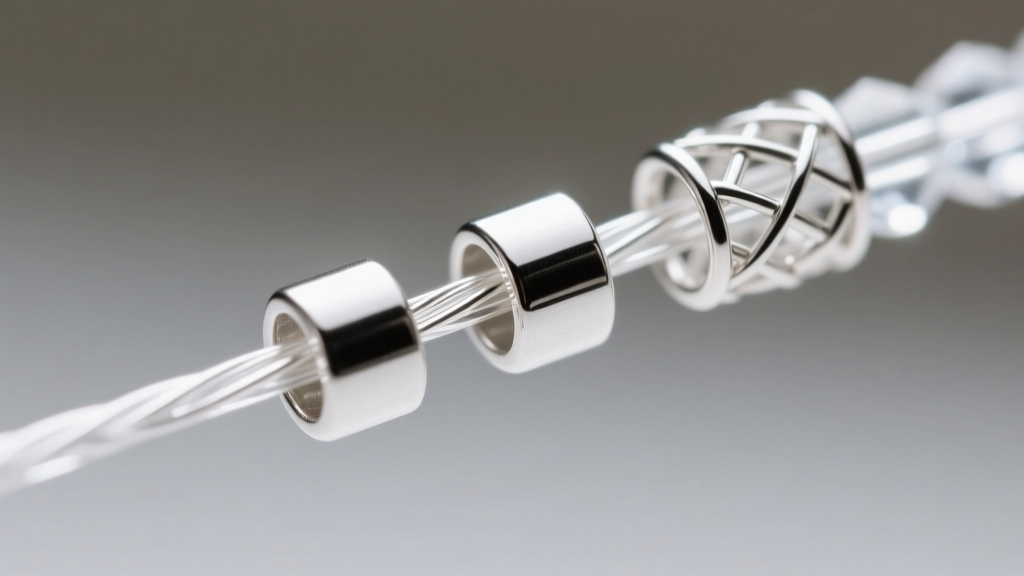
Before you begin your necklace beads DIY assembly, gather the correct hardware. Avoid round crimp beads; they tend to split unevenly under pressure. Instead, use 2x2mm sterling silver crimp tubes. Tubes offer a larger surface area for the wire to grip and fold cleanly. You will also need wire guardians (also known as French wire or wire protectors), which are tiny horseshoe-shaped metal findings that protect the steel wire from sawing against the clasp ring during wear.
Your most critical tool is a pair of micro-crimping pliers. Unlike standard flat-nose pliers that simply smash the tube, crimping pliers feature two precision-machined notches designed to fold the metal tube into a secure, rounded bead shape. Sourcing high-quality findings from reputable suppliers like Fire Mountain Gems ensures your sterling silver components won't tarnish prematurely or crack during the folding process.
Step 1: Design and Sizing on a Bead Board
Never string directly from your bead stash. Use a flocked bead board with measurement channels to lay out your design. For a standard 18-inch princess-length necklace, account for the 1/2-inch taken up by the clasp and crimp hardware. If you are mixing gemstones, pay close attention to the GIA Gem Encyclopedia Mohs hardness scale. Mixing a hard quartz (Mohs 7) directly next to a softer turquoise (Mohs 5-6) will result in the quartz acting like a drill bit, slowly reaming out the turquoise over time. Always separate stones of varying hardness with 2mm metal spacer beads or soft leather washers.
Step 2: The First Clasp and Wire Guardians
Cut a 24-inch length of 49-strand wire (always leave 6 inches of excess for handling). Thread the wire through a 2x2mm crimp tube, then through the loop of your wire guardian, and finally back down through the crimp tube. Slide the wire guardian up so it rests against the crimp tube, forming a neat, protected loop. Hook your lobster clasp or spring ring onto the wire guardian.
Now, use your crimping pliers. Place the crimp tube in the U-shaped notch (the one closest to the handle) and squeeze firmly. This creates a channel inside the tube, separating the two parallel wires. Next, move the tube to the oval notch (closest to the tip) and squeeze again, folding the U-shape in on itself to create a tight, rounded bead. Tug the clasp firmly to test the grip. If the wire slips, discard the crimp and start over.
Step 3: Stringing and Managing Tension
Begin threading your gemstone beads according to your bead board layout. As you string, the most common mistake is pulling the wire drum-tight. A beaded necklace requires slack. If the wire is completely rigid, it cannot bend when the wearer moves, forcing all the kinetic stress directly onto the crimp point. This will eventually cause metal fatigue and a catastrophic snap.
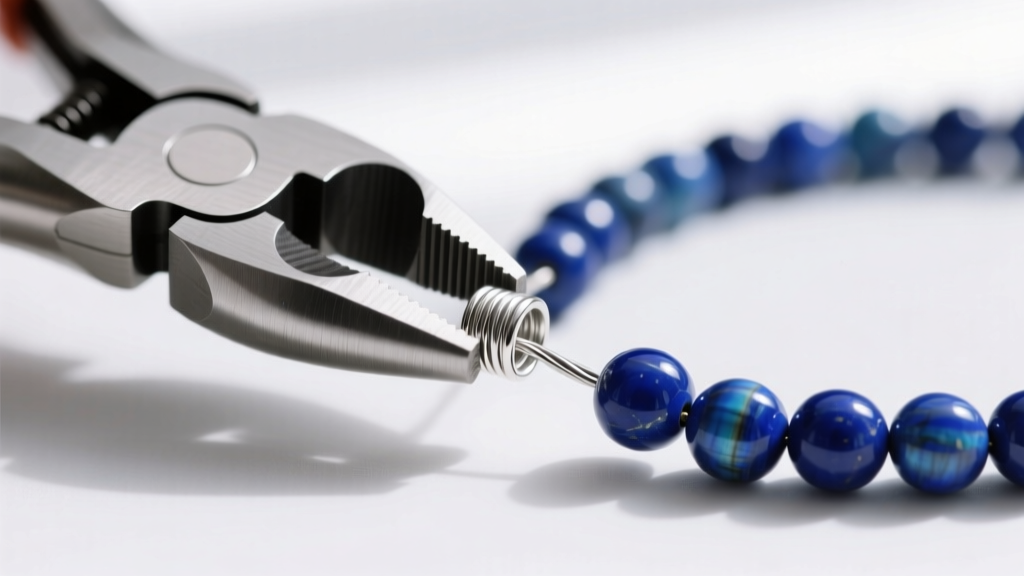
To achieve the perfect drape, string your beads while the necklace is resting in the curved channel of your bead board. The natural curve of the board mimics the curve of the human neck. Ensure the beads can slide back and forth on the wire by about 1 to 2 millimeters per every 10 inches of length. This micro-slack allows the necklace to flex organically.
Step 4: The Final Crimp and Tension Check
Once all beads are strung, thread the tail end through your second wire guardian, attach the corresponding jump ring or clasp component, and thread the wire back through the final crimp tube. Before crimping, use a pair of flat-nose pliers or a specialized bead stopper to pull the tail wire taut, removing any large gaps, but remember to preserve that crucial micro-slack.
Perform the two-step crimping process exactly as you did on the first side. Once secured, use flush cutters to trim the excess tail wire as close to the crimp tube as possible. For a flawless finish, you can slide a 3mm crimp cover over the folded tube and squeeze it shut with the rounded tips of your crimping pliers, disguising the hardware as a seamless metal bead.
Pro Tips for Gemstone Care and Maintenance
Even with professional 49-strand wire and perfect crimps, a necklace beads DIY project requires proper aftercare. Store your finished necklace flat or hanging vertically to prevent kinking the steel core. Never wear gemstone necklaces in chlorinated pools or hot tubs; while the stainless steel wire is highly resistant to corrosion, the chlorine can permanently etch porous stones like malachite, opal, and turquoise. By mastering these structural fundamentals, you elevate your jewelry making from a casual craft to a professional-grade art form, ensuring your creations last a lifetime.


