How to Use a Necklace Layering Clasp for Tangle-Free Stacks
Learn how to use a necklace layering clasp to create tangle-free, perfectly spaced chain stacks. Discover types, materials, and styling tips.

The Secret to Perfect, Tangle-Free Necklace Stacks
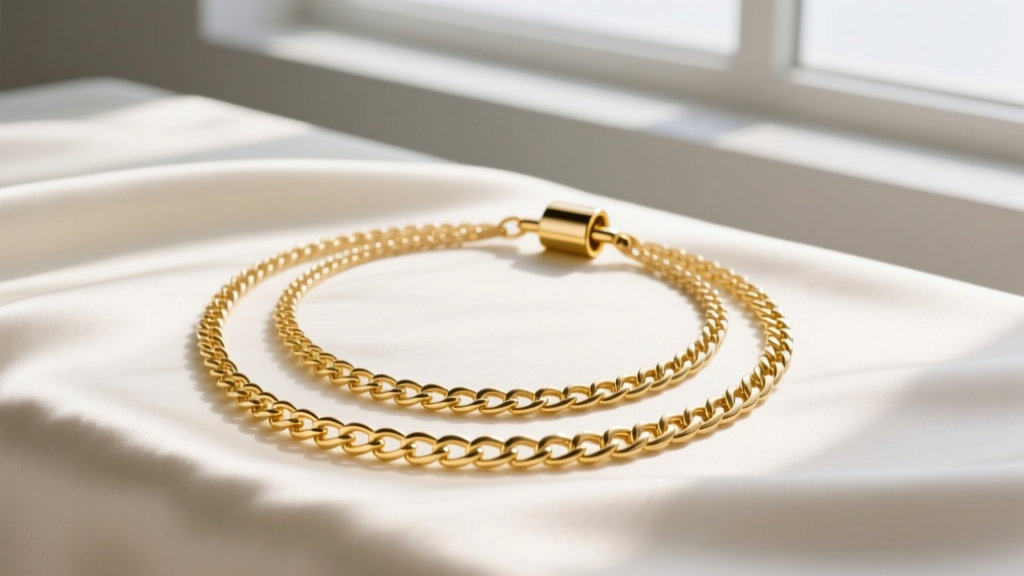
Layering necklaces is a cornerstone of modern jewelry styling, but anyone who has worn multiple chains knows the inevitable frustration of tangling. Within minutes, delicate cable chains and box chains can twist into an unmanageable knot. The solution is not just careful styling; it is structural. A necklace layering clasp (also known as a multi-strand clasp or layering connector) is a specialized jewelry finding designed to anchor multiple chains at a single point, enforcing strict spatial separation and eliminating the friction that causes knots. Whether you are building a curated everyday stack or a dramatic evening layer, understanding how to select, attach, and style these clasps is essential for both jewelry makers and collectors.
The Physics of Chain Tangling (And How Clasps Solve It)
To understand why a necklace layering clasp is necessary, we must look at the physics of chain friction. According to jewelry manufacturing principles outlined by Halstead Bead, chains tangle when their links are similarly sized and their lengths fall within a half-inch of one another. When worn, body heat, movement, and static electricity cause the links to interlock.
A layering clasp solves this by acting as a centralized anchor. By attaching chains of varying lengths to a single, rigid clasp body, you enforce a mandatory length delta—usually between 2 to 4 inches—between each strand. This physical barrier prevents the chains from crossing over one another at the nape of the neck, which is the primary origin point for tangles. Furthermore, high-quality layering clasps feature individual jump rings or integrated loops that allow each chain to pivot independently, reducing torsional stress on the delicate links.
Types of Necklace Layering Clasps: A Comparative Guide
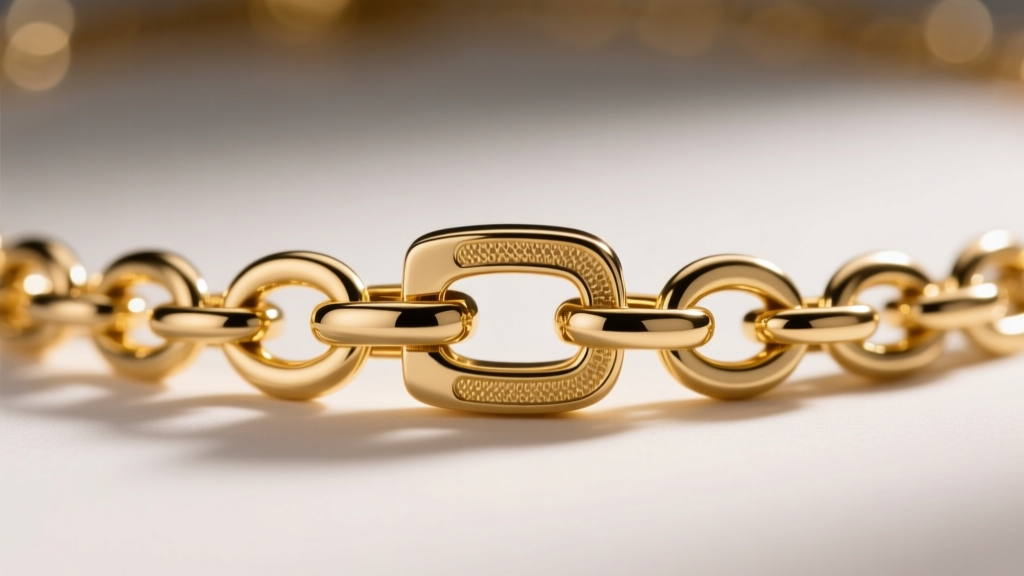
Not all layering clasps function the same way. The mechanism you choose will dictate the security, ease of use, and aesthetic of your stack. Below is a breakdown of the most common mechanisms used in fine and fashion jewelry.
| Clasp Type | Mechanism | Security Level | Best For | Drawbacks |
|---|---|---|---|---|
| Magnetic Tube | N52 Neodymium magnets encased in metal tubes | Medium | Everyday wear, users with limited dexterity | Can pull fine hair; may detach if pulled sharply |
| Slide Lock | Interlocking grooved tubes that slide and click | Very High | Heavy chains, multi-strand statement pieces | Bulkier profile; requires two hands to fasten |
| Bayonet / Snap | Spring-loaded pin that clicks into a hollow tube | High | Sleek, minimalist stacks, fine jewelry | Internal springs can wear out over years of use |
| Lobster Cluster | Multiple lobster clasps attached to a single ring | High | DIY layering, interchangeable charm stacks | High tangling risk at the clasp site; bulky |
Material Grades and Metallurgy: What to Look For
When investing in a necklace layering clasp, the base metal and plating thickness are critical for longevity. The clasp bears the tensile load of multiple chains, meaning it undergoes more stress than a standard single-chain clasp.
- Solid 14k or 18k Gold: The gold standard for fine jewelry. Solid gold will not tarnish and can withstand the friction of daily wear. Look for 14k (58.5% pure gold) for the best balance of durability and color, as 24k gold is too soft for clasp mechanisms.
- Gold Vermeil: A step above standard plating, vermeil requires a sterling silver (925) base with a minimum of 2.5 microns of gold plating. This is ideal for medium-weight stacks, but the friction of sliding tubes can eventually wear through the plating over several years.
- 316L Surgical Stainless Steel: Highly recommended for budget-friendly or heavy-duty layering. 316L steel is hypoallergenic, highly resistant to tarnish, and possesses a tensile strength that far exceeds brass or copper alloys. According to material guidelines from Rio Grande, 316L is the preferred metal for structural jewelry findings that require high durability.
Matching Chain Thickness to Clasp Jump Rings
A common beginner mistake is buying a clasp with jump rings that are too small for the chain's end loops. You must measure the Inner Diameter (ID) of the clasp's jump ring. If you are attaching a 1.5mm cable chain, the end loop of the chain typically requires a jump ring with an ID of at least 2.0mm. Furthermore, the wire gauge of the jump ring itself should be 18-gauge (1.0mm thick) or 16-gauge (1.3mm thick) to prevent the ring from pulling open under the combined weight of three or four chains.
Step-by-Step: Attaching Your Chains to the Clasp
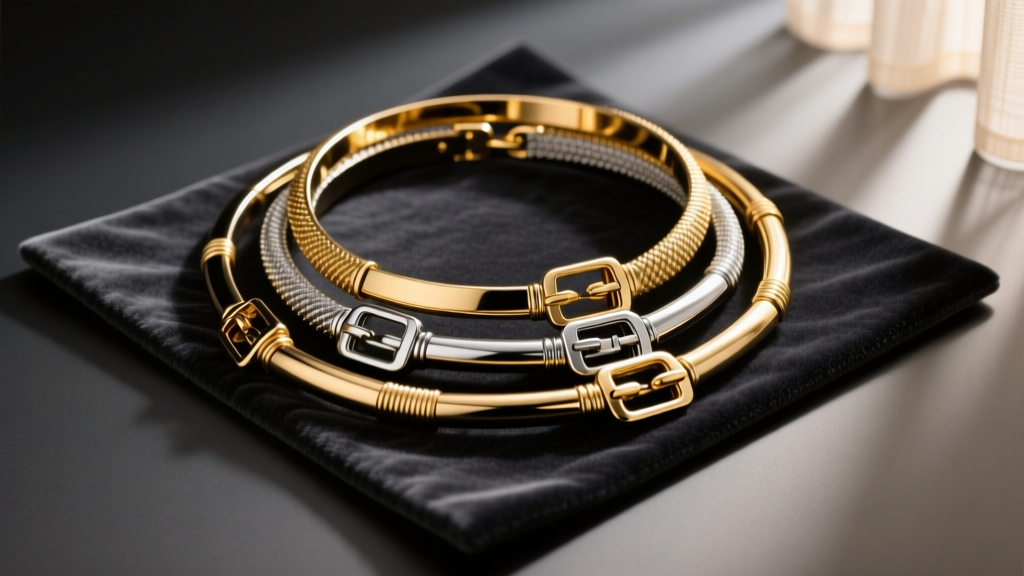
Proper assembly ensures your stack remains secure. Never use flat-nose pliers on jump rings, as they will mar the metal and weaken the structural integrity. Instead, follow this professional method:
- Prepare Your Tools: You will need two pairs of chain-nose pliers (which have smooth, rounded jaws to prevent scratching) and your assembled layering clasp.
- Open the Jump Ring Correctly: Grip the jump ring with one pair of pliers on each side of the split. Twist one hand toward you and the other away from you in a lateral motion. Never pull the ring apart outward, as this distorts the perfect circle and weakens the metal.
- Thread the Chains: Slide the end loop of your first chain onto the jump ring. Repeat for the second and third chains, ensuring they are seated fully at the bottom of the ring.
- Close the Ring: Reverse the twisting motion to close the ring. Push the ends slightly past each other and then back to center to ensure a flush, seamless closure. You should hear or feel a faint 'click' when the metal ends align perfectly.
Pro Tips for Spacing and Styling Your Stack
The visual success of a layered necklace stack relies entirely on the spacing enforced by your necklace layering clasp. To achieve a balanced, cascading effect, adhere to the standard jewelry length categories as defined by the Gemological Institute of America (GIA):
The 2-Inch Rule: Always maintain a minimum 2-inch difference between layered chains. A classic, foolproof stack attaches a 14-inch choker, a 16-inch princess chain, and an 18-inch matinee chain to a 3-strand layering clasp. This guarantees that pendants or chain textures do not overlap and compete for visual attention.
Finally, consider the visual weight of the clasp itself. If you are wearing the clasp at the front of the neck as a decorative element (a popular trend for magnetic tube clasps), choose a clasp with textured detailing, milgrain edges, or small pavé diamond accents to integrate it seamlessly into your design. If the clasp is meant to sit hidden at the nape of the neck, opt for a minimalist, polished bayonet or slide-lock mechanism that won't catch on your hair or clothing.
Troubleshooting Common Clasp Failures
Even high-quality clasps can experience issues. If your magnetic clasp feels weak, it is likely that microscopic metal dust or makeup residue has accumulated on the magnet face; wipe it with a microfiber cloth and a touch of rubbing alcohol. If a slide-lock mechanism becomes stiff, a microscopic drop of synthetic watch oil applied to the inner groove with a pin will restore smooth operation. By maintaining your hardware and respecting the physics of chain layering, your necklace stacks will remain elegant, secure, and entirely tangle-free.


