How to Choose and Use a Necklace Mirror for Perfect Styling
Learn how to choose, set up, and use a dedicated necklace mirror to master pendant placement, chain layering, and neckline matching.

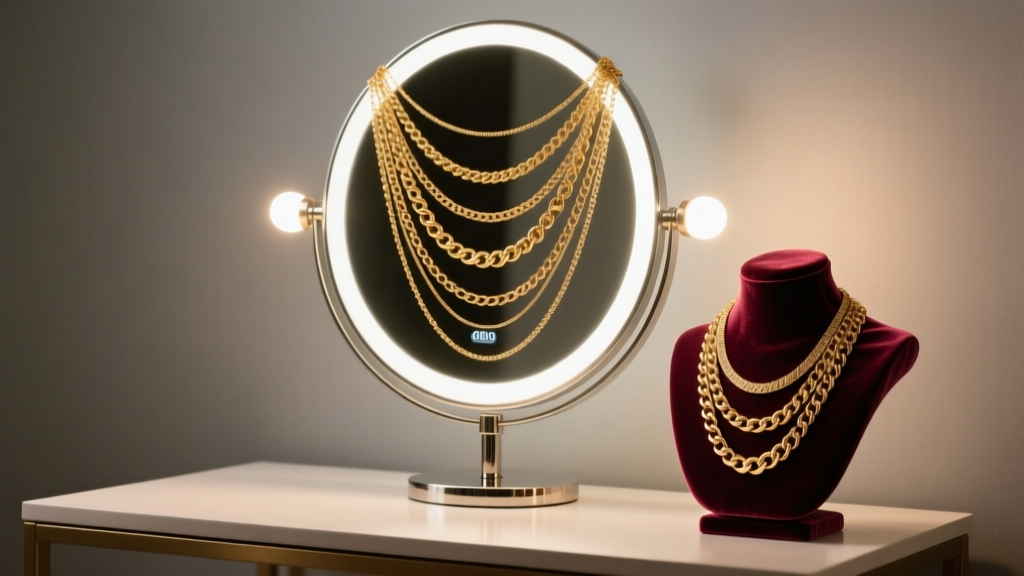
The Anatomy of a True Necklace Mirror
When curating a jewelry collection, the way you view your pieces is just as critical as the pieces themselves. A standard bathroom or bedroom wall mirror is typically mounted with its center at 60 inches from the floor. For the average user, this completely cuts off the decolletage zone—the crucial area from the hollow of the throat to the sternum where necklaces and pendants actually live. A dedicated necklace mirror solves this optical blind spot. Unlike standard vanity mirrors, a true necklace mirror features an articulating friction-hinge frame that allows for a 15- to 30-degree downward tilt, bringing the reflection of your chest and neckline into perfect, unobstructed focus without forcing you to crane your neck or step back several feet.
In 2026, the trend of intricate, multi-chain layering and mixed-metal styling demands absolute precision. If you are trying to balance a 14-inch choker with a 22-inch matinee chain, you need a mirror that captures the entire cascade in a single glance. Furthermore, the glass quality matters immensely. Standard float glass contains iron impurities that impart a subtle green tint, which can distort the perceived hue of rose gold and muddy the brilliance of emeralds or peridots. High-end necklace mirrors utilize 1/4-inch thick low-iron glass (often branded as Starphire or ultra-white glass) to ensure true color transmission, a standard heavily recommended by the American Gem Society (AGS) for accurate gemstone evaluation.
Setting Up Your Lighting for Accurate Metal Rendering
The most expensive necklace mirror in the world will fail you if it is placed under poor lighting. To accurately judge the undertones of your jewelry—especially when mixing yellow gold, white gold, and platinum in a single layered look—you must control the Color Rendering Index (CRI) and the color temperature of your light source.
- Color Temperature (Kelvin): Aim for 4000K (neutral white). Warm light (2700K) will make silver and platinum look dull and artificially yellow, while cool daylight (5000K+) will wash out the rich warmth of 18k yellow gold.
- CRI Rating: Your vanity bulbs or integrated LED strips must have a CRI of 95 or higher. The Gemological Institute of America (GIA) emphasizes that high CRI lighting is essential for revealing the true fire and scintillation of diamond pendants and the subtle color zoning in sapphires.
- Placement: Position two light sources at 45-degree angles to the left and right of your necklace mirror. This cross-illumination eliminates harsh shadows under the chin and ensures that the facets of your pendants catch the light exactly as they will in natural, ambient environments.
Step-by-Step: Mastering the Layering Cascade
Layering necklaces is an exercise in spatial geometry. The most common mistake is choosing chains that are too close in length, causing them to tangle and compete visually rather than cascade. Use your necklace mirror to verify the 'Drop Gap'—the vertical space between the bottom of one chain and the top of the next.
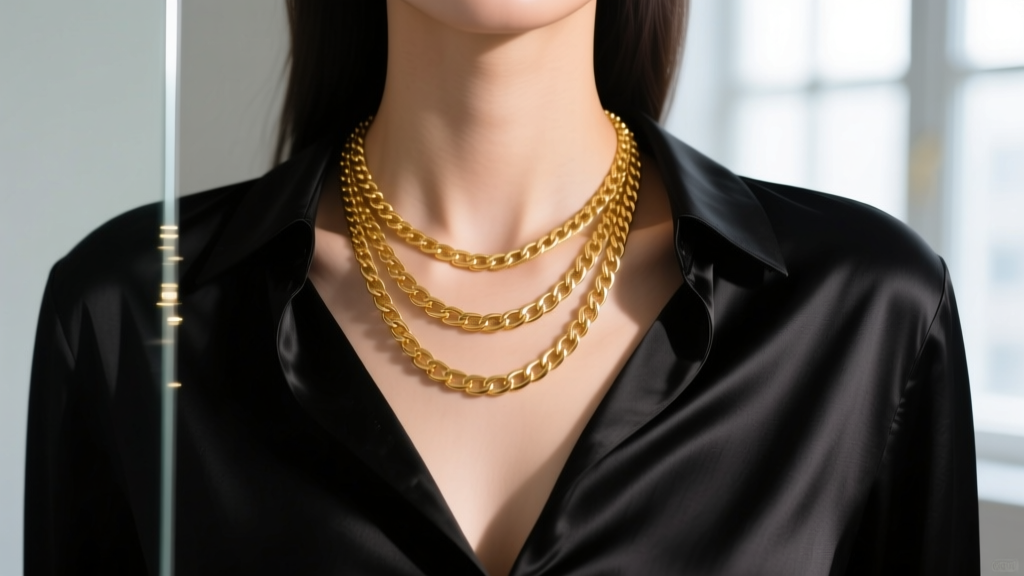
The 2-Inch Rule
Stand exactly 18 inches from your tilted necklace mirror. This is the standard focal distance for vanity tasks. When testing a three-chain stack, ensure there is a minimum of 2 inches of bare skin (or fabric) visible between each chain. For example, a classic 2026 layering stack might include:
- Layer 1 (The Anchor): A 14-inch or 15-inch collar chain (e.g., a 2mm herringbone or snake chain) that sits snugly at the base of the neck.
- Layer 2 (The Princess): An 18-inch chain featuring a small, solitaire gemstone pendant. This should hit precisely at the collarbone.
- Layer 3 (The Matinee): A 22-inch or 24-inch rope or cable chain with a heavier, statement pendant that rests on the upper sternum.
By tilting your necklace mirror downward at a 20-degree angle, you can look straight ahead into the glass and see all three layers in their natural hanging position, simulating exactly how others will perceive your styling when you are seated across from them at a table.
Pendant Placement and Neckline Matching
A pendant is only as good as its relationship to your clothing's neckline. Your necklace mirror is the ultimate tool for troubleshooting these pairings. Below is a quick-reference framework to use while adjusting your chains in the mirror.
| Neckline Type | Ideal Chain Length | Mirror Tilt Angle | Styling Objective |
|---|---|---|---|
| Crew Neck | 20" - 24" | 15 Degrees | Pendant must rest entirely below the fabric collar to avoid a cluttered look. |
| V-Neck | 18" - 20" | 20 Degrees | Chain should mirror the V-shape; pendant should sit 1 inch above the fabric plunge. |
| Sweetheart | 16" - 18" | 25 Degrees | Keep the chain short so the pendant floats in the negative space above the bodice. |
| Turtleneck | 24" - 30" | 10 Degrees | Long, heavy pendants are required to break up the solid block of fabric. |
Troubleshooting Common Mirror Issues
Even with a premium setup, you may encounter visual anomalies when evaluating your jewelry. Here is how to troubleshoot the most frequent issues using your necklace mirror station.
Glare and Gemstone Washout
If your diamond or moissanite pendants look like flat, white circles in the reflection, your lighting is too direct and your mirror angle is too steep. Tilt the mirror back by 5 degrees and dim your vanity lights by 20%. Diamonds require contrast—areas of light and dark—to exhibit scintillation. A perfectly flat, brightly lit reflection will actually hide the stone's brilliance.
Chain Kinking and Distortion
When examining delicate chains (like 24-gauge or 26-gauge cable chains), cheap mirrors with warped glass or uneven silver backing will make the chain look kinked or bent even when it is perfectly straight. To test your mirror's optical flatness, hold a perfectly straight metal ruler against the glass. If the reflection of the ruler bows or warps, the glass is bowed, and you cannot trust it for evaluating the drape of fine, lightweight chains.
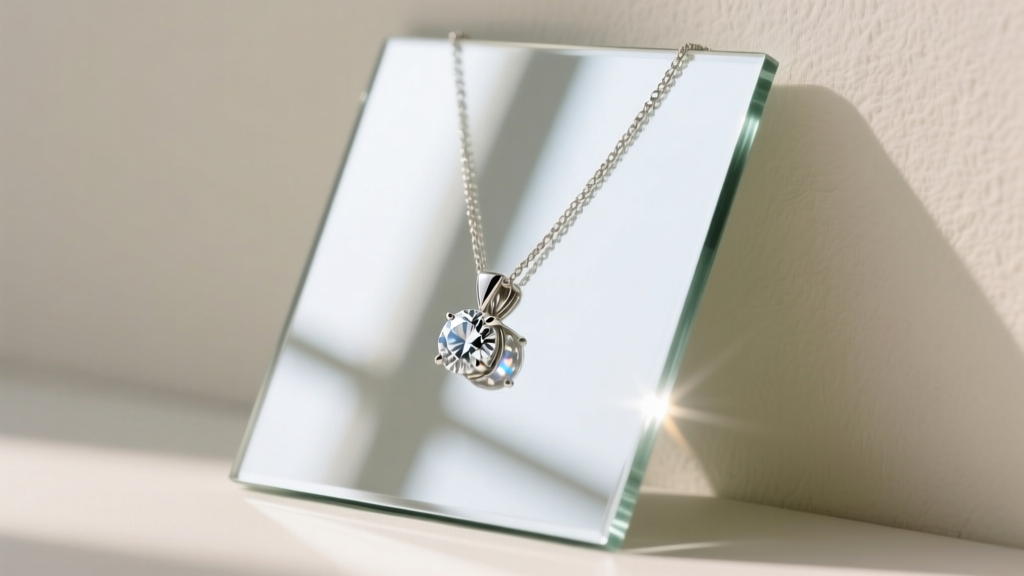
Hardware and Hinge Maintenance
The friction torque hinges that allow a necklace mirror to hold its tilt angle can loosen over time due to the weight of the glass and frame. If your mirror slowly droops while you are trying to adjust a clasp, locate the tension screws on the lateral pivot points. Using a standard Phillips-head screwdriver, turn the screws clockwise by exactly one-quarter turn. Test the tension. Over-tightening will strip the internal nylon washers, rendering the hinge useless.
Final Thoughts on Your Styling Station
Investing in a high-quality necklace mirror transforms the daily ritual of choosing jewelry from a frustrating guessing game into a precise, enjoyable styling session. By prioritizing low-iron glass, securing a 4000K high-CRI lighting environment, and utilizing the downward tilt to map out your layering gaps, you ensure that every pendant, choker, and chain sits exactly where it was designed to. Whether you are preparing for a formal gala or simply refining your everyday mixed-metal stack, the right mirror is the unsung hero of flawless jewelry presentation.


