Necklace Rack DIY: Troubleshooting Tangles, Tarnish, and Weight
Build the perfect necklace rack DIY project. Troubleshoot common storage issues like chain tangling, metal tarnish, and structural sagging with expert tips.

The Hidden Dangers of Standard DIY Necklace Storage
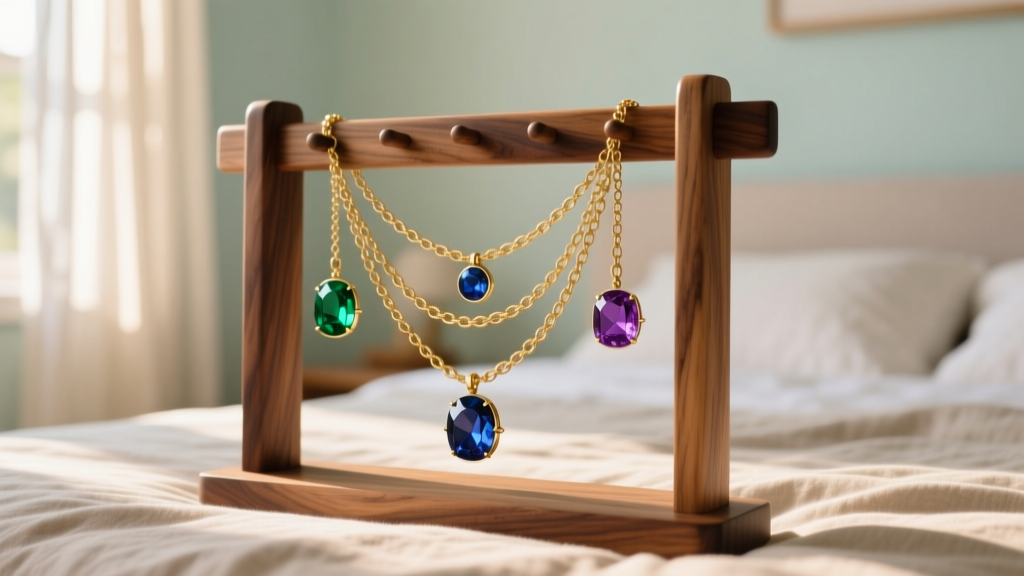
When you search for a necklace rack DIY project, most results focus purely on aesthetics: driftwood branches, painted mason jars, or repurposed picture frames. While visually appealing, these generic tutorials completely ignore the material science and physics required to safely store fine jewelry. As a result, countless DIYers unknowingly build storage solutions that cause micro-scratches on gold, accelerate silver tarnish, and ultimately fail under the dynamic weight of heavy pendants. Troubleshooting a DIY jewelry rack requires shifting your perspective from simple woodworking to archival-grade jewelry preservation. This guide will walk you through the exact failure modes of standard DIY necklace racks and provide engineering-level solutions to protect your collection.
Troubleshooting Issue 1: The Micro-Scratch and Tarnish Trap
Wood is not an inert material; it is a complex matrix of cellulose, lignin, and extractives. Many popular DIY woods, particularly Red Oak and Cedar, contain high levels of tannic acid and natural oils. When exposed to ambient humidity, these woods off-gas acidic vapors. According to The Wood Database, acidic off-gassing can rapidly accelerate the formation of silver sulfide, the black tarnish that plagues sterling silver chains. Furthermore, raw, unsanded wood fibers act like microscopic sandpaper against soft metals like 24k gold and high-polish platinum.
Material Compatibility Chart for DIY Racks
| Base Material | Acidity / Off-Gassing | Structural Integrity | Required Treatment |
|---|---|---|---|
| Red Oak / Cedar | High (Tannic Acid) | Excellent | Must seal with water-based polycrylic; avoid oil-based polyurethane. |
| Poplar / Maple | Low (Neutral) | Good to Excellent | Light sanding (400-grit) and micro-crystalline wax finish. |
| MDF (Particle Board) | High (Formaldehyde) | Poor (Low screw withdrawal) | Not recommended for heavy lockets; requires edge banding and sealing. |
| Cast Acrylic | None (Inert) | Moderate (Brittle under shear) | Flame-polished edges; use specialized acrylic adhesives for hooks. |
Hook Metals and Galvanic Corrosion
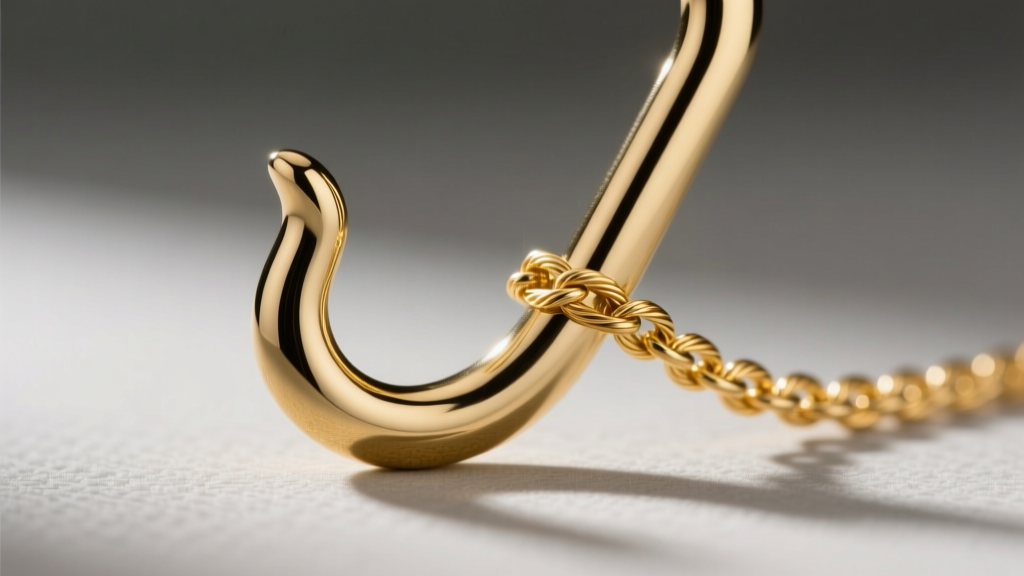
The hooks you choose are the primary point of contact with your jewelry. Standard hardware store hooks are typically made of zinc-plated steel or raw brass. When a steel hook comes into contact with a sterling silver chain in a humid environment, it creates a galvanic cell. This electrochemical reaction causes rapid, localized corrosion on your silver. The Gemological Institute of America (GIA) emphasizes that improper storage materials are a leading cause of accelerated silver degradation. To solve this, purchase solid brass or stainless steel hooks, and dip the contact points in a clear, jewelry-safe Plasti Dip or brush on a thin coat of water-based polyurethane. This creates a dielectric barrier, preventing galvanic corrosion and eliminating the risk of micro-scratches on delicate 0.9mm cable chains.
Troubleshooting Issue 2: Chain Tangling and Gravity Sag
Nothing is more frustrating than returning home to find your necklaces tangled into an inseparable knot. This is not bad luck; it is basic physics. When hooks are placed too closely together, the ambient vibrations in your home (from walking, closing doors, or HVAC systems) induce a pendulum effect in the hanging chains. If the swing arcs overlap, the chains will inevitably braid themselves together.
Calculating Hook Spacing for Different Chain Gauges
To troubleshoot tangling, you must calculate the exact hook spacing based on the chain gauge and the pendant's center of gravity. A delicate 1mm chain behaves very differently than a rigid 5mm Cuban link.
- Delicate Chains (0.8mm - 1.5mm): Require a minimum of 2.5 inches between hooks. Because they are highly flexible, they are prone to wrapping around adjacent chains if the air currents shift them.
- Medium Chains (2.0mm - 3.5mm): Require 3.5 to 4 inches of spacing. The added weight of the metal provides some dampening against minor vibrations, but the links can still interlock if crowded.
- Heavy/Chunky Chains (4.0mm+): Require 5+ inches of spacing. These chains act as rigid pendulums and can physically strike and scratch adjacent jewelry if they swing into one another.
Pro Troubleshooting Tip: If you lack the horizontal wall space for proper spacing, stagger your hooks vertically. By dropping every second hook down by 4 inches, you create a zig-zag pattern that completely eliminates the overlapping swing arcs, effectively doubling your storage capacity without increasing the tangling risk.
Troubleshooting Issue 3: Structural Failure Under Heavy Pendants
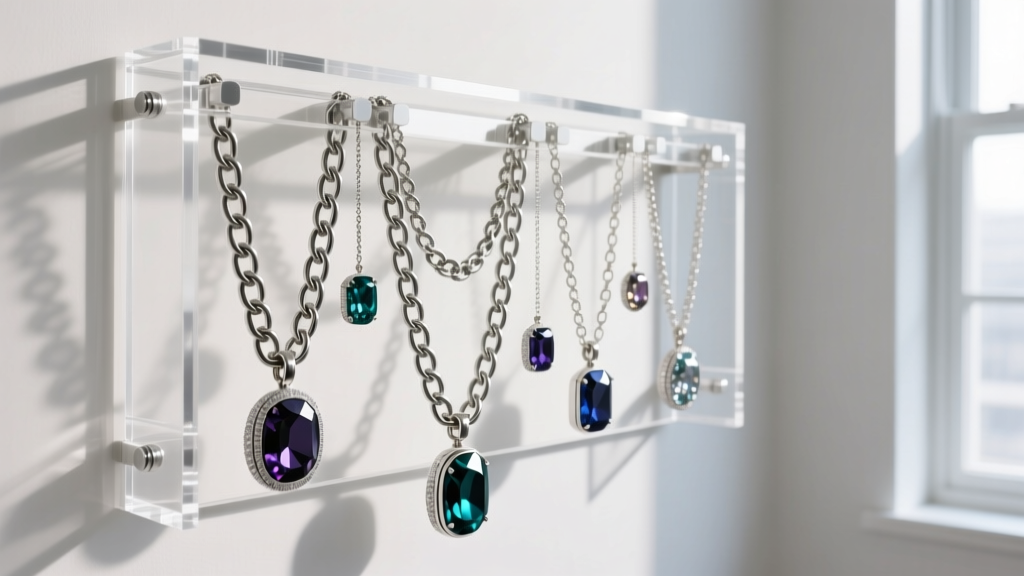
A common failure point in DIY necklace racks is the structural tear-out of the hooks. Many DIYers use lightweight MDF or thin pine boards, securing the hooks with the short, 1/2-inch screws provided in the hardware packaging. While this might hold a few lightweight chains, it will catastrophically fail under the dynamic load of heavy jewelry.
Consider a vintage 50-gram gold locket on a thick chain. The static weight is roughly 1.7 ounces. However, the dynamic load—the force applied when you lift the necklace off the hook or when the necklace swings and stops abruptly—can multiply that force by three or four times. In MDF, the screw withdrawal strength is notoriously low (often under 60 lbs per screw). Over time, the cyclic loading will elongate the pilot hole, causing the hook to rip out of the board, potentially taking the necklace down with it and damaging the clasp.
The Solution: Threaded Inserts and Hardwoods
To build a truly heavy-duty DIY rack, abandon wood screws entirely for the hook attachments. Instead, drill precise pilot holes and install brass threaded inserts into a solid hardwood backing (like Maple or Walnut). You can then screw machine-threaded hooks into the inserts. This distributes the shear force across the entire length of the insert's external threads, increasing the pull-out strength to over 300 lbs per hook. This ensures your rack can safely support the heaviest statement pieces and solid gold lockets without any structural degradation.
Step-by-Step: The Anti-Tarnish, Heavy-Duty DIY Build
Ready to build a rack that solves all these issues? Follow this troubleshooting-approved framework:
- Select the Base: Choose a 3/4-inch thick piece of kiln-dried Maple or Poplar. Avoid reclaimed wood, as it may harbor hidden moisture, mold spores, or unknown chemical treatments.
- Sand and Seal: Sand the wood progressively up to 600-grit for a glass-smooth finish. Seal the wood with three coats of water-based polycrylic. Avoid oil-based finishes, as their prolonged solvent off-gassing can damage porous gemstones like pearls and opals.
- Install Threaded Inserts: Mark your hook locations using the spacing guidelines above. Drill the exact pilot hole size specified by your threaded insert manufacturer, and use a hex key to drive the brass inserts flush with the wood surface.
- Integrate Anti-Tarnish Tech: Route a shallow 1/4-inch channel along the bottom edge of the wood backing. Embed 3M Silver Protector Strips or activated charcoal jewelry sachets into this channel. This creates a localized micro-climate that neutralizes hydrogen sulfide in the air, keeping your silver brilliant for months longer.
- Mount Securely: Do not rely on drywall anchors alone. Locate the wall studs and use 2.5-inch structural wood screws to mount the rack directly into the framing, ensuring it can handle the lateral pull of removing heavy chains.
By approaching your necklace rack DIY project with an understanding of material chemistry, structural engineering, and physical dynamics, you transform a simple craft into a professional-grade archival storage system. Your jewelry will remain untangled, untarnished, and perfectly secure for years to come.