Necklace Stacker Buying Guide: Build The Perfect 2026 Layer
Master the art of layering with our 2026 necklace stacker buying guide. Discover anti-tangle chains, stacker clasps, and ideal length drops.

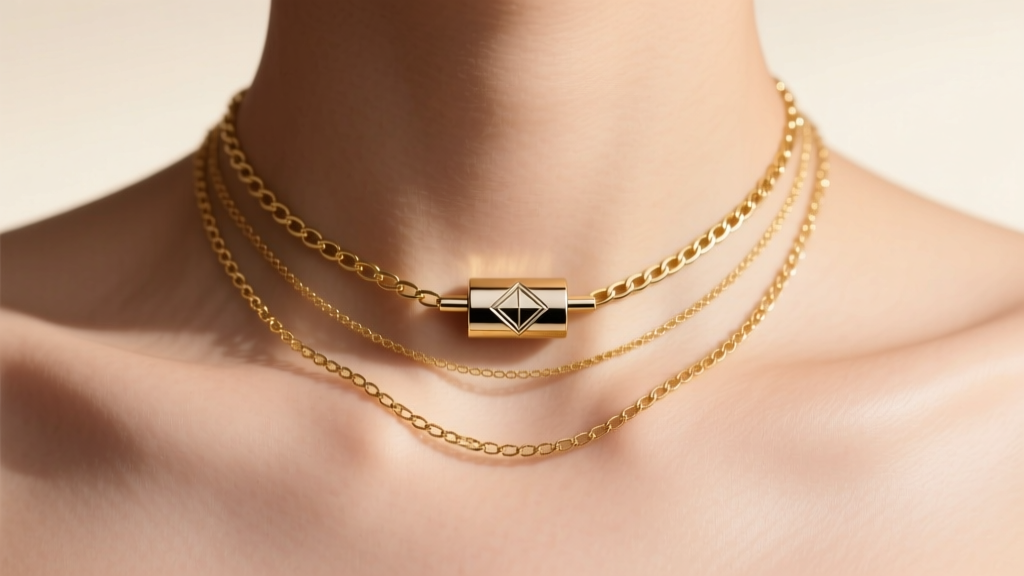
The Evolution of the Necklace Stacker
The era of haphazardly throwing three chains around your neck and hoping for the best is over. In 2026, the modern necklace stacker is an exercise in engineered jewelry design. Whether you are investing in a dedicated multi-strand stacker clasp or curating individual chains designed to interact without tangling, building a flawless layer requires a deep understanding of chain weaves, metallurgy, and spatial geometry. This comprehensive buying guide breaks down exactly what to look for when investing in necklace stacking hardware and foundational chains, ensuring your daily layers remain untangled, secure, and visually balanced.
Stacker Clasps vs. Traditional Layering Hardware
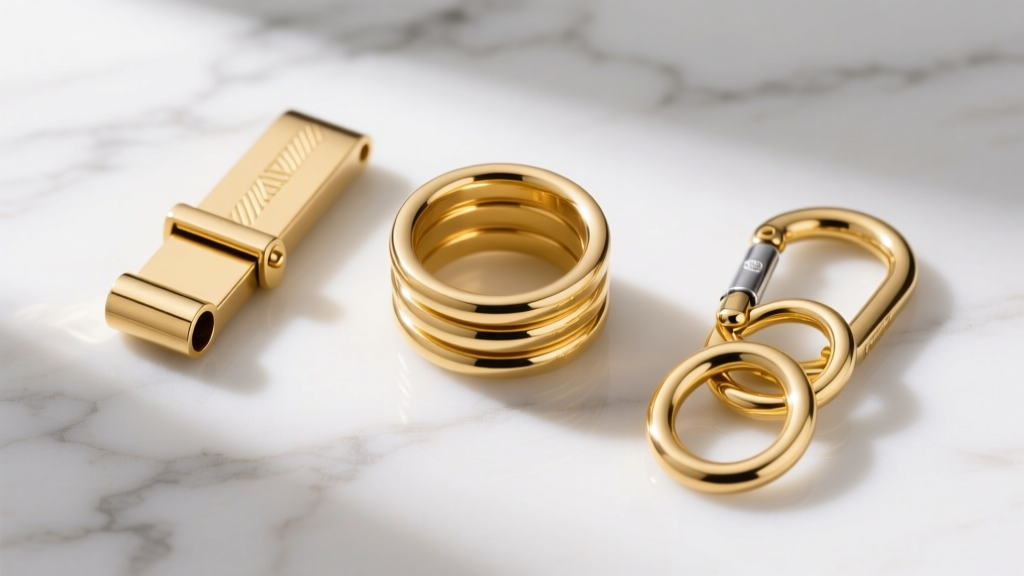
The most critical failure point in any layered look is the clasp. Traditional lobster clasps on multiple independent chains lead to the dreaded 'spin effect,' where the heaviest pendant pulls the chains apart, and the clasps migrate to the front of your collarbone. Enter the dedicated necklace stacker clasp—a unified hardware solution that anchors multiple chains at a single, secure point behind the neck.
When shopping for a stacker clasp, you will encounter three primary mechanisms. Here is how they compare in terms of security, ease of use, and pricing for solid 14k gold variants:
| Clasp Type | Security Rating | Best For | Avg. Price (14k Gold) |
|---|---|---|---|
| Magnetic Tube | Medium-High | Quick daily wear; 2-3 lightweight chains | $85 - $140 |
| Slide Lock (Multi-Row) | Very High | Heavy pendants; 3-5 chain stacks | $120 - $250 |
| Locking Carabiner | High | Modular stacking; swapping chains daily | $65 - $110 |
Pro Tip: If you opt for a magnetic tube stacker clasp, ensure it features an internal silicone grip ring. Cheap magnetic clasps rely solely on neodymium magnets, which can slide apart if caught on a sweater. A silicone friction ring adds the necessary mechanical resistance to keep the tube locked.
Chain Profiles: The Physics of Anti-Tangle Layering
Why do necklaces tangle? According to jewelry manufacturing standards outlined by Jewelers of America, tangling occurs when chains of similar weaves and gauges interact. The links essentially act like microscopic gears, catching and locking into one another through friction and movement. To build a successful necklace stacker setup, you must deliberately mix chain profiles and thicknesses.
The Golden Rule of Chain Mixing
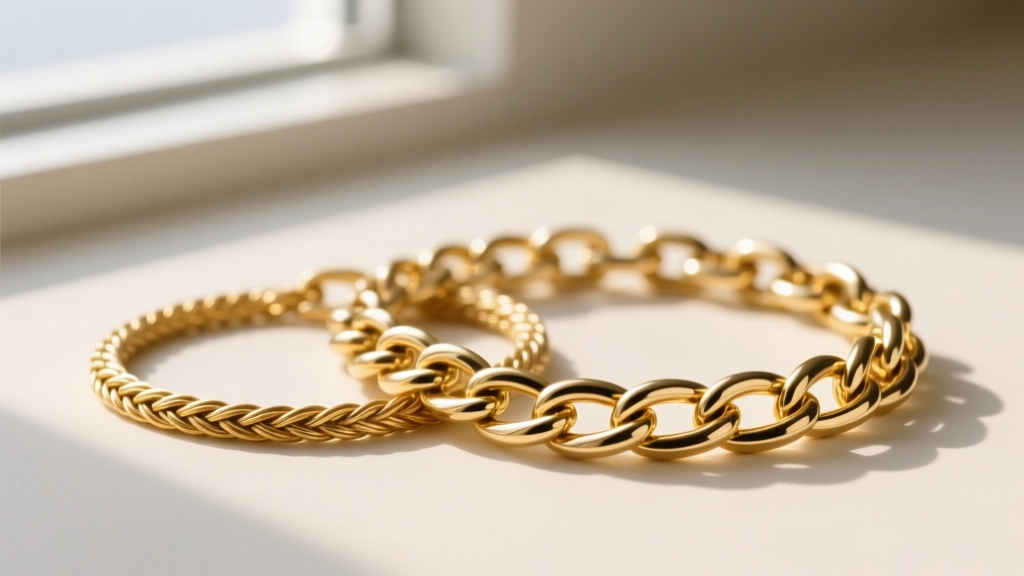
- The Base Layer (16-18 inches): Opt for a structured, rigid weave like a 3.0mm to 4.0mm Curb or Figaro chain. The flat, interlocking links lay flush against the skin and resist bending.
- The Middle Layer (18-20 inches): Choose a textured or rounded weave like a 2.0mm Rope or Wheat chain. The spiral geometry prevents the links from aligning with the base layer.
- The Top Layer (20-22 inches): Use a delicate, highly flexible 1.0mm to 1.5mm Cable or Box chain to hold your primary pendant. Box chains, with their square, geometric links, are virtually impossible to tangle with round cable weaves.
Metallurgy and Friction: 14k vs. 18k Gold for Stacking
When chains rub against each other daily in a stacker configuration, micro-abrasion occurs. Over a year, this friction can wear down soft metals, leading to weakened links and dull finishes. This is where understanding the Vickers hardness (HV) scale becomes crucial for the discerning buyer.
Pure 24k gold is far too soft for jewelry. 18k gold (75% pure gold) typically registers around 125 HV on the Vickers scale. While it offers a rich, buttery yellow hue, it is highly susceptible to scratching and link deformation when subjected to the constant friction of a three-chain stack. Conversely, 14k gold (58.5% pure gold, alloyed with copper, silver, and zinc) registers between 140 and 160 HV. As noted in jewelry care guidelines by the Gemological Institute of America (GIA), the higher alloy content in 14k gold not only changes the color but significantly increases its durability and resistance to wear. For a necklace stacker that will be worn daily, solid 14k gold is the superior metallurgical choice to preserve link integrity over time.
Never mix gold-filled or vermeil chains in a tight stacker configuration. The constant metal-on-metal friction will strip the microscopic outer gold layer within months, exposing the brass or silver core and causing irreversible tarnishing and skin discoloration.
The Mathematics of the Perfect Length Drop
A common mistake when buying chains for a stack is relying on standard retail increments without accounting for pendants. A pendant adds visual weight and physical length to a chain. To maintain distinct, non-overlapping layers, adhere to the 2.5-inch drop rule when a pendant is involved.
Ideal Length Configurations
- The 2-Chain Minimalist: 15-inch choker (no pendant) + 18-inch chain (with a 10mm pendant). The pendant bridges the visual gap, creating an illusion of a third layer.
- The 3-Chain Standard: 16-inch cable + 18.5-inch rope + 21-inch curb (with pendant). This ensures the pendant rests precisely on the sternum, while the upper chains frame the clavicle.
- The 4-Chain Maximalist: Requires a dedicated multi-row slide lock clasp to keep the back of the neck comfortable. Spacing should be exactly 2 inches apart (e.g., 15", 17", 19", 21") to prevent the chains from bunching at the nape of the neck.
Troubleshooting Common Stacker Failures
Even with the right hardware, stackers can fail if the finishing details are ignored. Before finalizing your purchase, inspect the following components:
1. Soldered vs. Open Jump Rings
The jump ring is the tiny circle of wire connecting your chain to the stacker clasp. If the jump ring is 'open' (meaning it has a visible slit where the wire ends meet), the lateral pull of a heavy stack will eventually pry it apart, resulting in a lost chain. Always demand laser-soldered jump rings on any chain intended for a multi-strand clasp.
2. Clasp Orientation and Weight Distribution
If your stacker clasp keeps sliding to the front of your neck, your chains are too light, or the clasp is too heavy. To counteract this, look for stacker clasps that feature a discreet, flat profile rather than bulky, cylindrical designs. Alternatively, add a small 2mm gold bead to the back center of your longest chain to act as a counterweight, anchoring the stack behind your neck.
Final Verdict: Investing in Your Stack
Building a premium necklace stacker setup is an investment in modular jewelry. By prioritizing 14k solid gold for friction resistance, mixing distinct chain weaves to defeat tangling physics, and utilizing a unified slide-lock or magnetic stacker clasp, you transition from merely wearing necklaces to curating a sophisticated, engineered aesthetic. Take the time to measure your exact neckline drops, verify the soldering on your jump rings, and enjoy the effortless elegance of a perfectly balanced 2026 stack.


