How to Organize Chains in a Jewelry Box with Necklace Hanger
Learn how to prevent tangling and tarnish with our step-by-step guide to organizing chains in a jewelry box with necklace hanger. Expert tips inside.

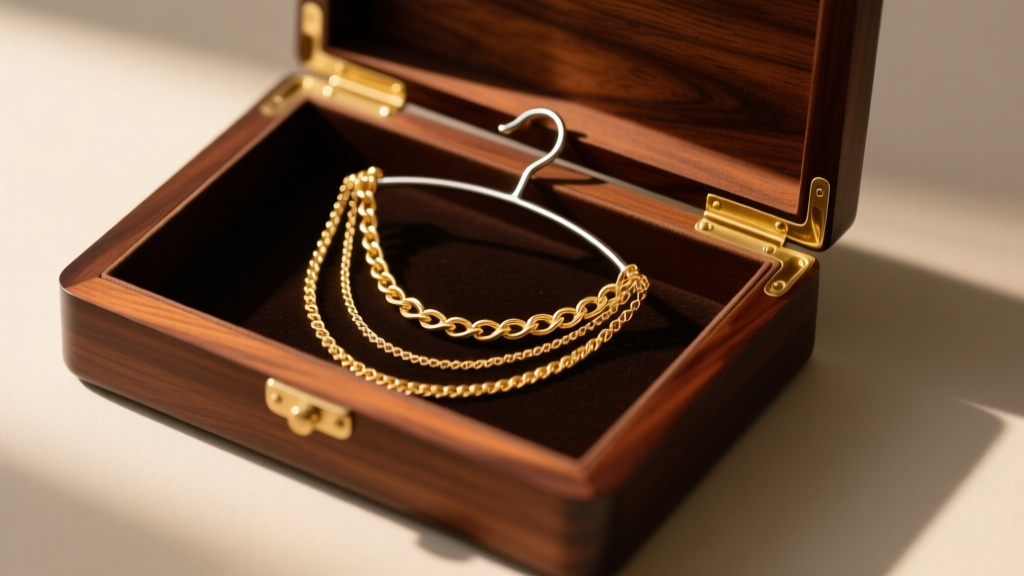
There is a specific kind of frustration known only to jewelry collectors: reaching into a drawer to pull out a delicate chain, only to find it hopelessly knotted with three others. The 'jewelry box knot' is not just an annoyance; it is a mechanical hazard. Forcing a tangled 14k gold cable chain or a sterling silver snake chain can lead to microscopic link fractures, kinking, and eventual breakage. The ultimate solution to this pervasive problem is upgrading your storage to a dedicated jewelry box with necklace hanger. However, simply tossing your necklaces onto random hooks is not enough. Proper organization requires an understanding of chain metallurgy, link geometry, and tarnish chemistry. This step-by-step guide will teach you how to audit, prep, and hang your necklace collection to guarantee zero tangles and maximum longevity.
The Physics of Necklace Tangling and Kinking
Before organizing your collection, it is vital to understand why certain necklaces tangle while others do not. Tangling is driven by friction, static electricity, and the geometric profile of the chain links. Chains with flat, interlocking links (like herringbone or omega) do not tangle easily, but they are highly susceptible to permanent kinking if bent past their natural curvature. Conversely, chains with loose, rounded links (like cable, rope, or box chains) are incredibly flexible but act like tiny grappling hooks when piled together, catching on one another and forming complex slipknots.
When you use a jewelry box with necklace hanger, you are leveraging gravity to keep the links aligned vertically, eliminating the lateral friction that causes knots. However, the spacing of the hooks and the weight of the pendants play a critical role in this mechanical system.
Step 1: Auditing Your Necklace Collection by Chain Type
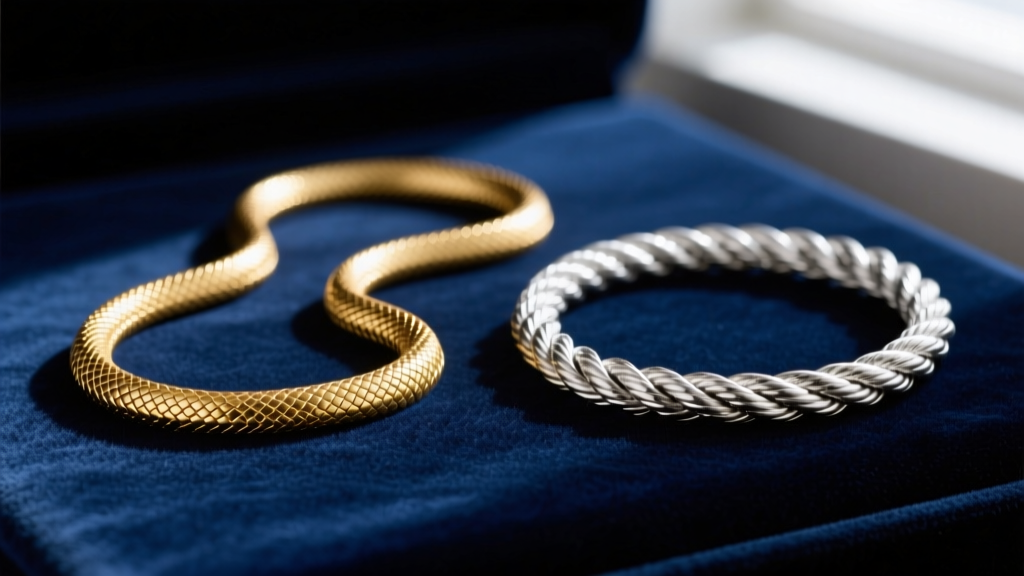
The first step in the organization process is auditing your collection. Not all chains can be treated equally. You must sort your necklaces based on their structural vulnerability and weight. Use the framework below to categorize your pieces before assigning them to specific hooks within your organizer.
| Chain Type | Link Structure | Tangle/Kink Risk | Hanger Requirement |
|---|---|---|---|
| Cable / Rolo | Round/Oval interlocking links | High Tangle Risk | Standard hook, 1.5" spacing minimum |
| Snake / Herringbone | Flat, tightly packed bands | High Kink Risk | Padded hook, must hang perfectly straight |
| Rope / Twist | Spiraled woven links | Medium Tangle Risk | Standard hook, avoid overcrowding |
| Box / Venice | Square geometric links | Low Tangle Risk | Reinforced hook if pendant is heavy |
| Omega | Solid metal plates over a core | Extreme Kink Risk | Wide, padded curve; never fold or pinch |
Step 2: Prepping Your Jewelry Box with Necklace Hanger
A common mistake is placing pristine necklaces into a new organizer without prepping the interior environment. The lining of your jewelry box with necklace hanger dictates the chemical stability of your metals. Sterling silver, in particular, reacts with sulfur and moisture in the air to form silver sulfide—the black compound we know as tarnish.
- Evaluate the Lining: Avoid cheap synthetic felts, which trap ambient moisture and accelerate oxidation. Look for boxes lined with Pacific Silvercloth (which contains microscopic silver particles that intercept sulfur gases) or tightly woven, tarnish-resistant flannel.
- Install Anti-Tarnish Strips: Even with premium linings, you should place 3M Anti-Tarnish strips inside the enclosed compartments of the box. These strips utilize copper-based intercept technology to neutralize airborne sulfides. They typically last 6 to 12 months in a sealed environment.
- Check Hook Gauge and Spacing: Ensure the hooks are spaced at least 1.5 inches apart. If hooks are too close, the clasps of adjacent necklaces will swing into one another when the box is moved, creating a new type of tangle.
Step 3: The Proper Hanging Technique
How you physically place the necklace on the hook determines its safety. Follow this exact sequence to ensure optimal storage.
1. Clasp Before Hanging
Never hang an open chain. Always fasten the clasp to the jump ring before placing it on the hook. Hanging an open chain allows the links at the bottom to splay outward, increasing the surface area for dust accumulation and making the chain prone to swinging and snagging when you open or close the box lid.
2. Mind the Drop Length
When utilizing a jewelry box with necklace hanger, the vertical drop is crucial. The necklace should hang freely without the pendant resting on the floor of the box. If a heavy pendant rests on the bottom shelf, the chain will pool and bunch up at the base, defeating the purpose of the hanger and inviting kinks.
3. Dealing with Heavy Pendants
Standard wire hooks found in mid-tier jewelry boxes are typically made of thin, plated steel that can suffer from metal fatigue. If you are hanging a heavy piece—such as a solid 18k gold pendant or a large gemstone cluster weighing over 30 grams—ensure you are using a reinforced brass or stainless steel hook. Hanging heavy items on thin wire hooks will eventually cause the hook to bend downward, altering the angle of the hang and causing chains to slide off.
Step 4: Long-Term Maintenance and Tarnish Prevention
Organizing your jewelry box with necklace hanger is not a one-time event; it requires a maintenance schedule to preserve the integrity of your precious metals and gemstones. According to the Gemological Institute of America (GIA), regular inspection and proper environmental control are the cornerstones of jewelry preservation.
Expert Insight: Once a month, gently wipe down your hanging chains with a specialized microfiber polishing cloth. This removes the microscopic layer of skin oils, lotions, and environmental dust that accumulates on the links. Oils can degrade the silk threads in pearl necklaces and dull the sparkle of diamond pendants.
Furthermore, the Assay Office London recommends keeping silver jewelry away from high-humidity environments. If your jewelry box is kept in a bathroom or a damp bedroom, you must replace your anti-tarnish strips every 3 to 4 months rather than the standard 12 months, as moisture rapidly depletes the reactive copper in the strips.
Common Mistakes to Avoid
Even with the best equipment, collectors often fall into bad habits that compromise their collection. Avoid these critical errors:
- Overloading a Single Hook: Hanging two or three delicate chains on one hook to 'save space' guarantees they will wrap around each other. One hook equals one chain.
- Ignoring Clasp Security: Before hanging, check that the spring-ring or lobster clasps snap shut completely. A faulty clasp will eventually vibrate open, dropping the necklace into a pile at the bottom of the box.
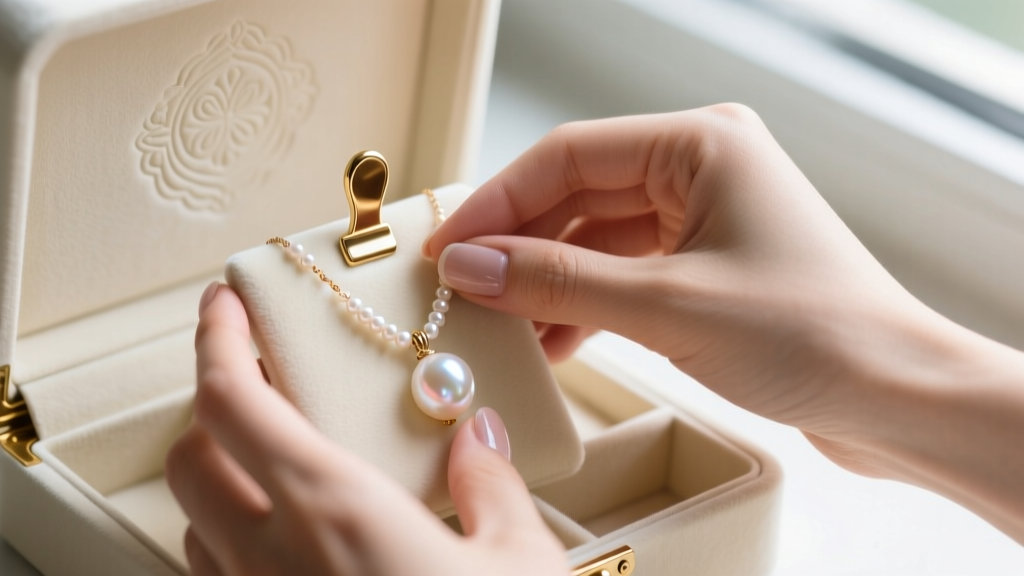
- Storing Pearls on Wire: Cultured pearls are easily scratched by metal. If your jewelry box with necklace hanger features bare metal hooks, wrap the hanging loop in a small piece of acid-free tissue paper, or only use hooks coated in soft velvet or silicone.
By treating your storage system as an active preservation tool rather than a passive container, you ensure that every time you reach for your favorite necklace, it is untangled, polished, and ready to wear. Investing the time to properly utilize a jewelry box with necklace hanger will save you countless hours of frustration and protect your valuable pieces from irreversible mechanical damage.


