Paper Bead Necklace Repair: Fixing Fraying, Fading & Breaks
Learn how to troubleshoot common paper bead necklace issues. Expert fixes for fraying edges, color fading, stringing breaks, and moisture damage.

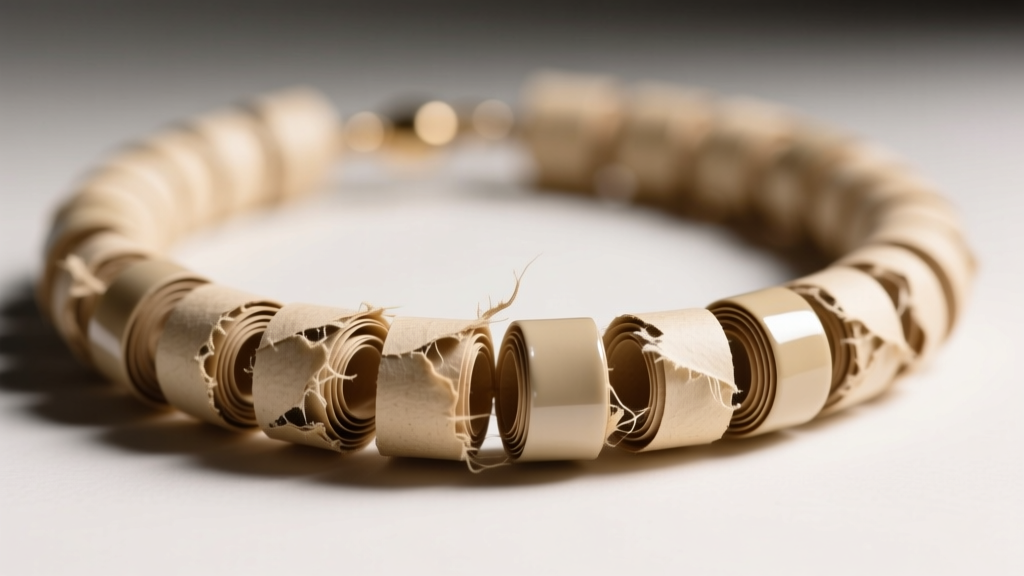
Paper bead necklaces are celebrated for their eco-friendly origins, lightweight comfort, and striking geometric patterns. However, from a materials science perspective, paper is fundamentally fragile. It is highly hygroscopic (moisture-absorbing), susceptible to UV degradation, and structurally weak at the rolled seams. When a paper bead necklace begins to fail—whether through fraying edges, snapping cords, or cloudy sealants—standard jewelry repair techniques do not apply. You cannot simply solder or polish paper. Instead, you must rely on specialized archival conservation methods and micro-adhesives.
This comprehensive troubleshooting guide dives deep into the structural failure points of paper bead jewelry. We will diagnose the exact chemical and physical causes of degradation and provide actionable, professional-grade repair protocols to restore your necklace to its original durability and luster.
The Anatomy of a Failing Paper Bead
Before attempting any repairs, it is critical to understand why paper beads fail. A standard paper bead is constructed by rolling a tapered strip of paper around a mandrel and sealing it with an adhesive. The vulnerabilities lie in three distinct areas:
- The Seam Edge: The tapered end of the paper strip is the most common failure point. If the initial PVA (polyvinyl acetate) glue fails to penetrate the paper fibers completely, humidity will cause the edge to lift and fray.
- The Core Hole: The hollow center of the bead is rough and abrasive. Over time, the friction from the stringing material acts like a microscopic saw, eventually cutting through the cord.
- The Sealant Shell: Most crafters use water-based sealants like Mod Podge. While accessible, these remain slightly thermoplastic and hygroscopic, meaning they can become tacky in high humidity and crack in extreme dryness.
Troubleshooting Matrix: Diagnose Your Bead Issue
| Symptom | Root Cause | Immediate Intervention |
|---|---|---|
| Edges peeling or fraying | PVA glue delamination due to humidity | Thin-viscosity cyanoacrylate wicking |
| Colors looking dull or washed out | UV degradation of dye-based inks | Archival UV-blocking resin encapsulation |
| Necklace snapping at the clasp | Abrasive bead holes sawing through cord | Upgrading to 49-strand micro-wire |
| Beads feeling tacky or sticky | Thermoplastic sealant reactivating | Solvent wipe and polyurethane topcoat |
Problem 1: Edge Fraying and Delamination
The most visually distressing issue with a paper bead necklace is the lifting of the paper seam. This usually happens when crafters rely solely on standard white school glue or basic decoupage mediums to secure the tapered end. These adhesives sit on the surface of the paper rather than bonding the cellulose fibers together.
The Fix: Micro-Sealing with Cyanoacrylate
Do not attempt to re-glue a frayed edge with more water-based craft glue; the moisture will only warp the paper further and create a cloudy residue. Instead, use a thin-viscosity cyanoacrylate (CA) glue, often sold as 'water-thin' super glue in lapidary and jewelry supply stores.
- Secure the bead in a jeweler's loupe or magnifying visor.
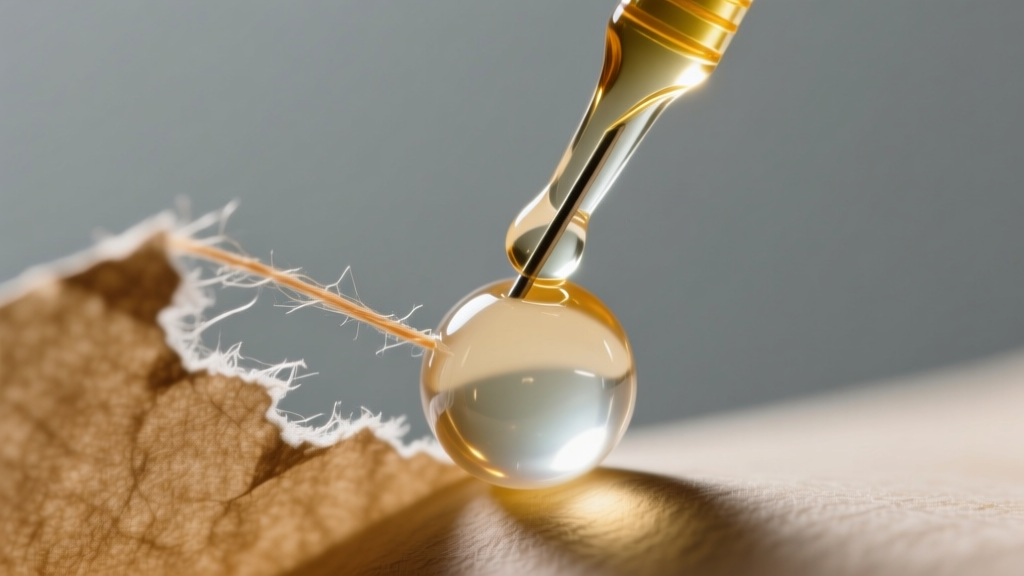
- Using a micro-needle applicator or a single horsehair bristle, touch a microscopic drop of thin CA glue to the frayed edge.
- Capillary action will instantly wick the glue deep into the cellulose fibers of the paper seam without creating a surface glob.
- Hold the edge flat with a Teflon-coated spatula for exactly 15 seconds until the glue cures.
Pro Tip: Never use CA glue near the bead hole, as it will cure rock-hard and make re-stringing impossible if you make a mistake.
Problem 2: Color Bleeding and UV Fading
If your paper bead necklace was crafted using standard inkjet printer paper or magazine clippings, the colors are likely dye-based rather than pigment-based. Dye inks are notoriously fugitive, meaning they break down rapidly when exposed to ultraviolet (UV) radiation from sunlight. Furthermore, if a water-based topcoat is applied too heavily, it can reactivate the water-soluble dyes, causing the colors to bleed and blur.
The Fix: Archival Re-Sealing and UV Blocking
To halt UV degradation and lock in the colors, you must transition away from water-based sealants and move toward UV-stable, non-aqueous coatings. According to extensive testing by ArtResin on UV resistance, standard epoxies will eventually yellow, but specialized UV-inhibited resins can block up to 99% of harmful rays.
For a quick repair of faded beads, lightly mist the beads with a Krylon UV-Resistant Clear Acrylic Coating (Matte or Gloss, depending on your preference). Apply three micro-coats, allowing 20 minutes of drying time between each. This non-aqueous spray will not reactivate the water-soluble inks but will deposit a protective UV-blocking polymer shell over the paper.
Problem 3: Stringing Material Snapping
Paper beads are deceptively heavy when varnished, and their hollow cores are lined with rough, unsealed paper edges. If your necklace is strung on silk thread, nylon cord, or elastic, the abrasive interior of the bead will slowly saw through the fibers. This usually results in the necklace snapping near the clasp, where the tension and friction are highest.
The Fix: Upgrading to Micro-Wire and Crimp Covers
To permanently solve stringing failures, you must abandon organic and synthetic cords in favor of stainless steel beading wire. Jewelry educators at Interweave Beading consistently recommend 49-strand micro-wire for heavy or abrasive beads because it offers the drape of silk with the tensile strength of steel.
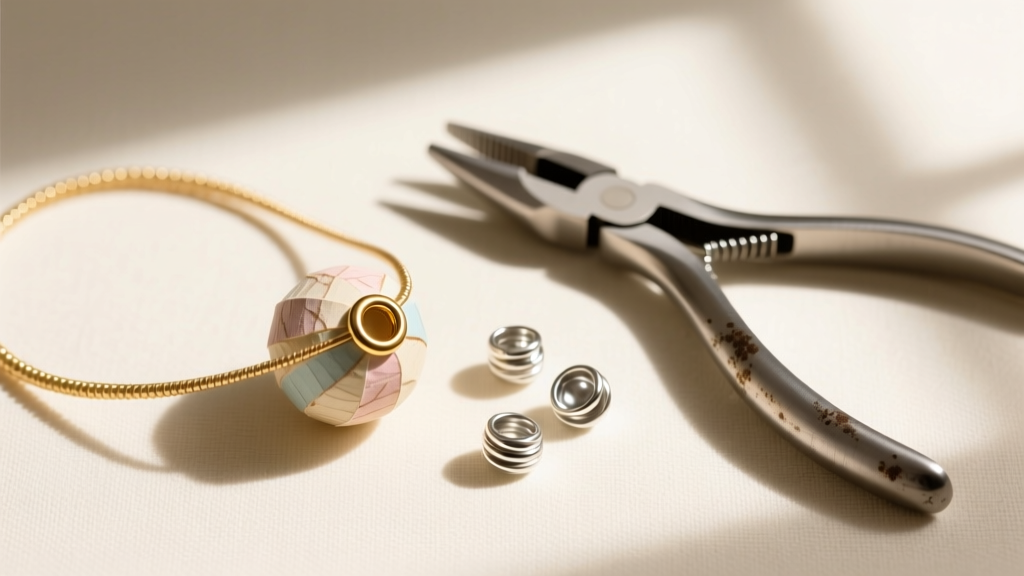
- Wire Selection: Use a 49-strand, 0.015-inch (0.38mm) diameter nylon-coated stainless steel wire. The 49 strands ensure the necklace drapes fluidly rather than kinking.
- Hole Reinforcement: Before re-stringing, insert micro brass eyelets or 2mm copper micro-tubes into the core of the paper beads. Secure them with a dab of thick CA glue. This creates a smooth, metal-lined tunnel that completely eliminates paper abrasion.
- Finishing:Use 2x2mm sterling silver crimp beads to secure the wire to a high-quality lobster clasp, and finish with a crimp cover to hide the mechanical connection.
Problem 4: Moisture Warping and Tackiness
Paper is highly reactive to ambient relative humidity (RH). When the RH exceeds 60%, the cellulose fibers absorb moisture and expand. If the bead is coated in a rigid, non-flexible sealant like standard polyurethane, the expanding paper will cause the sealant shell to micro-crack. Conversely, if coated in a thermoplastic PVA like Mod Podge, the bead will become sticky and attract dust and lint.
The Fix: Two-Part Epoxy Resin Encapsulation
For beads suffering from severe moisture warping or perpetual tackiness, the only permanent solution is total encapsulation in a two-part, UV-stable epoxy resin. The National Archives conservation guidelines note that stabilizing hygroscopic materials requires creating an impermeable micro-climate barrier around the object.
Mix a high-quality, non-yellowing jewelry resin (such as a 1:1 ratio clear epoxy). Using a silicone brush, paint a thick, even layer over the entire bead, ensuring the resin flows into the seam edge. Rotate the bead continuously on a drying rack or turntable for the first 30 minutes to prevent the resin from pooling at the bottom. Once fully cured (usually 24 hours), the bead will be completely impervious to moisture, sweat, and humidity, effectively turning the paper into a durable, glass-like composite.
Preventative Maintenance Checklist
Once you have repaired your paper bead necklace, implementing a strict maintenance protocol will ensure it lasts for decades. Treat your paper jewelry with the same care as porous gemstones like turquoise or opals.
- The Silica Protocol: Always store your paper bead necklace in an airtight jewelry box or ziplock bag alongside a 5-gram rechargeable silica gel desiccant packet. This keeps the micro-climate below 40% RH, preventing paper expansion.
- The 'Last On, First Off' Rule: Paper beads are highly susceptible to aerosolized chemicals. Always apply perfumes, hairsprays, and lotions before putting on your necklace. Remove it immediately upon returning home.
- Body Chemistry Warnings: Highly acidic sweat can degrade water-based topcoats over time. If you wear the necklace in hot weather, gently wipe the beads with a dry, lint-free microfiber cloth immediately after taking it off.
- Never Submerge: Never clean a paper bead necklace with water, ultrasonic cleaners, or jewelry dips. Dusting with a soft, dry makeup brush is the only safe cleaning method.
Conclusion
Troubleshooting a paper bead necklace requires shifting your mindset from traditional metalsmithing to paper conservation and composite material science. By diagnosing the exact point of failure—whether it is a delaminating seam, a fugitive ink, or an abrasive core—you can apply targeted, professional-grade solutions. Upgrading to thin cyanoacrylate for fraying, UV-blocking resins for fading, and 49-strand micro-wire for structural integrity will transform your fragile paper crafts into heirloom-quality jewelry capable of withstanding the rigors of daily wear.