Master Handmade Beaded Necklaces: Pro Stringing Guide
Learn how to craft professional handmade beaded necklaces. Master wire selection, tension management, and flawless crimping techniques.

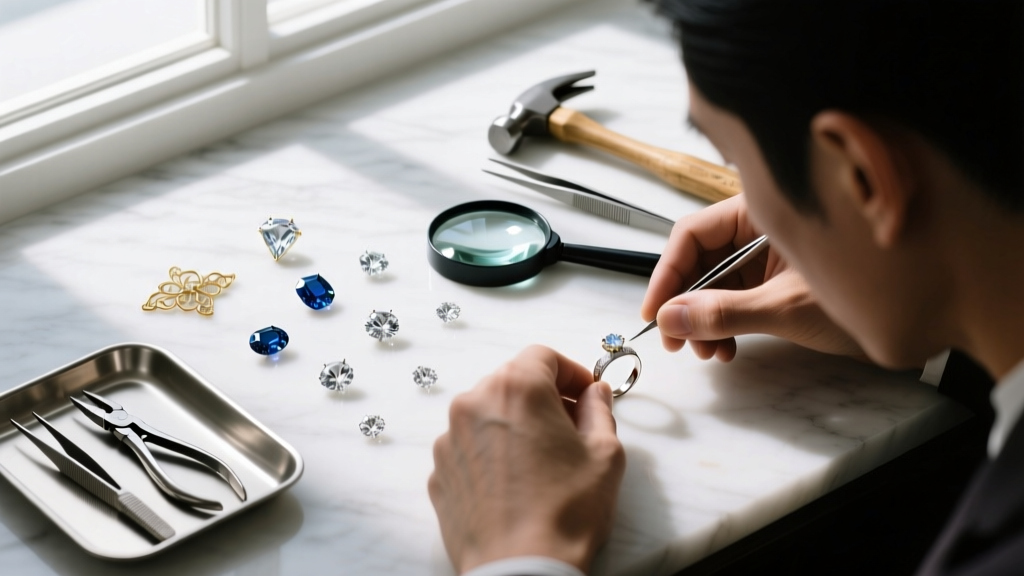
The market for artisanal jewelry has evolved dramatically. Today's collectors and wearers can instantly spot the difference between a mass-produced strand and a thoughtfully engineered piece. Creating high-end handmade beaded necklaces requires moving beyond basic elastic cords and cheap base-metal findings. True durability and luxurious drape come from understanding material science, tension management, and precision finishing.
This comprehensive guide will walk you through the exact techniques used by professional bench jewelers to string, secure, and finish beaded necklaces that last a lifetime. Whether you are working with delicate freshwater pearls or heavy, abrasive gemstones, these step-by-step instructions will elevate your craft.
The Anatomy of a Professional Beaded Strand
The foundation of any premium handmade beaded necklace is the stringing material. While silk thread is traditional for knotted pearls, modern micro-woven, nylon-coated stainless steel beading wire is the industry standard for 90% of gemstone, glass, and metal bead stringing. The secret lies in the strand count and diameter.
| Wire Type | Diameter | Best Use Case | Drape Quality |
|---|---|---|---|
| 7-Strand | 0.012" | Budget projects, lightweight seed beads | Stiff, prone to kinking |
| 19-Strand | 0.018" | Standard glass beads, mid-weight crystals | Moderate, good for structured collars |
| 49-Strand | 0.015" | Pearls, delicate gemstones, small drilled holes | Fluid, mimics silk thread |
| 49-Strand | 0.018" | Most faceted gemstones, versatile everyday wear | Excellent, professional standard |
| 49-Strand | 0.024" | Heavy metal beads, large abrasive stones | Structured, supports heavy weight |
For most professional handmade beaded necklaces, a 49-strand, 0.018-inch diameter wire (such as those produced by Beadalon or Soft Flex) offers the perfect balance of tensile strength and supple drape. The 49 tiny steel wires braided together resist the 'memory' kinking that plagues cheaper 7-strand alternatives.
Essential Tools and Material Grades
You cannot achieve a professional finish with hardware store pliers. Investing in jewelry-specific tools prevents marring your findings and ensures structural integrity.
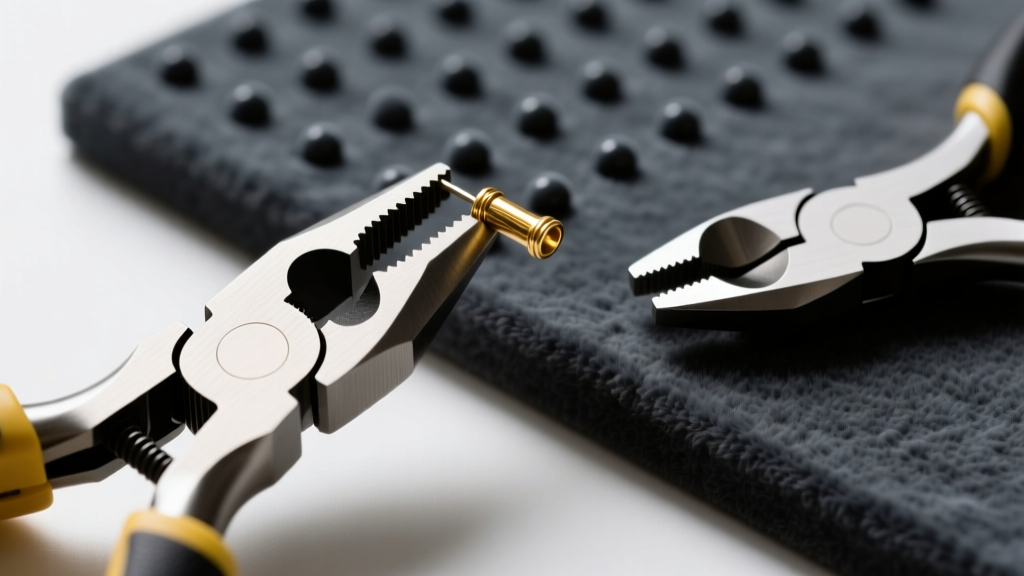
- Flush Cutters: Unlike diagonal cutters that leave a sharp 'pinch' point, flush cutters slice the wire perfectly flat, preventing the wire from poking through your crimp covers.
- Micro-Crimping Pliers: Designed specifically to fold and secure crimp tubes without crushing the internal wire.
- Crimp Tubes (Not Beads): Always use 2x2mm sterling silver or 14k gold-filled tubes. Round crimp beads have a manufacturing seam that can act like a razor blade, slicing through the nylon coating of your wire over time. Extruded tubes are seamless.
- Wire Guardians (French Wire): Essential for protecting the wire loop at the clasp from metal-on-metal friction.
Step-by-Step: Stringing and Tension Management
The most common failure mode in handmade beaded necklaces is not the wire breaking, but the necklace becoming stiff and rigid due to improper tension during stringing. A beaded necklace needs 'slack' to drape elegantly around the collarbone.
1. Layout and Design
Use a velvet bead design board to lay out your pattern. This allows you to measure the exact length and adjust the symmetry before committing to the wire. According to the Fire Mountain Gems Encyclopedia, designing on a board reduces material waste and prevents repetitive strain from constant restringing.
2. The 'Drape Test' for Tension
As you slide beads onto the 49-strand wire, never pull the wire taut. After every three inches of beads, gently push the beads together and check for a microscopic gap. You should leave approximately 1mm to 2mm of slack per inch of beaded strand. If you string the beads tightly against each other, the necklace will stick out stiffly when worn, and the wire will fatigue rapidly at the stress points.
The Flawless Crimping Technique
Crimping is where amateur and professional pieces diverge. A poorly crimped wire will slip, causing the necklace to unravel. A crushed crimp weakens the steel core. Here is the exact mechanical process for a flawless finish using a two-notch crimping tool.
Expert Troubleshooting: Never use cyanoacrylate (Super Glue) on crimps. The chemicals in standard super glues degrade nylon coatings and cause the wire to become brittle and snap. If a crimp feels loose, cut it off and start over with a fresh tube.
- Thread the Wire: Pass the wire through the 2x2mm crimp tube, through the wire guardian (or clasp loop), and back through the crimp tube, creating a small loop.
- Seat the Wires: Ensure the two parallel wires inside the tube are not crossing over each other. They must sit side-by-side. Use your fingers to pull the slack out, maintaining your calculated drape tension.
- The First Squeeze (U-Shape): Place the crimp tube in the back notch (the U-shaped notch) of the crimping pliers. Squeeze firmly. This separates the two wires into individual channels, creating a U-shape.
- The Second Squeeze (The Fold): Turn the U-shaped crimp 90 degrees and place it in the front notch (the oval notch) of the pliers. Squeeze again to fold the U in half, encasing the wires securely. The result should look like a neat, rounded bead.
Clasp Attachment and Wire Guardians
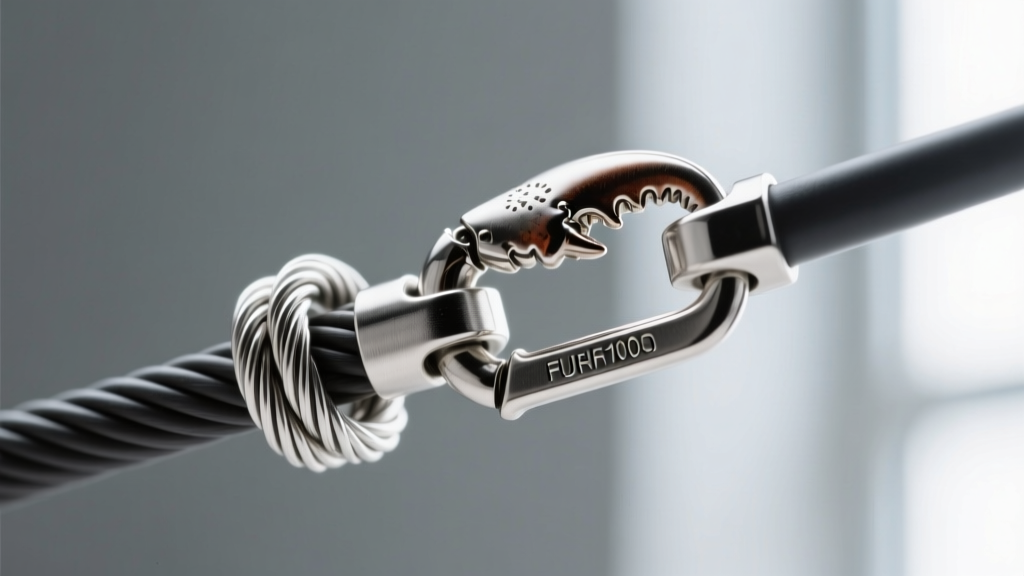
The final point of failure in handmade beaded necklaces is the clasp loop. As the wearer moves, the metal clasp rubs against the stringing wire. Over months of wear, this friction will saw right through the nylon coating and eventually snap the steel core.
To prevent this, professionals use sterling silver wire guardians (also known as French wire or wire protectors). These tiny, horseshoe-shaped metal tubes provide a hard metal barrier for the clasp to rub against. Thread your beading wire through the guardian, loop the guardian over the clasp jump ring, and then pass the wire back through your crimp tube. This not only increases the lifespan of the necklace exponentially but also provides a clean, high-end metallic finish at the nape of the neck.
Final Thoughts on Artisanal Quality
Mastering the creation of handmade beaded necklaces is an exercise in precision and material respect. By selecting 49-strand micro-woven wire, utilizing seamless precious metal crimp tubes, managing your stringing tension, and employing wire guardians, you transition from a hobbyist to a true jewelry artisan. For further reading on advanced clasp mechanics and gemstone hardness scales, the educational resources at Interweave Jewelry Making offer excellent supplemental data. Your clients and collectors will immediately recognize the superior drape, security, and finish of your professional-grade work.


