Build a Professional Necklace Kit for Cleaning and Care
Learn how to assemble a professional necklace kit for home jewelry care. Discover material-specific cleaning protocols and essential maintenance tools.

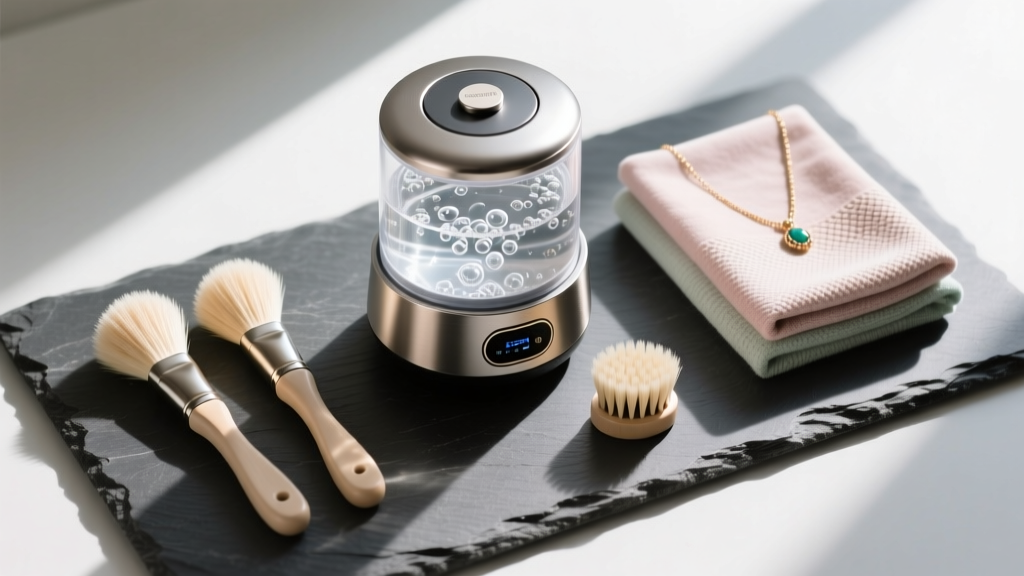
Most jewelry owners rely on haphazard methods to maintain their favorite pieces, often resorting to abrasive household items that cause micro-scratches and long-term degradation. Assembling a dedicated, professional-grade necklace kit for cleaning and maintenance is the single most effective way to preserve the luster, structural integrity, and value of your jewelry. Whether you are caring for a delicate 18k gold chain, a heavy sterling silver pendant, or a diamond solitaire, having the right tools at your disposal transforms routine upkeep from a chore into a precise, restorative process.
Why a Dedicated Necklace Kit Outperforms Generic Cleaners
The biggest mistake in at-home jewelry care is the use of generic household cleaners. Toothpaste, for example, is frequently recommended online as a DIY silver polish. However, toothpaste contains hydrated silica, which ranks at a 7 on the Mohs hardness scale. Pure gold sits at a 2.5, and even 14k gold alloys rarely exceed a 3.5. Scrubbing gold with toothpaste essentially sands away the metal, leaving a dull, scratched surface. Similarly, baking soda and aluminum foil baths can strip the antique patina from oxidized silver details and damage porous gemstones.
A professionally curated necklace kit avoids these pitfalls by utilizing pH-balanced solutions, non-abrasive mechanical action, and precision inspection tools designed specifically for the metallurgical and gemological properties of fine jewelry.
Essential Components of a Professional Necklace Kit
To build a kit that rivals a jeweler's workbench, you need to source specific tools. Here is what belongs in your arsenal.
The Cleaning Arsenal: Solutions and Ultrasonics
- Ultrasonic Cleaner (42kHz - 45kHz): Ultrasonic cleaners use high-frequency sound waves to create microscopic vacuum bubbles in a liquid solution. When these bubbles implode against the jewelry—a process called cavitation—they blast away dirt, oils, and lotions from microscopic crevices. A frequency of 42,000 Hz (42kHz) is the sweet spot for jewelry; lower frequencies can be too aggressive for delicate settings, while higher frequencies lack the necessary cleaning power.
- Ammonia-Free Jewelry Wash: While ammonia is excellent for cutting grease on diamonds, it can cause stress-corrosion cracking in certain gold alloys and will permanently damage pearls and opals. Opt for a neutral pH, biodegradable jewelry wash.
- Thiourea-Based Silver Dip: For heavy silver sulfide (Ag2S) tarnish on sterling silver chains, a quick-dip solution containing thiourea chemically reverses the tarnish without abrasive scrubbing.
Precision Tools for Inspection and Maintenance
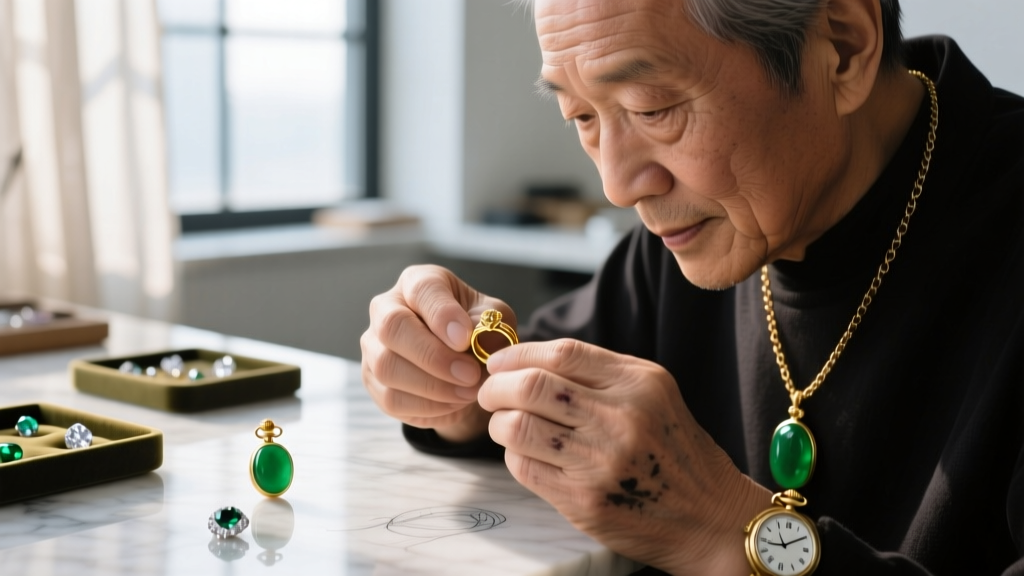
- 10x Triplet Jeweler's Loupe: A standard magnifying glass distorts the edges of your view. A triplet loupe contains three cemented lenses that correct both spherical and chromatic aberration, allowing you to clearly inspect the interior of a jump ring or the tension of a lobster clasp spring without color fringing.
- Untreated Horsehair Brush: Horsehair is exceptionally soft and naturally retains a slight amount of moisture, making it perfect for gently agitating cleaning solutions around gemstone girdles and prongs without scratching precious metals.
- Impregnated Polishing Cloths: Look for dual-layer cloths. The inner layer is treated with micro-abrasives and tarnish-inhibitors (like jeweler's rouge), while the outer untreated layer buffs the metal to a high shine.
"Regular inspection with a 10x loupe can catch a fatigued jump ring or a bent prong months before it results in a lost pendant or broken chain." — Master Bench Jewelers Association Guidelines
Material-Specific Cleaning Protocols
Not all materials in your jewelry box can withstand the same cleaning methods. Use this matrix to guide your use of the tools in your necklace kit.
| Material | Recommended Solution | Ultrasonic Safe? | Drying Method |
|---|---|---|---|
| 14k / 18k Gold | Mild dish soap & warm distilled water | Yes (42kHz) | Microfiber cloth |
| Sterling Silver | Thiourea dip (heavy tarnish) or mild soap | Yes (if no oxidized details) | Air dry, then buff |
| Platinum | Ammonia-based diamond cleaner | Yes (42kHz) | Lint-free cloth |
| Pearls & Coral | Damp microfiber cloth only | NEVER | Air dry flat |
| Emeralds & Opals | Lukewarm water & soft brush | NEVER | Pat dry gently |
Step-by-Step Maintenance Routine Using Your Kit
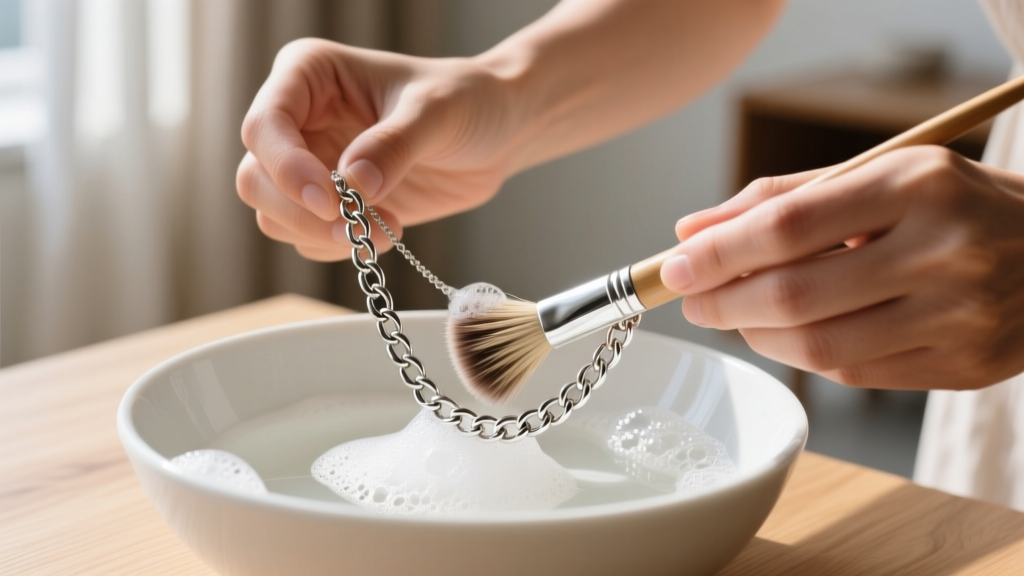
Follow this systematic approach to ensure your necklaces are cleaned safely and thoroughly.
- The Pre-Clean Inspection: Before introducing any liquids, use your 10x triplet loupe to examine the necklace. Check the jump ring connecting the pendant to the chain—ensure the cut in the ring is completely flush and that the metal hasn't thinned. Test the clasp mechanism; a lobster clasp should snap back with crisp, immediate tension.
- The Soak and Cavitation: Fill your ultrasonic cleaner with warm distilled water and a few drops of neutral jewelry wash. (Using distilled water prevents hard water mineral deposits from spotting your jewelry). Suspend the necklace in the basket. Run the ultrasonic cycle for exactly 3 minutes. Prolonged exposure can loosen glue in fracture-filled stones or channel settings.
- Targeted Agitation: Remove the necklace and use your horsehair brush to gently sweep the back of the pendant setting and the crevices of the chain links where the ultrasonic waves may not have fully penetrated.
- The Final Rinse and Polish: Rinse the piece under a gentle stream of distilled water. Pat dry with a clean microfiber cloth, then use the treated side of your polishing cloth to restore the metal's luster. Finish with the untreated side for a streak-free shine.
When to Skip the DIY Kit and See a Professional
While a comprehensive necklace kit handles 90% of routine maintenance, certain scenarios require professional bench equipment. According to the Gemological Institute of America (GIA), you should visit a jeweler if you notice any of the following:
- Loose Gemstones: If you hear a faint rattling when you gently tap the pendant, a prong has likely worn down or bent. This requires laser welding or re-tipping, which cannot be done at home.
- Rhodium Depletion: White gold necklaces are plated with rhodium to achieve their bright white color. If the chain begins to look yellowish, it is time for professional electroplating.
- Silk Thread Degradation: If your necklace kit includes pearl strands, remember that the silk thread stretches and degrades from body oils. Pearls should be professionally restrung every 1 to 2 years if worn frequently.
By investing the time to assemble and properly utilize a professional necklace kit, you protect your investments and ensure that your favorite pendants and chains remain as brilliant as the day you acquired them. For further reading on gemstone durability and care, consult the American Gem Society care guidelines.


