How to Put a Ring on a Necklace: Troubleshooting Fit & Security
Learn how to put a ring on a necklace safely. Troubleshoot chain thickness, bail sizing, and metal scratching with our expert jewelry guide.


The Core Problem: Why Rings Don't Always Fit Chains
Repurposing an heirloom ring, a meaningful wedding band, or a vintage find into a pendant is one of the most sentimental and sustainable trends in modern jewelry styling. However, the physical mechanics of converting finger jewelry into neck jewelry are fraught with pitfalls. Many enthusiasts simply force a ring onto a chain, only to discover that the ring slides off, the chain snaps, or the metal finishes are destroyed within weeks. Understanding how to put a ring on a necklace requires a deep dive into jewelry findings, metallurgy, and structural physics. This guide moves beyond basic tutorials to troubleshoot the real-world failures that occur when rings and chains are improperly paired.
Understanding Ring Shank Dimensions vs. Chain Gauges
The most common point of failure is a simple mismatch in geometry. A standard wedding band shank (the bottom half of the ring) typically measures between 1.8mm and 2.5mm in thickness, and 1.5mm to 3.0mm in width. Conversely, a standard cable or rolo chain might be listed as 1.5mm wide, but the inner diameter of the link—the actual space the ring must pass through—is often less than 0.8mm. Forcing a 2.0mm ring shank through a 1.0mm link will warp the chain, weaken the solder joints on the links, and potentially bend the ring itself.
| Chain Type (Nominal Width) | Average Inner Link Space | Compatible Ring Shank Thickness | Recommended Method |
|---|---|---|---|
| Delicate Cable (1.0mm - 1.2mm) | 0.6mm - 0.8mm | None (Too small for direct threading) | Snap-on Bail or Jump Ring |
| Standard Rolo (2.0mm - 2.5mm) | 1.2mm - 1.5mm | Up to 1.4mm (Thin bands only) | Direct Threading |
| Wheat / Spiga (2.5mm - 3.0mm) | 0.5mm (Woven tightly) | None (Surface is too rigid) | Snap-on Bail or Jump Ring |
| Figaro / Curb (4.0mm+) | 2.5mm - 4.0mm | Up to 3.5mm (Most bands) | Direct Threading or Jump Ring |
Step-by-Step: How to Put a Ring on a Necklace (3 Methods)
Depending on your chain's architecture and the ring's profile, you must select the correct attachment methodology. Here are the three professional approaches.
Method 1: The Direct Threading (For Thin Bands & Open Links)
Direct threading is only viable if the inner dimension of the chain link exceeds the ring's shank thickness by at least 0.3mm to allow for fluid movement. Unclasp the chain, thread the ring onto the links, and re-clasp. Troubleshooting tip: If the ring gets stuck at the clasp or jump ring of the necklace itself, you must temporarily remove the necklace's end jump ring using two pairs of flat-nose pliers, thread the ring, and reattach it.
Method 2: Using a Snap-On or Screw-Top Bail
When a chain is too thick, or the ring features a top-heavy gemstone that prevents it from lying flat, a bail is mandatory. A snap-on bail features a hinged loop at the top and a tension-fit or screw-fit base that grips the ring's shank. According to findings experts at Rio Grande, a standard 3mm or 4mm snap bail can accommodate most comfort-fit bands. Simply open the bail, place it over the top of the ring's shank (opposite the gemstone), and squeeze it shut with nylon-jaw pliers to avoid marring the metal.
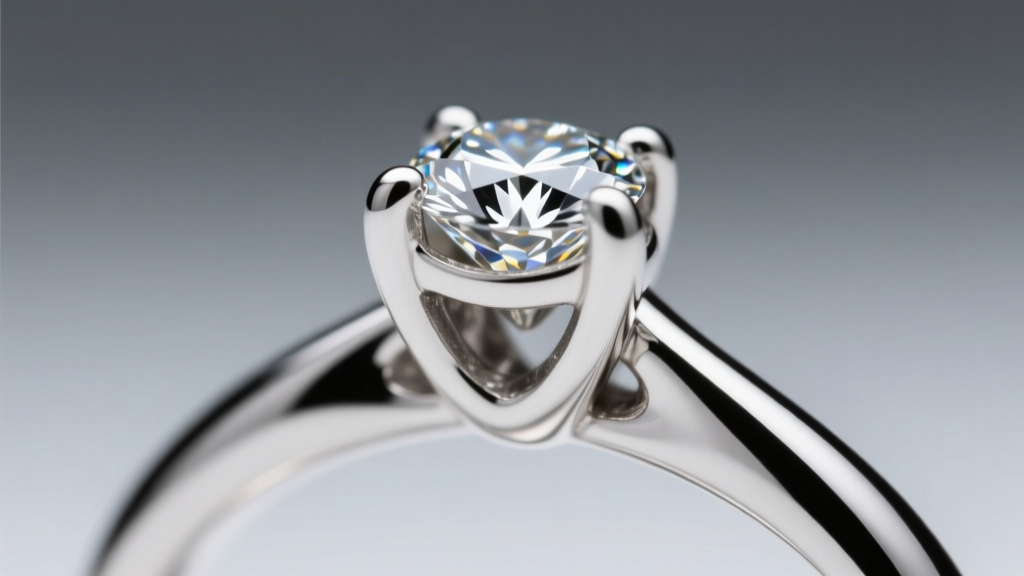
Method 3: The Jump Ring Bypass (For Thick/Statement Chains)
If you are pairing a ring with a heavy Cuban link or Figaro chain, direct threading will cause the ring to bind and the chain to kink. The solution is an 18-gauge or 20-gauge seamless jump ring. Thread the jump ring through the ring's shank, and then thread the heavy chain through the jump ring. Critical Rule: Never use a split ring (like a miniature keychain ring) for fine jewelry. Split rings deform over time, snag on fabrics, and will eventually slice through softer chain links.
Troubleshooting Common Disasters & Damage Prevention
Even when a ring physically fits onto a chain, long-term wear introduces kinetic friction and gravitational issues that can destroy your jewelry.
Issue 1: Metal-on-Metal Friction and Scratching
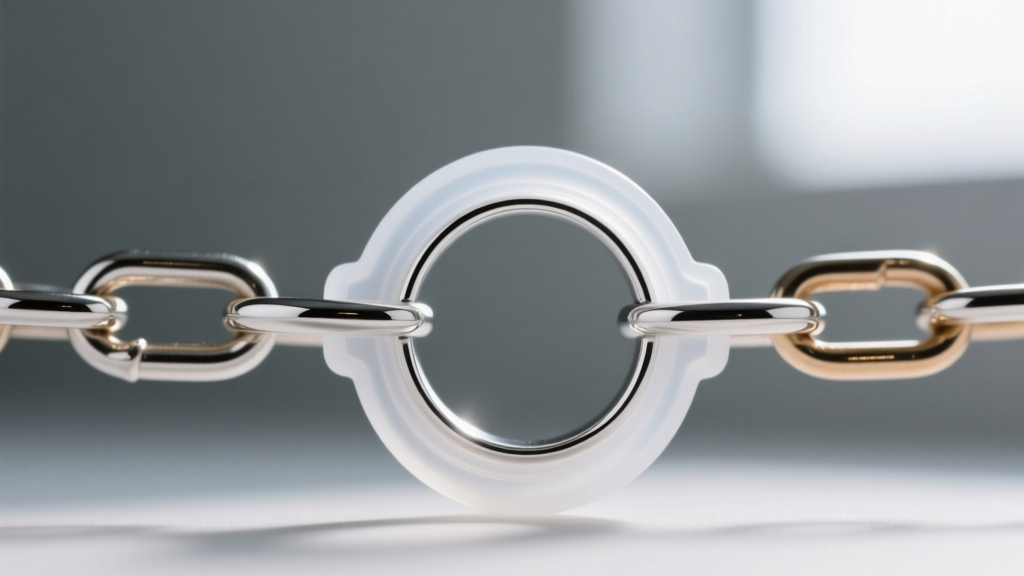
This is the most insidious problem. Metals have different hardness levels, measured on the Vickers scale (HV). 14k gold is relatively hard (~130 HV), while 18k gold is softer (~110 HV), and sterling silver is quite soft (~70 HV). If you thread a hard platinum ring (~120 HV but highly dense and work-hardened) onto a delicate sterling silver chain, the platinum shank will act like a micro-saw. Within a month, it will grind through the silver links, causing the chain to snap and the necklace to be lost. The Gemological Institute of America (GIA) consistently warns against storing or wearing mismatched metal hardnesses in direct, moving contact. The Fix: Thread a tiny piece of clear, medical-grade silicone tubing or Teflon sleeve over the chain links where the ring rests, or use a bail lined with a protective polymer insert.
Issue 2: The Ring Keeps Flipping Upside Down
When a ring is threaded directly onto a chain, its center of gravity dictates how it hangs. A plain band will naturally flip horizontally, showing only its edge. A ring with a large center stone may hang vertically, but if the stone is heavy, it will constantly slide off-center and rest behind your collarbone. The Fix: To force a ring to hang perfectly vertically and centered, use a "donut bail" or a "Y-bail." These findings distribute the weight evenly across the top curve of the ring, anchoring the center of mass and preventing the pendant from migrating sideways along the chain.
Issue 3: Gemstone Prongs Catching on Links
Rings with pavé settings, high-prong solitaires, or intricate filigree are nightmares for chains. The sharp edges of the prongs will catch inside the chain links, eventually bending the prong and loosening the diamond. The Fix: Never thread a chain directly through a ring with exposed side-prongs. You must use a soldered bail attached by a professional jeweler, or a heavy-duty snap-on bail that completely covers the shank and keeps the chain links suspended at least 4mm away from the gemstone setting.
Expert Sourcing: Where to Find the Right Hardware
To execute these troubleshooting fixes, you need jewelry-grade findings, not craft-store hardware. Avoid base-metal bails that will tarnish or cause contact dermatitis. Source your components from reputable suppliers:
- Seamless Jump Rings: Look for laser-welded or soldered jump rings in matching karat gold or platinum. These have no seam to catch or pull apart.
- Screw-Top Bails: Ideal for eternity bands where snapping a bail shut might damage the continuous line of diamonds. These feature a threaded post that screws securely into the bail head.
- Protective Sleeves: Search for "PTFE jewelry tubing" or "silicone ring guards" in 1mm to 2mm diameters to create friction barriers between mismatched metals.
Final Pre-Wear Security Checklist
Before wearing your newly converted ring pendant out in the world, run through this rapid safety audit:
- The Tug Test: Hold the chain taut and gently pull the ring downward. Does the bail or jump ring gap open? If so, it needs to be professionally soldered or replaced with a heavier gauge.
- The Slide Test: Lay the necklace flat on a table. Does the ring slide freely along the chain without binding or catching on the clasp mechanism?
- The Flip Test: Hold the necklace up by the clasp. Does the ring hang facing the correct direction, or does it immediately invert? If it inverts, you need to adjust the bail placement.
- The Prong Check: Run a piece of silk thread or a microfiber cloth over the ring while it is on the chain. If it snags, the prongs are catching the links and require a bail upgrade.
By respecting the geometry, metallurgy, and physics of your jewelry, you can safely transform any meaningful ring into a secure, beautiful necklace that will last a lifetime.


