Troubleshooting Your Ball Chain for Necklaces: Fixes & Upgrades
Is your jewelry snapping? Learn how to repair a broken ball chain for necklaces, understand gauge sizes, and choose durable materials that last.

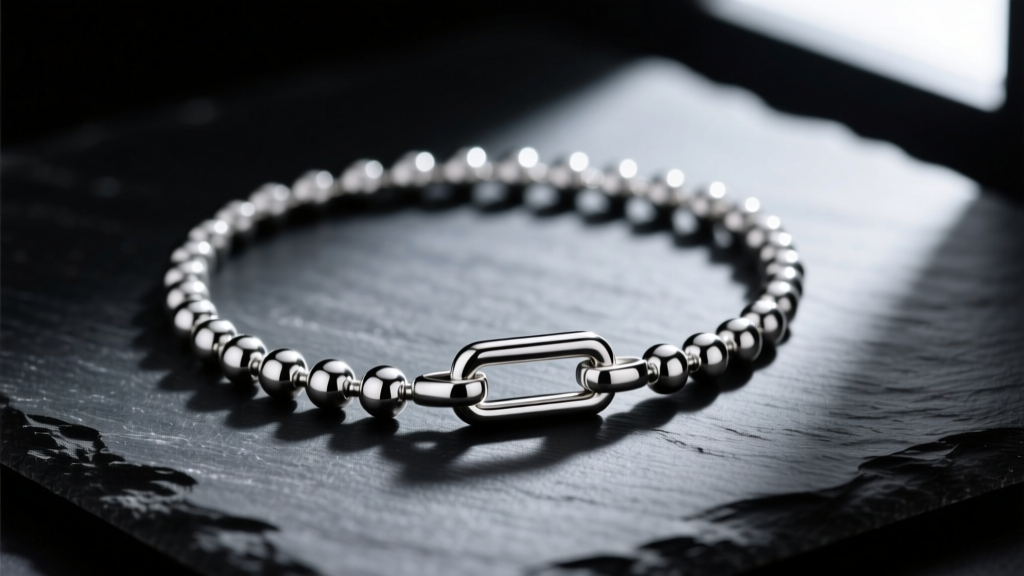
The Anatomy of a Ball Chain (and Why It Fails)
The ball chain—often referred to as a bead chain—is a staple in minimalist jewelry, military dog tags, and pendant layering. However, jewelry repair benches see an disproportionately high number of these chains due to one fundamental design flaw: the friction-fit connector. Unlike cable or box chains where links are soldered closed, a standard ball chain for necklaces relies on a tiny, U-shaped wire or a tubular metal crimp to connect the hollow spherical beads.
When you select a ball chain for necklaces, you are essentially relying on the tensile strength of a microscopic piece of unstamped wire. According to metallurgical guidelines referenced by the Gemological Institute of America (GIA), the repeated stress of a swinging pendant creates a pendulum effect, leading to rapid metal fatigue at these exact connection points. Understanding this anatomy is the first step in troubleshooting why your favorite necklace keeps snapping, and more importantly, how to fix it or upgrade to a chain that actually survives daily wear.
Troubleshooting Common Ball Chain Failures
Before attempting a repair, you must identify the failure mode. Ball chains generally break in two specific locations, each requiring a completely different troubleshooting approach.
1. The Tubular Clasp Disconnect
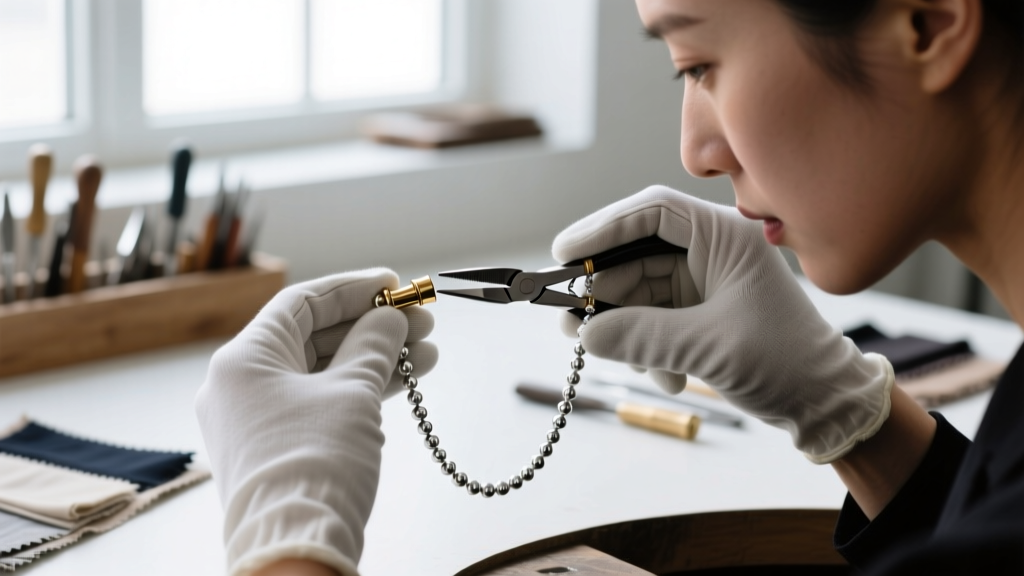
The most common failure occurs right at the clasp. The standard ball chain clasp uses a tiny tubular connector that is pushed into the hollow end-bead and lightly crimped by a machine. Over time, the soft metal of the tube yields, and a simple tug pulls the clasp completely out of the bead. The Fix: Do not simply push it back in. Use a pair of flat-nose pliers to gently squeeze the tubular connector, creating a slight oval shape. This increases the friction against the inside of the bead hole. For a permanent fix, snip off the tubular connector and attach a micro-jump ring and a sturdy lobster clasp.
2. Mid-Chain Tension Snapping
If your chain breaks in the middle, the connector wire has suffered catastrophic metal fatigue. This usually happens when a heavy pendant is hung on a chain with a gauge too thin to support it. Because the beads are hollow, they cannot be soldered, and you cannot easily re-crimp a mid-chain connector without specialized factory stamping tools. The Fix: You must use a specialized 'ball chain connector'—a small, fold-over crimp tube designed to clamp over the two broken ends and bridge the gap.
Material & Gauge Guide: Upgrading Your Chain
If you are constantly repairing your jewelry, the issue is likely material science and gauge thickness. Sterling silver (925) is notoriously soft in its annealed state, possessing a Vickers hardness of roughly 60 HV. This makes it highly susceptible to stretching and snapping under tension. Conversely, 316L marine-grade stainless steel boasts a hardness of 150-200 HV, making it vastly superior for the bead-and-connector mechanism. Furthermore, Jewelers of America frequently notes that proper gauge selection is the primary defense against jewelry failure.
Use the table below to match your pendant weight to the correct ball chain specifications:
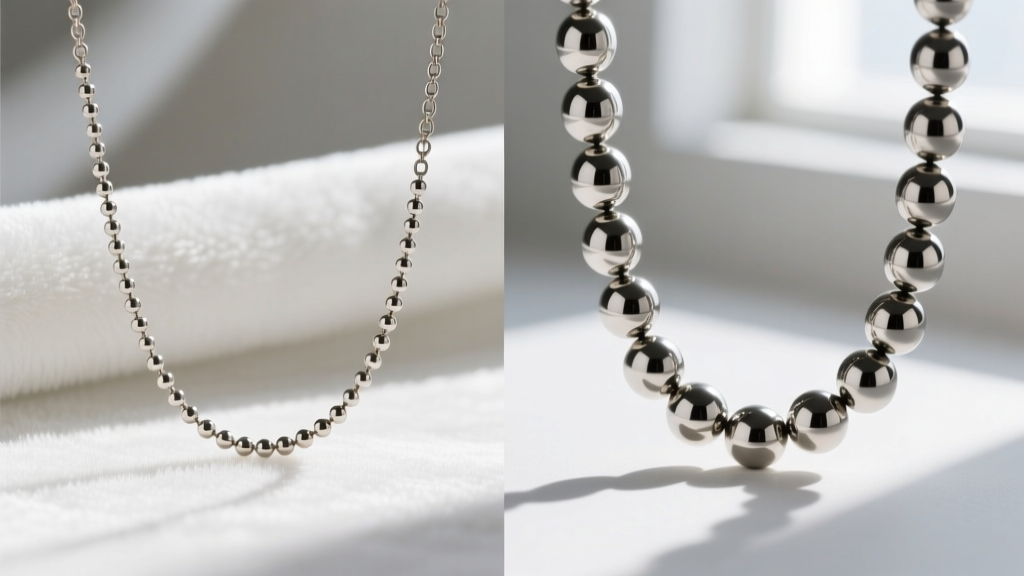
| Gauge / Bead Size | Connector Wire Thickness | Approx. Tensile Limit | Best Pendant Weight | Ideal Use Case |
|---|---|---|---|---|
| 2.4mm (Standard) | ~0.8mm | 2 - 3 lbs | Under 10g | Military dog tags, ultra-lightweight charms |
| 3.2mm (Medium) | ~1.0mm | 5 - 7 lbs | 10g - 25g | Everyday minimalist pendants, small lockets |
| 4.5mm (Statement) | ~1.2mm+ | 10+ lbs | 25g - 50g | Heavy gemstone pendants, layered statement pieces |
Pro Tip: Always ensure your pendant's bail (the loop it hangs from) is wide enough to glide over the 4.5mm beads without catching, which can cause sudden tension spikes.
Step-by-Step: How to Reattach a Disconnected Ball
If your chain has snapped mid-strand and you need an immediate, durable repair without losing length, follow this professional bench method using a fold-over bead chain connector.
- Prep the Ends: Using flush cutters, trim any bent or mangled connector wires protruding from the broken beads. You want a clean, flat edge where the wire meets the bead.
- Position the Connector: Take a 2.4mm or 3.2mm fold-over ball chain connector (available at most jewelry supply stores). These feature two tiny U-shaped channels.
- Seat the Chain: Lay the exposed connector wires of your broken chain into the U-channels of the repair piece. Ensure the beads are seated flush against the central block of the connector.
- Crimp and Secure: Using chain-nose pliers, gently fold the metal flaps of the connector over the wires. Apply even, firm pressure. Do not use serrated pliers, as they will mar the metal and weaken the structural integrity.
- Test the Tension: Give the chain a firm, sharp tug. The mechanical crimp of the fold-over tube is significantly stronger than the original factory friction-fit.
When to Abandon the Ball Chain (Alternative Solutions)
While troubleshooting and repairing a ball chain for necklaces is a valuable skill, this specific chain style is inherently fragile by design. If you are pairing a heavy, solid-gold or dense gemstone pendant with a necklace, the ball chain is fundamentally the wrong tool for the job. The hollow beads will eventually crush under the clamping force of heavy jump rings, and the connectors will inevitably fail.
For heavy pendants, pivot to chains that feature fully soldered links. A solid box chain offers incredible tensile strength and a similar geometric, modern aesthetic to the ball chain. A Wheat (Spiga) chain provides a woven, textured look with immense durability due to its interlocking, multi-directional links. By understanding the mechanical limitations of the bead chain and knowing exactly when to upgrade your materials and gauges, you can curate a jewelry collection that looks exceptional and survives the rigors of daily wear.


