Troubleshooting a Broken Chain in Necklace: Expert Repair Guide
Learn how to diagnose and fix a broken chain in necklace designs. Expert troubleshooting for jump rings, soldering, and link repair across all metals.

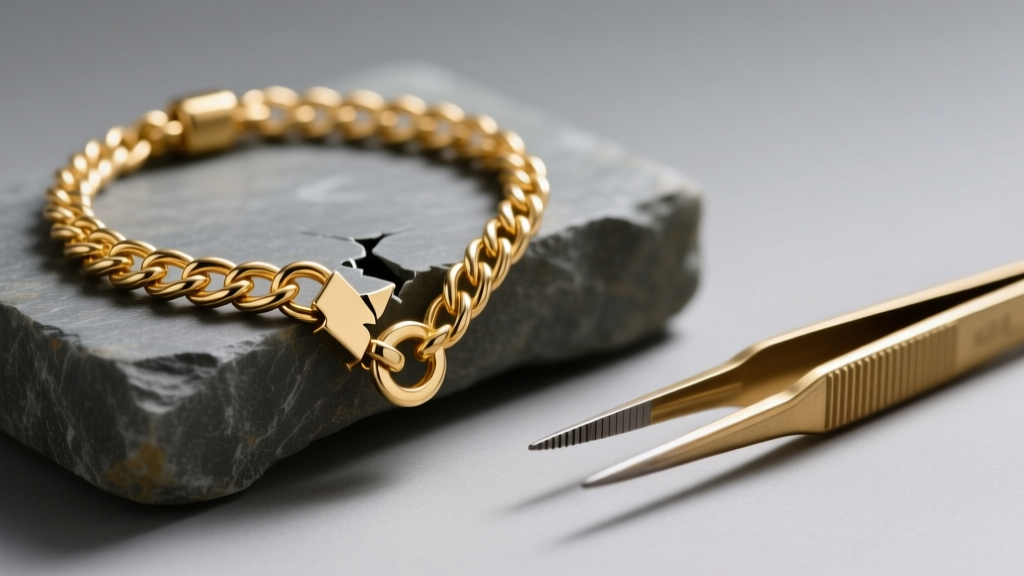
There are few things more frustrating in jewelry wear than feeling the sudden, weightless snap of a favorite piece. When the chain in necklace designs fails, it rarely happens at a convenient time. Whether it is a delicate 0.8mm cable chain holding a heavy diamond pendant or a robust 3mm Figaro chain that caught on a sweater, understanding the mechanics of chain failure is the first step toward a permanent repair. As jewelry construction evolves, so do the repair techniques required to fix them. In 2026, master jewelers rely on a mix of traditional metallurgy and advanced laser technology to restore broken chains. This comprehensive troubleshooting guide will help you diagnose the exact point of failure, determine if a DIY fix is viable, and understand the professional repair options available for your specific chain type.
Diagnosing the Failure Point: Why Chains Break
Before attempting any repair, you must identify why the chain in necklace pieces failed. Chains typically break due to three primary factors: metal fatigue, mechanical stress, or clasp/jump ring failure. Metal fatigue occurs when a link is repeatedly bent or twisted, causing the molecular structure of the metal to weaken and eventually fracture. This is incredibly common in sterling silver and lower-karat golds that have been work-hardened over years of wear. Mechanical stress happens when a chain is yanked or caught, causing a link to stretch, thin out, and pull apart. Finally, the weakest point of any necklace is often the jump ring connecting the chain to the clasp. If the kerf (the cut in the jump ring) was not properly soldered shut during manufacturing, it will eventually pull open under the weight of a pendant.
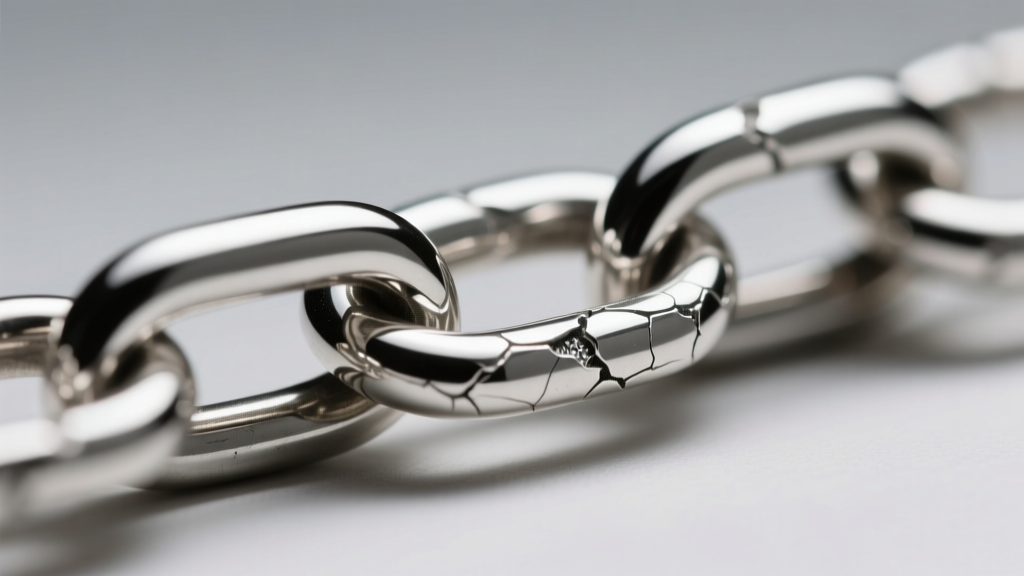
According to the Gemological Institute of America (GIA), the alloy composition of your chain heavily dictates its failure mode. For instance, 18k yellow gold is softer and more prone to stretching and pulling apart under tension, whereas 14k white gold (often alloyed with nickel or palladium) is harder and more likely to experience brittle snapping or micro-fractures at the solder joints.
The Chain Repair Matrix: Matching the Fix to the Chain
Not all chains are created equal. A repair method that works perfectly for a simple cable chain might destroy the geometry of a box or rope chain. Below is a troubleshooting matrix to help you identify the best course of action based on your chain's specific link structure.
| Chain Style | Common Failure Mode | DIY Viability | Professional Repair Method |
|---|---|---|---|
| Cable / Link | Jump ring pull-apart, clean link snap | High (Jump rings only) | Torch soldering with hard/medium grade solder |
| Box Chain | Crushed links, stretched corners | None | Laser welding or complete section replacement |
| Rope Chain | Unraveling, twisted link fracture | None | Micro-torch soldering with specialized flux |
| Snake Chain | Kinking, internal wire fatigue | None | Laser welding (high difficulty) or replacement |
| Figaro / Curb | Stretched elongated links | Low (Pliers reshaping) | Torch soldering and link reshaping |
Step-by-Step Troubleshooting for Common Chain Failures
1. The Open Jump Ring Failure
If your chain in necklace designs separates right at the clasp, the culprit is almost always an unsoldered jump ring. This is the most common and easiest repair. Never pull a jump ring open like a door hinge. This distorts the circle and weakens the metal. Instead, use two pairs of flat-nose pliers (preferably Lindstrom or PepeTools to avoid marring the metal). Grip the jump ring on either side of the kerf and twist one hand toward you and the other away. To close it, reverse the twisting motion until you hear a faint 'click' or feel the ends seat perfectly flush. If the jump ring is heavily worn or thinned, replace it with a new one of the exact same gauge and diameter, ensuring the new ring is properly soldered shut by a professional.
2. The Stretched or Pulled Link
When a chain catches on clothing, the immediate force often stretches a single link into an oval shape. If the metal has not thinned to the point of breaking, you can sometimes salvage it. Place the stretched link on a steel bench block and use a rawhide or nylon-jaw mallet to gently tap it back into its original shape. However, be aware that this process further work-hardens the metal. If the link is made of sterling silver or high-karat gold, you may need to anneal it (heat it to a dull red and quench it) to restore its malleability before reshaping. If the link is severely thinned—resembling a piece of thread—it must be cut out with flush cutters and the adjacent links soldered together, which will slightly shorten the necklace.
3. The Clean Snap: Torch vs. Laser Soldering
When a link cleanly fractures, soldering is required. For standard cable or curb chains made of 14k gold or sterling silver, traditional torch soldering using a butane micro-torch is highly effective. Jewelers use a hierarchy of solder grades: Hard (melts at ~1450°F), Medium (~1350°F), and Easy (~1250°F). When repairing a chain, 'Easy' or 'Medium' solder is typically used to avoid melting previous solder joints in the chain. However, if you are dealing with a platinum chain in necklace settings, traditional torches are insufficient. Platinum melts at a staggering 3,200°F (1,768°C). According to jewelry fabrication experts at Rio Grande, platinum and micro-chains (under 0.5mm) require laser welding. Laser welders use concentrated light pulses to fuse metal at a microscopic level without heating the surrounding links, preventing the chain from becoming brittle or losing its temper.
Preventative Care and Gauge Selection
The best way to troubleshoot a broken chain is to prevent the break from occurring in the first place. The longevity of your chain in necklace wear is directly tied to its gauge (thickness) and how it is stored.
- Pendant Weight Ratios: A general rule of thumb is that the chain's break strength should be at least three times the weight of the pendant. A 20-gram pendant requires a chain capable of holding 60 grams of tension. This usually means stepping up from a delicate 0.8mm chain to a robust 1.5mm or 2.0mm chain.
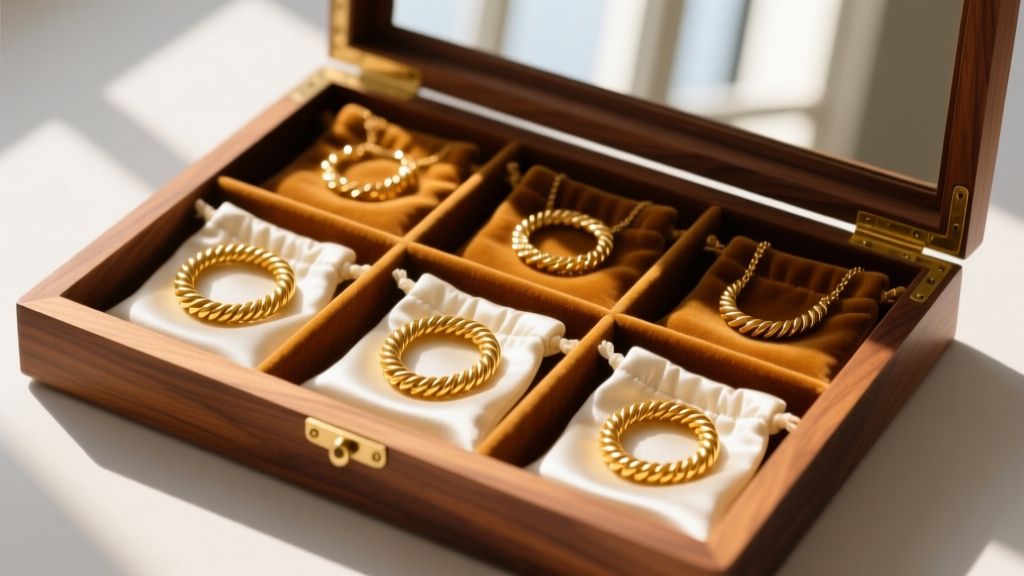
- Proper Storage: Tossing necklaces into a communal jewelry box guarantees tangling, which leads to micro-stresses on the links when you try to untangle them. Store each chain individually in an anti-tarnish pouch or hang them from a multi-hook jewelry stand.
- Chemical Exposure: Chlorine in swimming pools and hot tubs is highly corrosive to gold alloys, particularly the copper and zinc used in 14k and 18k gold. Repeated exposure causes 'stress corrosion cracking,' making the chain in necklace pieces brittle and prone to snapping without warning.
When to Consult a Master Jeweler
While replacing a clasp or closing a jump ring is well within the realm of DIY jewelry care, attempting to solder a broken chain at home with a hardware store soldering iron is a recipe for disaster. Hardware solder contains lead and acid flux, which will permanently ruin precious metals and prevent a professional jeweler from properly repairing the piece later. If your chain features complex links like a woven rope, a hollow box, or a snake chain, the structural integrity of the piece has been compromised. A master jeweler will use a microscope and a laser welder to fuse the links without leaving a visible seam or weakening the adjacent geometry. Expect to pay between $35 and $85 for a standard laser weld on a gold chain, while platinum or hollow-chain repairs can range from $75 to $150 depending on the complexity of the link reconstruction.
By understanding the metallurgy and mechanics behind your jewelry, you can make informed decisions when disaster strikes. Whether you are gently twisting a jump ring shut with precision pliers or handing a delicate platinum rope chain over to a laser-welding specialist, proper troubleshooting ensures that your favorite necklaces remain secure, beautiful, and ready for everyday wear.


