Buckle Initial Necklace Troubleshooting & Repair Guide
Is your buckle initial necklace stuck or tarnished? Learn expert troubleshooting tips to fix bent prongs, slipping chains, and metal allergies.

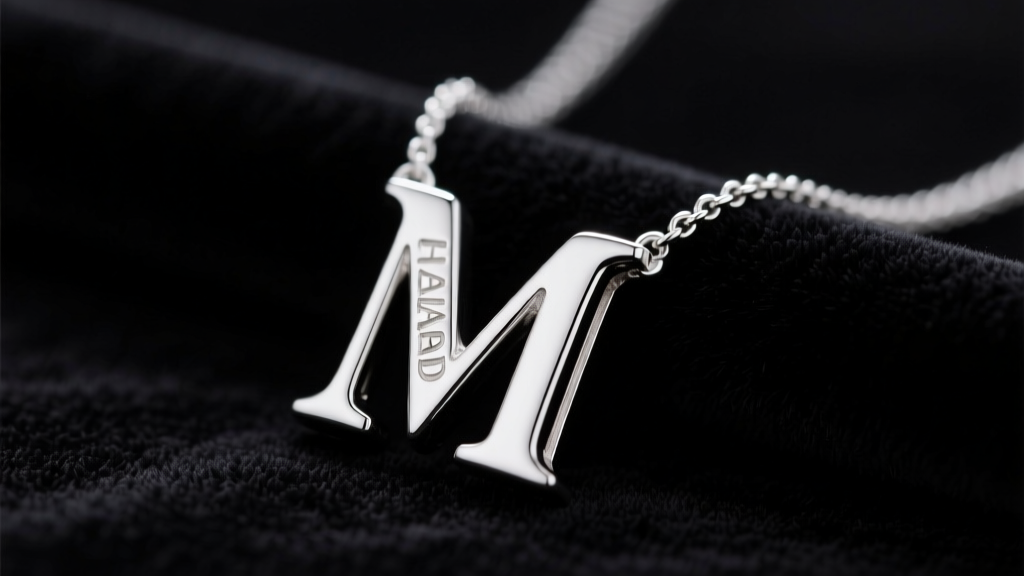
The Anatomy of a Buckle Initial Necklace
The buckle initial necklace has surged in popularity, bridging the gap between Y2K nostalgia, Western rodeo aesthetics, and modern personalized jewelry. However, unlike a simple cast pendant, a buckle motif introduces mechanical complexity. Whether your piece features a miniature belt buckle pendant that houses an initial insert, or a functional buckle-style clasp securing an initial tag, the moving parts and layered materials create unique failure points. Before attempting any repairs, it is crucial to understand the micro-anatomy of your jewelry.
- The Frame: The outer rectangular or curved boundary of the buckle.
- The Prong (Tongue): The central metal piece that pivots to mimic a functioning belt buckle or secure the chain.
- The Hinge Pin: A microscopic wire or tube that anchors the prong to the frame, allowing rotation.
- The Keeper Loop: The secondary metal loop adjacent to the buckle where the chain or leather cord feeds through.
- The Initial Insert: The letter element, often made of enamel, mother-of-pearl, or a contrasting metal, seated inside the frame.
Understanding these components allows you to accurately diagnose whether a failure is structural, metallurgical, or purely cosmetic. According to the Gemological Institute of America (GIA), proper identification of both the base metal and the adhesive types used in multi-part jewelry is the first step in any successful restoration.
Common Hardware Failures and How to Fix Them
Mechanical stress is the primary enemy of the buckle initial necklace. Because the buckle design features protruding elements and pivoting joints, it is highly susceptible to snagging on knitwear, seatbelts, and hair.
1. The Buckle Prong Won't Catch or is Bent
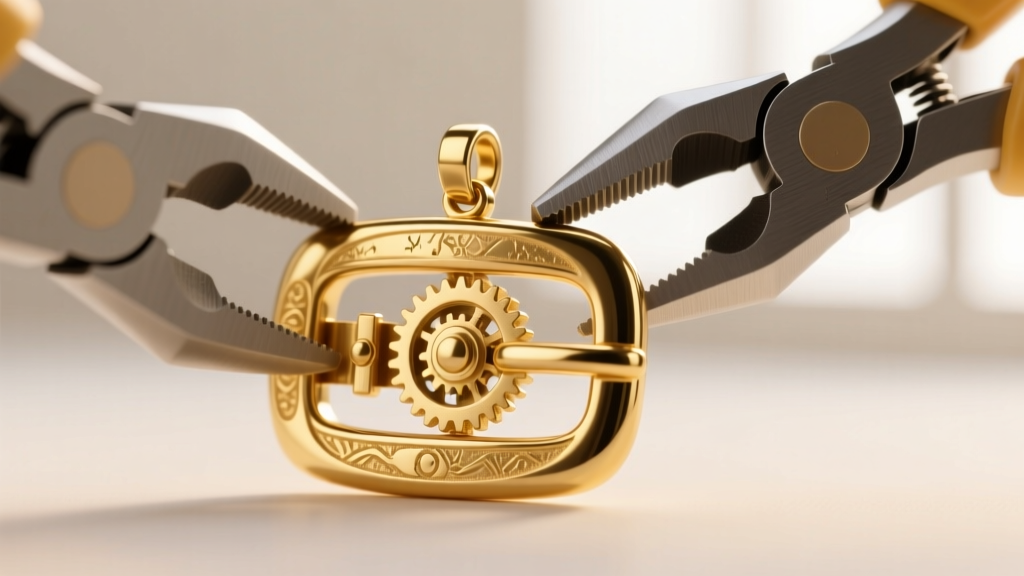
If the prong on your buckle pendant is bent upward or flattened against the frame, it loses its three-dimensional profile and may no longer catch the keeper loop. This usually happens when the necklace is pulled sharply.
The Fix: Never use standard steel needle-nose pliers directly on the prong, especially if your necklace is made of 925 sterling silver, brass, or gold vermeil. Steel pliers will mar the finish and leave permanent teeth marks. Instead, use nylon-jaw jewelry pliers (such as those made by Wubbers). Gently grip the base of the prong near the hinge pin and apply slow, incremental pressure to bend it back to a 45-degree angle. If the prong is made of a soft base metal like pewter, be careful not to over-bend it, as repeated flexing will cause 'work hardening' and eventually snap the metal.
2. The Chain Keeps Slipping Through the Buckle Loop
A frequent complaint with buckle initial necklaces is the chain sliding entirely through the keeper loop, causing the pendant to sit off-center or fall off completely. This is a tolerance issue: the interior diameter of the buckle's keeper loop is often 2.5mm to 3.0mm, while many fashion chains are a delicate 1.0mm to 1.2mm cable chain.
The Fix: You have two options. First, upgrade your chain. Swap the thin cable chain for a 2.5mm to 3.0mm rope chain or a 3.0mm curb chain. The thicker wire gauge and wider profile of a rope or curb chain will physically prevent it from slipping through the keeper loop. If you prefer your delicate chain, you can thread a microscopic clear silicone o-ring (often sold as 'jewelry stopper beads' or 'silicone necklace spacers') onto the chain right next to the buckle loop to act as a physical barrier.
3. Hinge Pin Failure: The Prong is Completely Detached
If the prong has fallen out entirely, the microscopic hinge pin has likely sheared or slid out. This is a complex repair. You will need a 0.6mm or 0.8mm stainless steel headpin or a specialized jewelry hinge pin. Using flush cutters, trim the pin to the exact width of the hinge barrel. Insert the pin through the frame and the prong, then use a cup burr in a rotary tool to gently peen (mushroom) the ends of the pin so it cannot slide back out. If you lack rotary tools, a local bench jeweler can perform this micro-welding or pinning repair for $25 to $45.
Material Troubleshooting: Tarnish and Skin Irritation
Because buckle initial necklaces sit flush against the collarbone, they are exposed to high levels of body heat, sweat, and lotions. The metallurgical composition of your piece dictates its longevity and wearability.
| Metal Type | Common Symptoms | Troubleshooting & Solutions |
|---|---|---|
| Zinc Alloy (Zamak/Pewter) | Heavy tarnish, green/black skin staining, lightweight feel. | Apply a micro-thin layer of clear jeweler's lacquer (like ProtectaClear) to the back of the pendant. Avoid wearing in water. |
| Brass with Gold Plating | Plating wears off at high-friction points (the prong and loop), revealing brassy undertones. | Polish gently with a non-abrasive cloth. For a permanent fix, send to a plating specialist for a 1-micron 18k gold vermeil replate. |
| 925 Sterling Silver | Yellowish or black sulfide tarnish over time, especially in humid climates. | Use a dedicated silver polishing cloth infused with anti-tarnish agents. Never use liquid silver dips, which can strip the oxidized detailing in the buckle crevices. |
| 316L Surgical Steel | Virtually none. Highly resistant to tarnish and hypoallergenic. | Clean with warm water and mild dish soap. No special chemical treatments required. |
For those experiencing contact dermatitis or 'green skin' from base metal buckles, the The Silver Institute recommends upgrading to high-purity metals. If replacing the necklace isn't an option, coating the back of the buckle frame and the prong with a specialized skin-safe barrier coating will halt the copper/zinc oxidation reaction against your skin's pH.
Securing the Initial Insert: Dealing with Loose Enamel or Gems
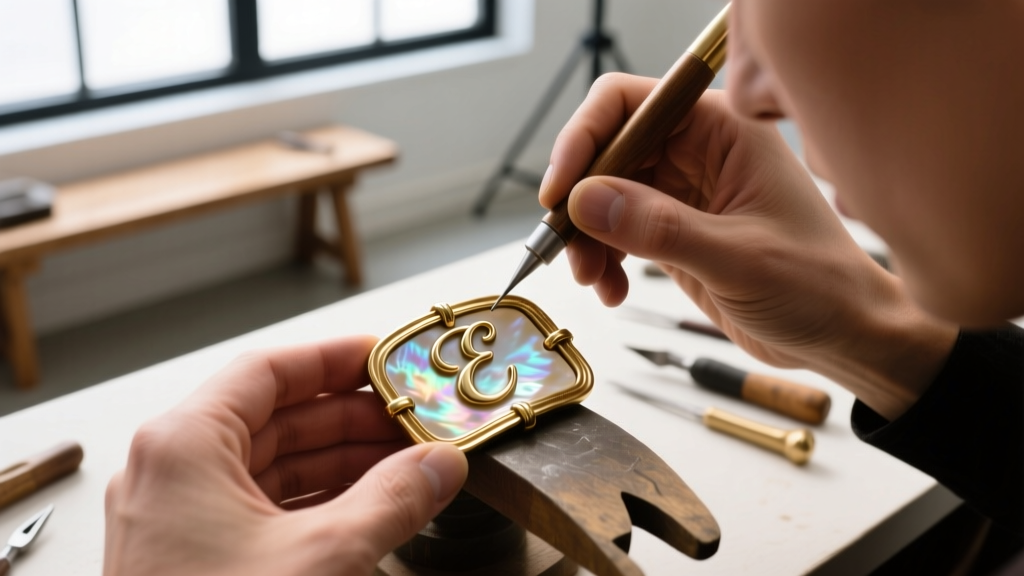
Many buckle initial necklaces feature a letter insert made of cold enamel, crushed turquoise, or mother-of-pearl, glued into a recessed channel in the buckle frame. Over time, temperature fluctuations and the natural flexing of the necklace can cause the factory adhesive to fail, leaving the initial rattling or falling out completely.
Critical Warning: Never use cyanoacrylate (commonly known as Super Glue or Krazy Glue) to reseat your initial insert. Cyanoacrylate cures brittle, meaning the next time your necklace bends, the glue will shatter. Furthermore, it releases fumes as it cures that cause 'blooming'—a permanent, cloudy white haze that will ruin the finish of your initial and the surrounding metal frame.
The Professional Epoxy Method
- Clean the Channel: Use a wooden toothpick dipped in 90% isopropyl alcohol to scrape out the old, brittle factory glue from the buckle's recessed channel. Let it dry completely.
- Mix the Adhesive: Use a two-part jeweler's epoxy, such as Devcon 5-Minute Clear Epoxy or G-S Hypo Cement (for very tiny, precise applications). Mix equal parts resin and hardener on a disposable palette until perfectly clear.
- Apply and Seat: Using the tip of a sewing pin, apply a micro-drop of epoxy to the four corners of the channel. Do not overfill. Gently press the initial insert into place.
- Cure: Use low-tack painter's tape to hold the initial flush against the frame while it cures for 24 hours. Wipe away any squeezed-out epoxy immediately with an alcohol swab.
'The most common mistake consumers make with multi-part novelty pendants is using household adhesives. Jewelry is subjected to constant micro-vibrations and thermal expansion; only flexible, high-shear-strength epoxies can survive the daily wear of a heavy buckle pendant.' — Master Bench Jeweler
Preventative Maintenance for Longevity
Proper storage and cleaning will prevent 90% of the issues associated with buckle initial necklaces. Because of the deep crevices in the buckle frame and the hinge mechanisms, dirt, dead skin, and lotion build up rapidly, accelerating tarnish and stiffening the prong.
Cleaning Routine: Avoid ultrasonic cleaners if your buckle features an epoxied initial insert, soft stones (like turquoise or opal), or painted enamel. The high-frequency vibrations will shatter the adhesive bond. Instead, create a cleaning bath using warm distilled water and a few drops of phosphate-free dish soap. Submerge the necklace for 5 minutes, then use a soft-bristled baby toothbrush to gently agitate the dirt out from under the prong and around the hinge pin. Rinse with distilled water and dry immediately with a microfiber cloth to prevent water spots.
Storage: Always store your buckle initial necklace flat or hanging. Tossing it into a jewelry box where the heavy buckle frame can press against the delicate chain will cause kinking and accelerate chain fraying. Utilize anti-tarnish strips (like 3M Anti-Tarnish Strips) in your storage container to absorb ambient sulfur and moisture, keeping the buckle's finish pristine for years to come.


