Troubleshooting an Interlocking Circles Necklace Gold: Expert Fixes
Learn how to untangle, repair, and maintain your interlocking circles necklace gold. Expert fixes for friction wear, broken solder joints, and chain flipping.

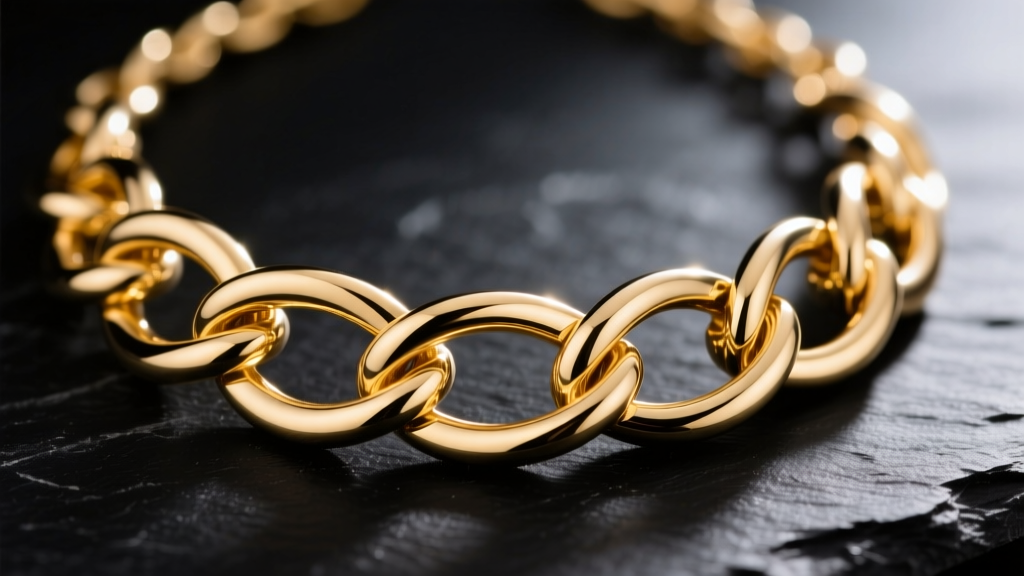
The interlocking circles necklace gold design is a timeless symbol of eternity, connection, and unbreakable bonds. However, from a structural and mechanical perspective, this kinetic jewelry design is notoriously prone to specific physical failures. Because the rings move independently, they create unique friction points, tangle with alarming ease, and often cause the chain's center of gravity to shift, resulting in the clasp sliding to the front of your neck.
As jewelry specialists, we see hundreds of these pieces returned or brought in for repair every year. Whether you own a delicate 14k solid gold piece or a heavy 18k gold vermeil statement pendant, understanding the mechanical vulnerabilities of this design is crucial. This comprehensive troubleshooting guide will walk you through the exact metallurgical and structural fixes for the most common issues plaguing your interlocking circles necklace gold.
The Anatomy of Interlocking Circle Pendants
Before troubleshooting, it is essential to understand why this specific design fails more often than static pendants. An interlocking circles necklace gold pendant relies on independent kinetic movement. Unlike a single cast pendant, the overlapping rings are not fused together; they are linked through a cut-and-solder process or a specialized jump ring. This means every time you move, the rings grind against one another. Furthermore, the dual-ring structure creates a slip-knot effect when stored improperly, making them significantly more prone to severe chain tangling than standard solitaire pendants.
Troubleshooting Issue #1: Severe Tangling and Knotting
The independent movement of the interlocking rings acts as a mechanical trap for the delicate cable chain. When tossed into a jewelry box, the rings easily slip over the chain links, creating complex slip-knots that tighten under tension. Pulling these knots with your fingers only increases the friction and risks stretching or snapping the fine chain links (which are typically 0.8mm to 1.2mm in width).
The Beading Needle and Mineral Oil Method
Do not use olive oil or WD-40, as these can degrade over time or leave a rancid residue. Instead, use pharmaceutical-grade mineral oil or baby oil, which acts as a safe, non-drying lubricant.
- Step 1: Lay the necklace flat on a dark, non-porous surface like a slate tile or a glass cutting board. The dark background provides high contrast to see the 14k or 18k gold links clearly.
- Step 2: Apply a single drop of mineral oil directly to the center of the knot.
- Step 3: Take a 0.05mm beading needle (such as a John James size 12 or 15 English beading needle). The ultra-fine tip is crucial for navigating the tight gaps between the interlocking rings without scratching the gold.
- Step 4: Gently insert the needle into the center of the tightest loop and wiggle it laterally to create micro-space. Work from the center outward, never pulling the chain ends, which will only tighten the slip-knot around the pendant rings.
Troubleshooting Issue #2: Friction Wear and Gold Fading
The most insidious problem with an interlocking circles necklace gold design is friction wear. Because the rings constantly rub against each other at the overlap points, the metal slowly erodes. This is especially devastating for gold-plated or gold vermeil pieces, but it also affects solid gold over time.
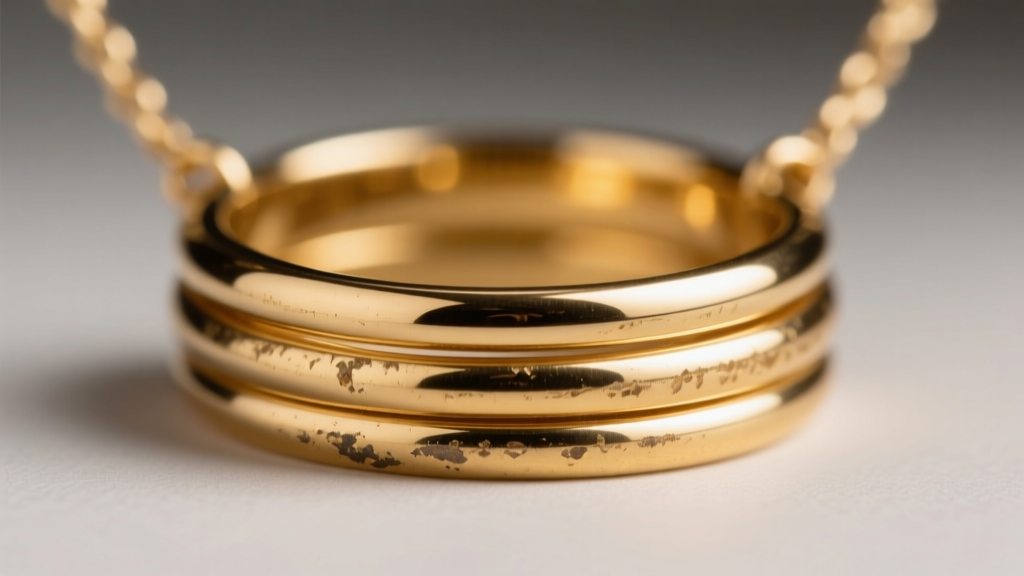
Many consumers mistakenly believe that higher karat gold is always more durable. However, according to the Gemological Institute of America (GIA), pure 24k gold is incredibly soft. When alloyed to create 18k gold (75% pure gold), the metal achieves a Vickers hardness of approximately 130. In contrast, 14k gold (58.5% pure gold, alloyed with copper, silver, and zinc) achieves a Vickers hardness of around 160. Therefore, for kinetic, high-friction designs like interlocking circles, 14k solid gold is actually vastly superior for longevity than 18k solid gold.
Material Grade Comparison for Interlocking Designs
| Material Grade | Composition | Friction Resistance | Estimated Lifespan (Daily Wear) |
|---|---|---|---|
| 14k Solid Gold | 58.5% Gold, 41.5% Alloy | Excellent (Vickers ~160) | Lifetime (Decades) |
| 18k Solid Gold | 75% Gold, 25% Alloy | Good (Vickers ~130) | Lifetime (May show wear at joints) |
| Gold Vermeil | Sterling Silver base, 2.5+ microns Gold | Poor (Friction exposes silver) | 1 to 3 Years |
| Gold Plated (Brass) | Brass base, <0.5 microns Gold | Very Poor | 3 to 6 Months |
If your vermeil interlocking circles necklace gold pendant has already worn through to the sterling silver base at the friction points, traditional re-plating will only offer a temporary fix. The friction will strip the new micron layer within months. The only permanent solution is to upgrade to a solid 14k gold replacement.
Troubleshooting Issue #3: Broken Solder Joints and Separated Rings
To create an interlocking design, the jeweler must fabricate one closed ring, then fabricate a second ring that passes through the first before being soldered shut. The solder joint is the weakest structural point on the entire necklace. If the ring catches on a sweater or is pulled, the solder seam will snap before the solid gold wire bends.
Laser Welding vs. Torch Soldering
When a ring separates, do not attempt to bend it back into shape and glue it. You must have it re-soldered. However, the method of soldering is critical. Interlocking circle wire is typically thin, ranging from 18-gauge (1.0mm) to 15-gauge (1.4mm). Using a traditional jeweler's torch requires applying flux and broad heat, which can easily warp the perfect circular geometry of the thin wire or melt the delicate chain links if they are too close to the pendant.
According to jewelry manufacturing experts at Rio Grande, laser welding is the mandatory repair method for this specific issue. A laser welder uses concentrated pulses of light to fuse the metal at the microscopic seam without transferring ambient heat to the rest of the ring. This ensures the circle retains its exact geometric shape and prevents heat damage to the surrounding gold. Always ask your bench jeweler if they utilize a laser welder before handing over your interlocking circles necklace gold for repair.
Troubleshooting Issue #4: The Chain Clasp Flipping Forward
A universal annoyance with this pendant style is the clasp migrating from the back of your neck to the front, resting right next to the pendant. This is not a defect in the chain; it is a physics issue related to the center of gravity.
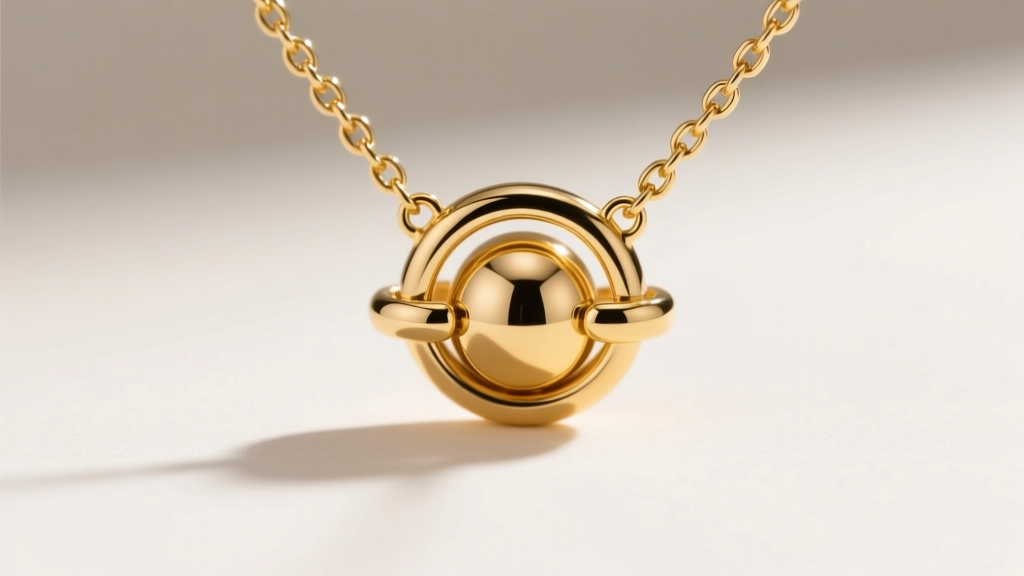
The interlocking circles pendant is relatively heavy and sits at the lowest point of the necklace's catenary curve. If the chain is lightweight (such as a standard 1.2mm cable chain) and the clasp is a standard lightweight 9mm lobster claw, the pendant's weight will constantly pull the chain downward, forcing the lighter clasp to slide up and over to the front. To solve this, you must artificially alter the necklace's center of gravity by adding a counterweight to the back.
Counterweight Solutions
According to jewelry design guidelines from Halstead, balancing a heavy pendant requires strategic weight distribution at the clasp assembly. Here are the most effective fixes:
- Upgrade the Clasp: Swap the standard 9mm lobster clasp for a heavier, oversized 12mm or 14mm solid gold lobster clasp. The extra mass at the back of the neck acts as a natural anchor.
- Add a Counterweight Bead: Have a jeweler attach a 3mm to 4mm solid gold spherical bead directly to the jump ring connecting the clasp to the chain. This adds just enough localized weight to keep the clasp anchored at the nape of your neck without altering the aesthetic of the chain.
- Use a Heavier Chain: If you are having the pendant re-strung, opt for a 1.5mm to 2.0mm rope or box chain. The increased mass of the chain itself helps counterbalance the heavy interlocking pendant.
Preventative Maintenance Checklist
To ensure your interlocking circles necklace gold remains pristine and mechanically sound for decades, implement these specific storage and care habits:
- Always Clasp Before Storage: Never store the necklace unclasped. Always secure the lobster claw to the jump ring before placing it in a drawer to prevent the rings from swallowing the chain.
- Hang or Lay Flat: Hang the necklace on a padded jewelry stand with a wide neck profile, or lay it perfectly flat in a lined jewelry box. Avoid tossing it into a communal jewelry dish.
- Ultrasonic Cleaning Caution: While ultrasonic cleaners are excellent for removing skin oils from solid gold, the high-frequency vibrations can sometimes weaken already compromised solder joints on the interlocking rings. Limit ultrasonic cleaning to once every few months, and inspect the solder seams beforehand.
By understanding the unique mechanical stresses placed on kinetic jewelry, you can easily troubleshoot and resolve the common frustrations associated with this beautiful design. Whether you are carefully picking out a slip-knot with a beading needle or upgrading your clasp with a counterweight bead, these expert interventions will keep your necklace looking flawless and functioning perfectly.


